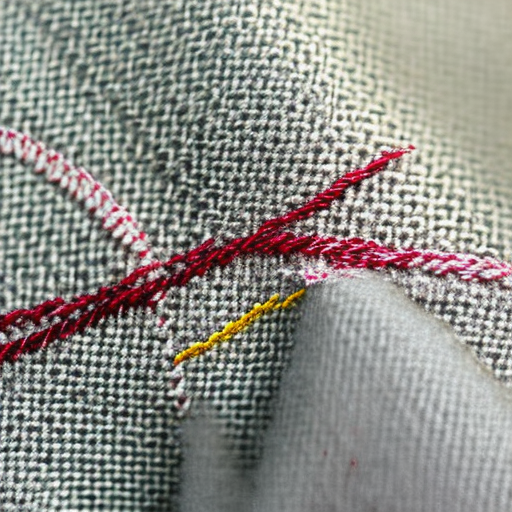
Velcro is a versatile fastening material widely used in various sewing projects. Whether you’re working on garments, accessories, or crafts, understanding how to sew Velcro properly can greatly enhance your creations. In this article, we will share some valuable tips to help you achieve professional and durable results.
1. Choosing the Right Velcro
Velcro comes in different types and strengths. Select the appropriate Velcro based on your project’s requirements. For lightweight fabrics and decorative projects, opt for lightweight Velcro. Heavy-duty Velcro, on the other hand, is perfect for heavy fabrics and items that require a stronger grip.
2. Preparing the Fabric
Before attaching Velcro, ensure that your fabric is clean and free from dirt or loose threads. If necessary, iron the fabric to remove any wrinkles or creases. This step ensures a smooth and professional finish.
3. Measuring and Cutting Velcro
Measure the length of Velcro needed for your project and cut it accordingly. Use sharp fabric scissors to prevent fraying or damaging the Velcro’s hook and loop system. Cutting the Velcro tape straight and even will ensure a neat appearance when attached.
4. Sewing Velcro
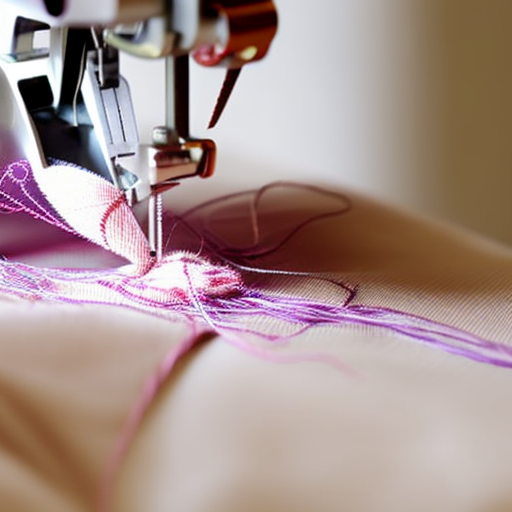
When sewing Velcro, it is generally recommended to use a sewing machine. However, if you don’t have one, you can sew it by hand using a sturdy needle and a strong thread, such as polyester or nylon. Stitching by hand may take longer, but it can still provide excellent results.
Use a zigzag stitch or a double straight stitch to secure the Velcro in place. This stitching technique adds strength and stability to the attachment. Sew around the edges of the Velcro, leaving enough room for the hook and loop system to function properly.
5. Reinforcing the Attachment
If you’re working with heavy fabrics or know that the Velcro will endure repeated use, reinforce the attachment with additional stitching. Create parallel lines of stitching along the edges or diagonally to strengthen the bond. This reinforcement will help the Velcro stay securely attached for an extended period.
6. Testing and Finishing
After sewing the Velcro, test the attachment by opening and closing it multiple times. This step ensures that the Velcro is secured properly and functions smoothly. If you notice any loose stitches or weak points, reinforce them before finalizing the project.
Once satisfied with the attachment, trim any excess threads and give your project a final press. This step will enhance the overall appearance and neatness of your sewn-on Velcro.
By following these helpful tips, you’ll be able to sew Velcro like a pro every time. Whether you’re making clothing, bags, or home decor items, well-attached Velcro ensures functionality and longevity.
Happy sewing!
