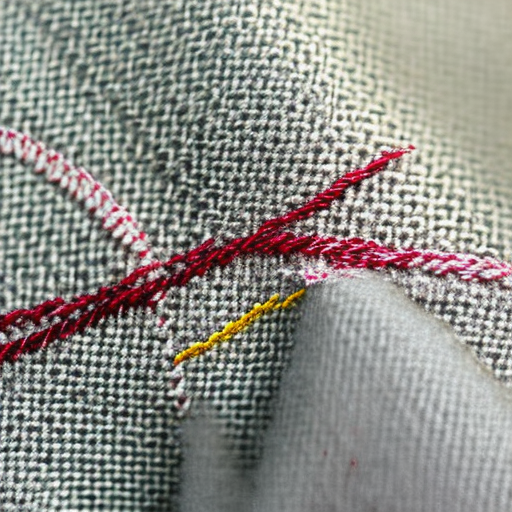
thread-knot.jpg” alt=”Thread with a knot around a needle”>
Step 1: Choose Your Thread
First, select the appropriate thread for your sewing project. The thread thickness should match the fabric you are working with, ensuring a strong and durable finish.
Keep in mind that some threads are prone to tangling or break easily. Choose a quality thread brand to avoid frustration during the sewing process.
Step 2: Prepare the Thread
Trim the end of the thread to create a clean and straight edge. This will make it easier to pass the thread through the needle’s eye.
If your thread starts to fray, use a small amount of clear nail polish or fray check to seal the end. This will prevent further unraveling and make threading much simpler.
Step 3: Threading the Needle
Hold the end of the thread between your thumb and index finger, then moisten it slightly with saliva or a damp cloth. This helps keep the fibers together, making it easier to insert into the needle’s eye.
Gently press the thread’s end against the needle’s eye and work it through. If you’re having difficulty, you can also try flattening the thread’s end with your thumbnail to guide it through more easily.
Step 4: Creating the Knot
Once the thread is threaded through the needle, leave a tail that’s around 4-6 inches long. This tail will be used to create the knot.
Hold the tail end of the thread between your thumb and index finger, then wrap it around the needle two or three times, depending on the thickness of your thread. Ensure the wraps are close to the needle’s eye.
Hold the wraps in place, then pull the needle away from them. As you do this, the wraps will tighten and form a knot close to the fabric. Be sure to hold the wraps firmly to maintain control over the knot.
Step 5: Securing the Knot
Before you start sewing, it’s important to secure the knot further to prevent it from coming undone during the sewing process. To do this, hold the needle close to the fabric and pass it through the loop created by the wraps near the eye of the needle.
As you pull the needle through, hold the thread firmly to keep the knot in place. Pull the thread until the knot is tight against the fabric, but avoid pulling too hard to prevent snapping the thread.
Additional Tips:
- If you find it difficult to knot the thread using the wraps, you can always use a double knot technique. Once you have threaded the needle and left the desired tail length, make a simple knot like you would when tying shoelaces.
- Make sure to leave a long enough tail when starting a sewing project to avoid the knot pulling through the fabric.
- Practice makes perfect! Knotting the thread may take some time to master, but with practice, your knots will become tighter and more secure.

Now that you have mastered the art of knotting your thread, you can confidently start your sewing project. The proper knot ensures that your stitches stay in place and gives your finished piece a professional touch. Happy sewing!