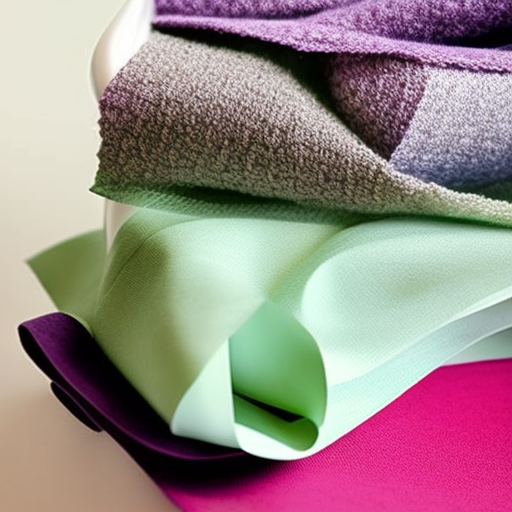
quilt.jpg” alt=”Quilt” />
Quilting is a beautiful and time-honored craft that has been enjoyed for generations. While sewing machines have made the process faster, there is something special about hand-sewn quilts. The precision and artistry involved in hand stitching can create truly unique and heirloom-quality quilts. In this article, we will explore some essential hand sewing techniques for quilts.
Gathering the Supplies
Before you begin stitching, make sure you have the right tools and materials. Here are some essentials:
- Quilting fabric
- Thread (choose a color that complements your fabric)
- Hand sewing needles (in various sizes)
- Scissors or rotary cutter
- Thimble
- Straight pins
Preparing the Fabric
Properly preparing the fabric is crucial for successful quilting. Start by washing and ironing your fabric to remove any dirt or wrinkles. Then, cut your fabric into the desired quilt block sizes, ensuring they’re all the same size.
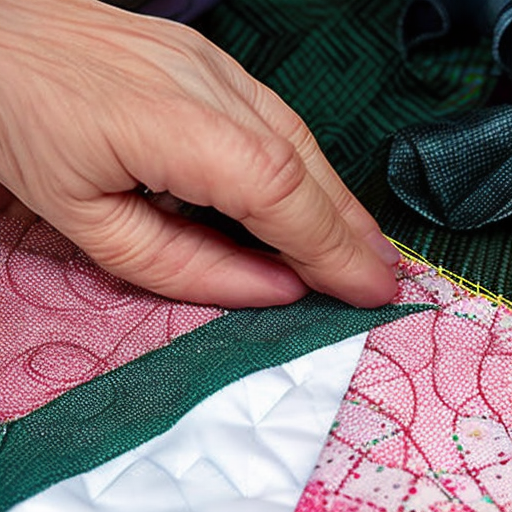
Basting the Layers
With your quilt blocks ready, it’s time to baste the layers together. Lay your backing fabric on a flat surface, followed by batting and your quilt top. Use straight pins to secure the layers in place, ensuring they remain flat and taut.

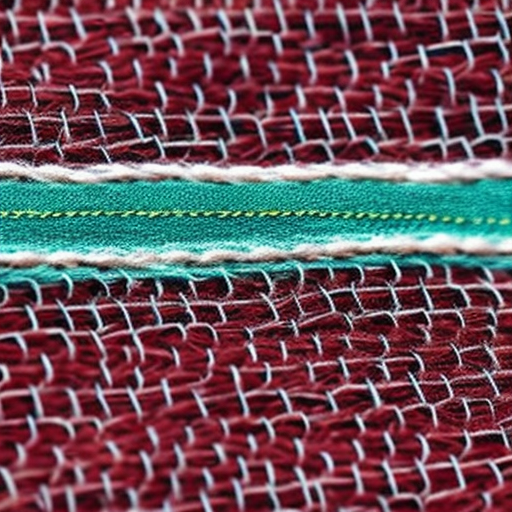
Mastering the Basic Stitches
Now that your layers are secure, let’s explore some basic hand sewing stitches:
1. Running Stitch
The running stitch is versatile and commonly used in quilting. Simply push the needle up and down through the fabric, keeping the stitches evenly spaced.
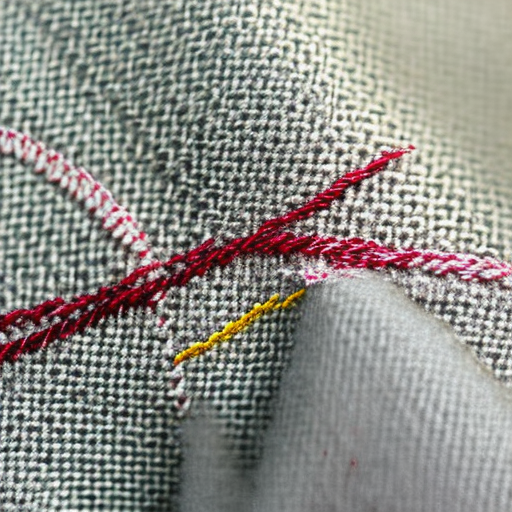
2. Backstitch
The backstitch is stronger and often used where extra durability is needed. Start by inserting the needle from the back to the front, then go back into the fabric a short distance behind the starting point. Repeat this process, gradually creating a continuous line of stitches.
3. Whipstitch
The whipstitch is useful when joining quilt blocks or adding borders. Hold the fabric pieces together, aligning the edges. From the back, insert the needle through the top layer, catching a small amount of fabric from each side. Repeat, creating a neat and secure seam.
Finishing Touches
Once you’ve completed your quilting stitches, it’s time to add the finishing touches. Trim any excess fabric or batting, leaving a border around the quilt blocks. Bind the edges of your quilt using a hand-sewn binding or a complementary bias tape for a polished look.

Enjoy the Process!
Hand sewing a quilt requires time, patience, and love. Enjoy the process as you bring your design to life, one stitch at a time. Remember, imperfections can add character and charm to your finished quilt. Happy quilting!
Images: Unsplash.com