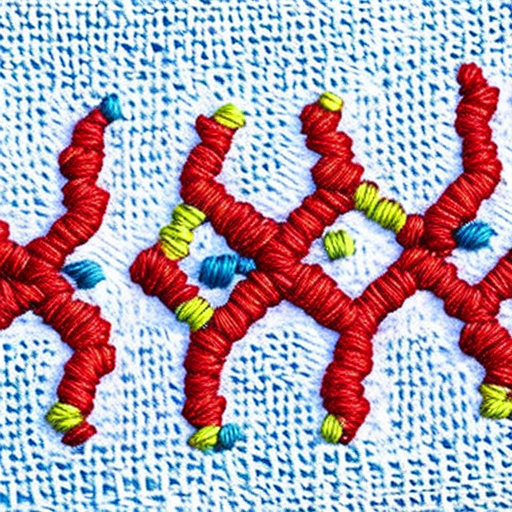
Hand embroidery is a beautiful and timeless craft that allows you to create intricate designs on fabric using just a few basic stitches. Whether you are a beginner or an experienced embroiderer, mastering these foundational stitches will provide you with a solid foundation to create stunning embroidered pieces.
1. Backstitch
The backstitch is commonly used for outlining and creating fine lines. It is a simple and versatile stitch that creates a continuous line. Follow these steps to create a backstitch:
-
- Insert the needle from the back of the fabric and bring it up at point A.
-
- Insert the needle back into the fabric at point B, a short distance away from point A.
-
- Bring the needle back up at point C, which should be in line with point A.
-
- Repeat steps 2 and 3 to create the desired length of the backstitch.
2. Satin Stitch
The satin stitch is ideal for filling shapes and creating smooth, solid areas of color. It is worked by closely spaced straight stitches. Follow these steps to create a satin stitch:
-
- Start at the edge of the shape you want to fill.
-
- Bring the needle up at point A, on one side of the shape.
-
- Insert the needle back into the fabric at point B, on the opposite side of the shape.
-
- Bring the needle up again at point C, right next to point A.
-
- Repeat steps 2-4, working your way across the shape, until it is completely filled.
3. French Knot
The French knot adds texture and dimension to your embroidery. It is commonly used for creating small, raised dots or accents. Follow these steps to create a French knot:
-
- Insert the needle from the back of the fabric and bring it up at the desired location.
-
- Hold the needle close to the fabric and wrap the thread around the needle twice.
-
- While holding the wrapped thread taut, insert the needle back into the fabric near the starting point, slightly away from the entry point.
-
- Gently pull the needle and thread through, forming a knot on the surface of the fabric.
4. Chain Stitch
The chain stitch creates a series of loops that resemble chains. It is used for creating borders, outlines, or decorative patterns. Follow these steps to create a chain stitch:
-
- Start by making a small straight stitch.
-
- Bring the needle up through the fabric, a short distance away from the starting point of the straight stitch.
-
- Before pulling the needle all the way through, pass it through the loop created by the previous stitch.
-
- Repeat steps 2 and 3 to create a chain of connected loops.
5. Running Stitch
The running stitch is one of the easiest and most basic embroidery stitches. It is used for simple outlines, hand quilting, and adding texture. Follow these steps to create a running stitch:
-
- Insert the needle from the back of the fabric and bring it up at point A.
-
- Insert the needle back into the fabric at point B, a short distance away from point A.
-
- Repeat steps 1 and 2, working your way along the desired line.
-
- Ensure the stitches are evenly spaced for a neat and consistent look.
Summary
Mastering these basic hand embroidery stitches will give you the foundation to create beautiful and intricate designs on a wide range of fabric projects. With practice, you can further explore and combine these stitches to create your own unique embroidery style. So grab your needle, thread, and fabric, and let your creativity shine through the magical art of hand embroidery!
| Stitch | Usage |
|---|---|
| Backstitch | Outlining and fine lines |
| Satin Stitch | Filling shapes and solid color areas |
| French Knot | Adding texture and raised dots |
| Chain Stitch | Creating borders, outlines, and patterns |
| Running Stitch | Simple outlines and hand quilting |
Great post! I’m always interested in learning more about hand embroidery.
Awesome! Perfect article for someone like me who loves to get creative with a needle and thread! Embroidery is a fun and rewarding way to add a personal touch to projects.
Fantastic post! Lots of helpful info and detailed instructions.
So many great ideas! Such a comprehensive guide to get started in the world of hand embroidery.