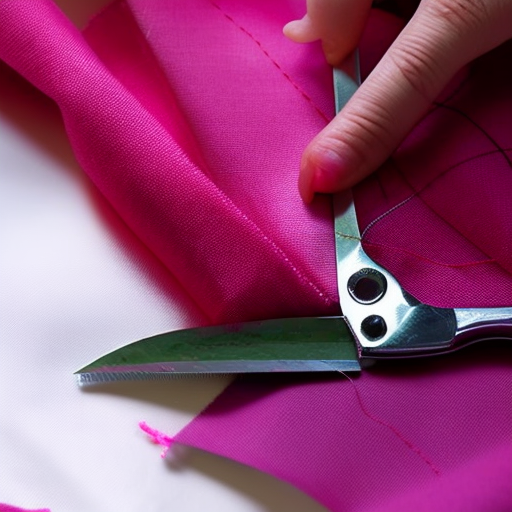
Learning to sew basic stitches by hand is an essential skill for anyone interested in DIY projects or clothes alterations. Whether you want to hem a skirt or repair a tear in your favorite shirt, mastering these stitches will give you the confidence to tackle various sewing projects. In this guide, we will walk you through some of the most common hand stitches and how to execute them.
1. Straight Stitch
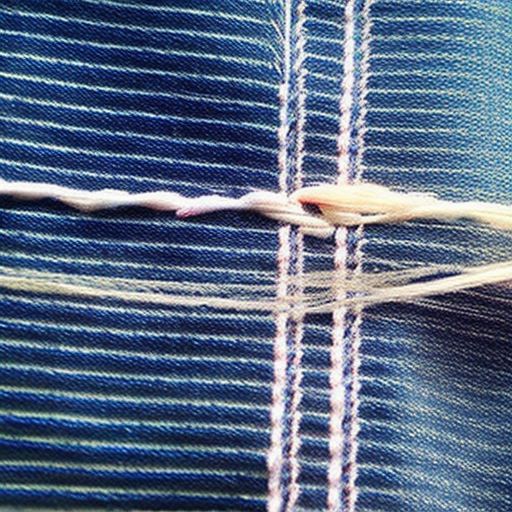
The straight stitch is the foundation of sewing by hand. It is used for basic joins and seams. Follow these steps to sew a straight stitch:
- Thread your needle and tie a knot at the end of the thread.
- Hold the fabric layers together and insert the needle from the backside, pulling it through to the front, leaving a small tail at the back.
- Guide the needle back into the fabric, 1/8 inch away from the first stitch, with a straight line in mind.
- Continue stitching, maintaining an even distance between stitches, and secure the end with a knot.
2. Backstitch
The backstitch creates a strong, secure seam, making it ideal for repairs or attaching patches. Here’s how to do it:
- Start with a knot at the end of the thread.
- Insert the needle from the backside and bring it out a short distance ahead.
- Now, take the needle back towards the starting point, creating a stitch ahead of the previous one.
- Insert the needle back into the fabric at the end of the first stitch.
- Repeat the process, forming a continuous line of backstitches and knot the end.
3. Running Stitch
The running stitch is one of the quickest and easiest stitches to learn. It is primarily used for gathering fabric or basting. Here are the steps:
- Prepare your threaded needle with a knot at the end.
- Insert the needle into the fabric from the backside and bring it out a short distance ahead.
- Move the needle back into the fabric and bring it out again, creating evenly spaced stitches.
- Continue the process, and tie off the thread with a knot at the end.
4. Slip Stitch
The slip stitch is an almost invisible stitch, often used for hemming or attaching trims. Follow these steps:
- Thread your needle and secure the end with a knot.
- Take a small stitch on the folded edge of the fabric.
- Next, take a small stitch on the main fabric, directly opposite to the previous stitch.
- Repeat the process, making sure the thread remains invisible on the front side.
- Secure the thread with a small knot on the back.
These basic stitches are the building blocks of hand sewing. Practice them on spare fabrics until you feel comfortable before starting your sewing projects. Remember, practice makes perfect, so keep honing your skills, and soon you’ll be confidently tackling complex hand-sewn creations!
This looks great!
John Smith: Very useful post!
Great post! Learning to sew by hand is a great skill to have and this post has provided an excellent tutorial!
Really helpful guide.
Thanks for this.