Introduction
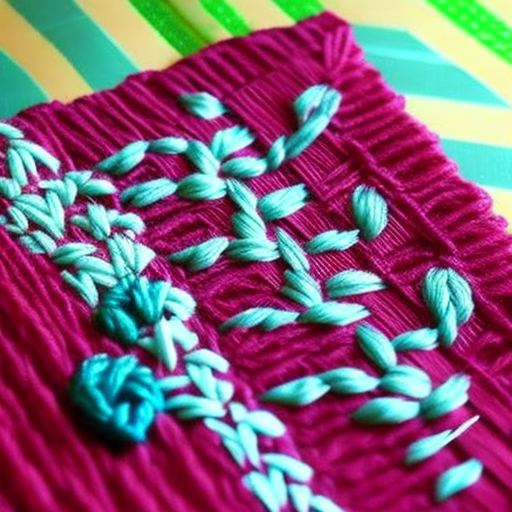
Welcome to our basic hand embroidery stitches tutorial! In this tutorial, we will cover some of the most commonly used stitches in embroidery. Whether you are a beginner or looking to refresh your skills, this guide will help you get started on your embroidery journey.
1. Backstitch
The backstitch is a basic and versatile stitch that is often used to create outlines or add fine details to a design. Follow these steps to create a backstitch:
-
- Bring the needle up through the fabric from the back at point A.
-
- Insert the needle into the fabric a short distance away at point B. This will be the starting point of your stitch.
-
- Bring the needle back up through the fabric at point C, which should be in line with point A.
-
- Insert the needle into the fabric at point D, the same distance away from point C as point B was from point A.
-
- Repeat steps 3 and 4 until your backstitch is complete.

2. Satin Stitch
The satin stitch is perfect for filling in larger areas with smooth and even threads. Follow these steps to create a satin stitch:
-
- Start by bringing the needle up through the fabric at point A.
-
- Insert the needle back into the fabric at point B, a short distance away from point A.
-
- Bring the needle back up through the fabric at point C, next to point A.
-
- Insert the needle back into the fabric at point D, next to point B.
-
- Repeat steps 3 and 4 until the area is filled with stitches.

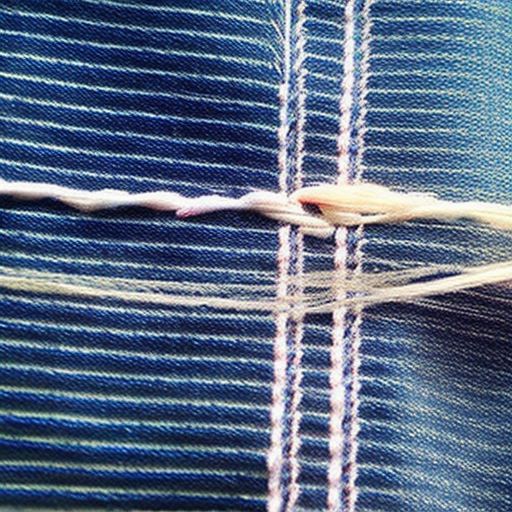
3. French Knot
The French knot adds beautiful texture and dimension to your embroidery. Follow these steps to create a French knot:
-
- Bring the needle up through the fabric at the desired location for the knot.
-
- Hold the thread taut with your non-dominant hand.
-
- Wrap the thread around the needle a few times (typically 3) in a clockwise direction.
-
- Insert the needle back into the fabric near the starting point, keeping the wraps in place.
-
- Gently pull the needle and thread through the fabric, while holding the wraps with your non-dominant hand. This will form a knot on the surface of the fabric.

Conclusion
Now that you have learned the basic hand embroidery stitches, you have a solid foundation to create beautiful designs. Practice these stitches on different fabrics and experiment with various thread colors to unleash your creativity. Happy stitching!
For more advanced embroidery techniques and patterns, make sure to check out our website www.example.com.
Definitely bookmarking this for later!
This is an invaluable resource for anyone looking to learn the basics of hand embroidery – perfect for creating DIY projects!