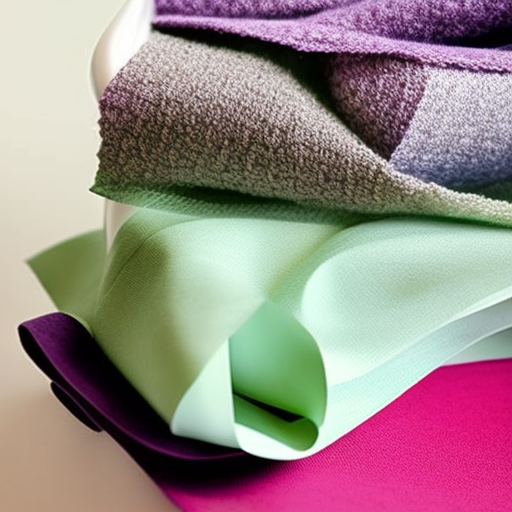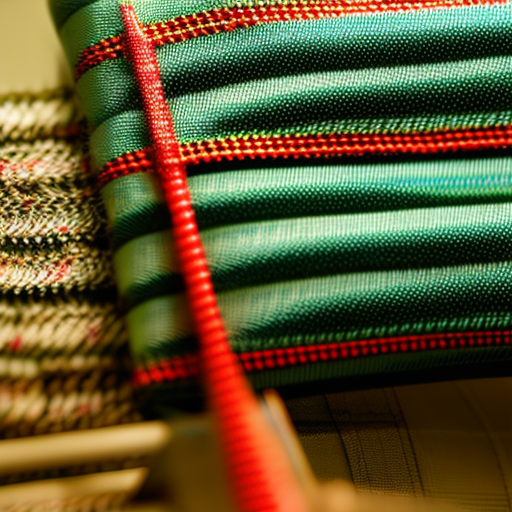
Webbing is a strong and versatile material commonly used in various sewing projects, such as bag handles, straps, belts, and sporting equipment. It comes in different widths, colors, and materials, including nylon, polyester, and cotton. Sewing webbing may seem straightforward, but there are a few tips and techniques that can make your projects more professional and durable.
1. Choose the Right Needle and Thread
When sewing webbing, it’s essential to use a heavy-duty needle, such as a denim or upholstery needle, to handle the thickness of the material. A thinner needle may bend or break while sewing, causing frustration and potentially damaging your machine. Additionally, use a strong polyester or nylon thread that matches the color of your webbing.
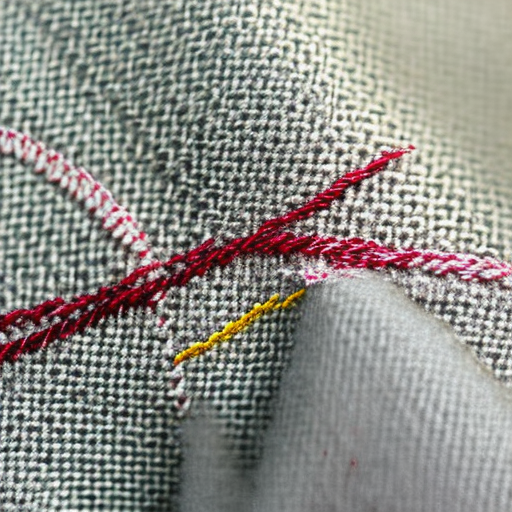
2. Reinforce the Webbing Ends
Webbing can fray easily, especially when repeatedly used or in high-stress areas. To prevent fraying, consider reinforcing the ends before stitching or attaching hardware. You can apply fray check or a small amount of clear nail polish to seal the edges or use a sewing technique called bar-tacking, which involves sewing back and forth in a tight zigzag pattern at the end of the webbing.

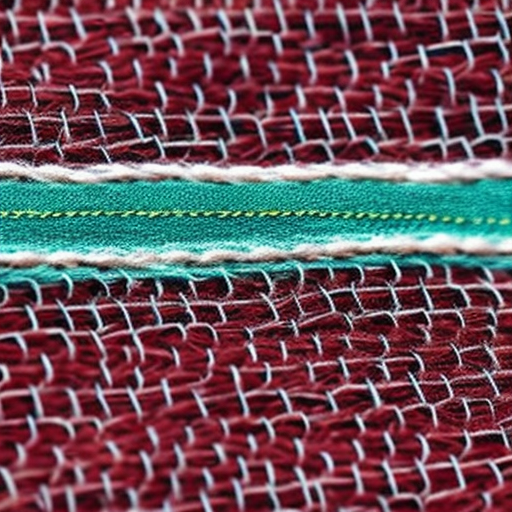
3. Use the Right Stitching Technique
When sewing webbing, opt for a strong and durable stitching technique such as a straight stitch, a box stitch, or a double-row stitch. A simple straight stitch close to the edge may be suitable for lightweight webbing, but for heavier applications, reinforcing the stitching with a box stitch or multiple rows will provide extra strength and stability.

4. Secure the Webbing Properly
Before starting your sewing project, secure the webbing in place to prevent it from shifting during sewing. You can use sewing clips, pins, or basting stitches to temporarily hold the webbing in position. It’s essential to distribute the stress evenly, so ensure that the webbing is straight and flat throughout the sewing process.
5. Understand the Webbing’s Stretch
Some types of webbing, especially those made from nylon, have a slight stretch to them. It’s crucial to take this stretch into account when measuring and cutting your webbing for a project. Stretching the webbing slightly while sewing can help ensure a snug fit and avoid any sagging or buckling once the item is in use.
6. Practice and Test
As with any sewing technique, it’s always a good idea to practice on scraps of webbing before starting your actual project. This allows you to test different stitch lengths, tensions, and techniques to determine which works best for your specific webbing and desired outcome. Taking the time to experiment will help you achieve professional-looking results.
Conclusion
Sewing webbing can be an enjoyable and fulfilling process, resulting in durable and functional items. By following these tips and techniques, you’ll be able to confidently work with webbing, creating professional-looking projects that are built to last. Remember to choose the right materials, reinforce the ends, use the appropriate stitching technique, secure the webbing, consider the stretch, and practice beforehand. Happy sewing!