Tips for Sewing Velvet Fabric
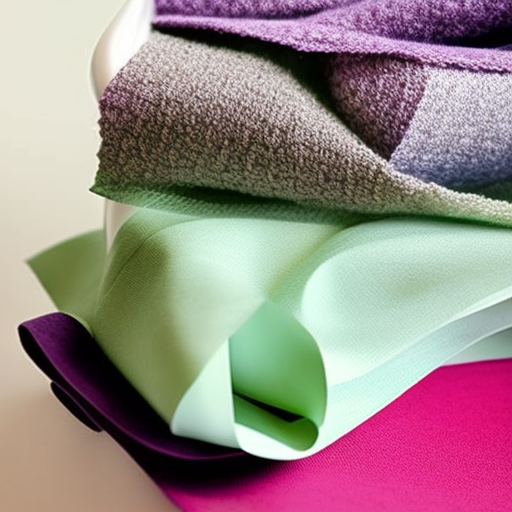
fabric.jpg” alt=”Velvet fabric rolls”>
Introduction
Velvet fabric is a luxurious and elegant material commonly used in clothing, upholstery, and home décor. While it adds a touch of glamour to any project, working with velvet can be a bit challenging due to its pile and delicate nature. To ensure successful sewing with velvet, consider the following tips and techniques.
1. Choose the Right Needle and Thread
When sewing velvet, it is crucial to use a sharp needle to prevent snags and pulls. Opt for a size 70 or 80 universal needle or a needle specifically designed for sewing delicate fabrics. Also, select a fine, high-quality polyester or silk thread that matches the color of your velvet fabric.
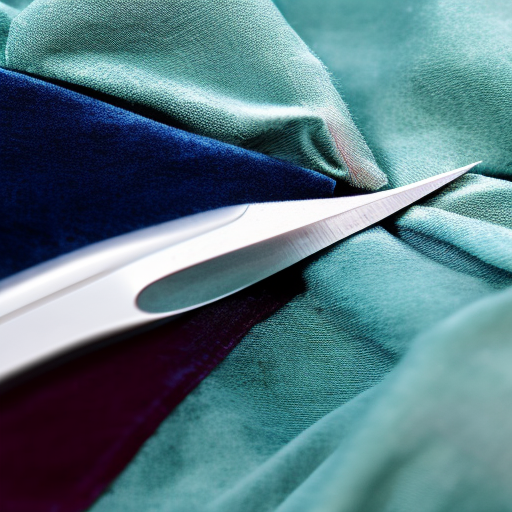
2. Cut with Care
When cutting velvet fabric, place it on a clean, flat surface and use sharp fabric shears or a rotary cutter. Avoid using pins, as they can leave marks on the fabric. Instead, secure the fabric with pattern weights or clips to minimize distortion and maintain the plush texture.
3. Pile Direction
Be mindful of the pile direction when cutting out pattern pieces. The pile refers to the raised fibers on velvet fabric. Ensure all pattern pieces face the same direction, especially if your project requires joining multiple sections. This will provide a consistent look and prevent the velvet from appearing patchy.
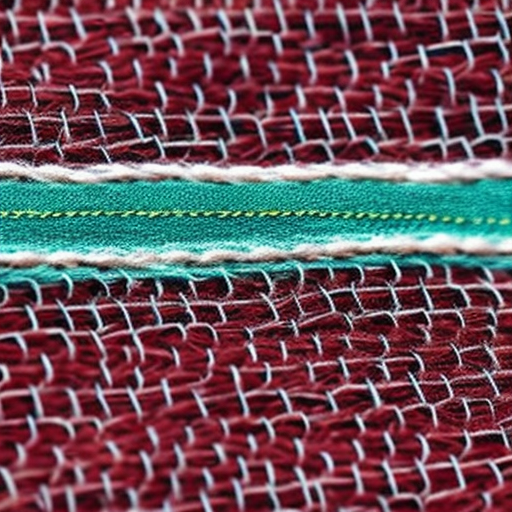
4. Seamless Seam Allowances
When sewing velvet seams, it is best to eliminate bulky seam allowances. Trim down the allowances to ¼ inch or less and finish the raw edges with a zigzag stitch or an overcasting stitch. This will help reduce bulkiness and ensure a smooth, professional finish.
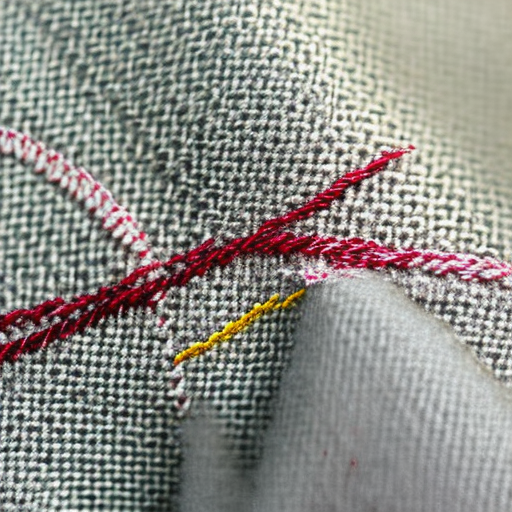
5. Test Stitch and Adjust Tension
Before sewing the main project, it is advisable to do a test stitch on a scrap piece of velvet. This will help determine the appropriate tension and stitch length for your machine. Velvet tends to show needle marks, so adjust the thread tension to prevent visible perforations.
6. Press with Caution
When pressing velvet, exercise caution as excessive heat and pressure can crush the delicate fibers and leave permanent marks. To avoid damage, use a pressing cloth and set your iron to a low heat setting or use a specialized velvet board. Gently steam the fabric by hovering the iron over it rather than pressing directly.
7. Understitch for Neatness
Understitching is a great technique for velvet projects, especially when dealing with facings, collars, or linings. This process helps the fabric layers lay flat and prevents them from rolling to the front. Stitch along the seams, close to the edge of the facing or lining, and press the seam allowances towards the facing or lining for a clean and professional look.
Working with velvet requires patience and attention to detail, but the end result will be worth the effort. Keep these tips in mind, and let your creativity shine with this sumptuous fabric!
With the right approach and techniques, sewing with velvet can be a rewarding experience. Remember to take your time, practice on scraps if needed, and enjoy the luxurious feel of velvet as you create your beautiful projects!