When it comes to the art of tailoring, one of the most important aspects is having the right tools. From measuring and cutting, to sewing and finishing, every tool plays a vital role in creating the perfect garment. And what better way to showcase these tools than with stunning images?

In this article, we will explore the different types of tailoring tools and the best ways to capture them through images. So whether you’re a professional tailor looking to enhance your portfolio, or just a hobbyist wanting to show off your skills, keep reading for some inspiration!
Measuring Tools
Before you can start cutting the fabric, you need to have accurate measurements. This is where measuring tools come into play. These tools include tapes, rulers, and curves, among others. To capture these tools in an image, it’s important to pay attention to the details. Make sure the numbers are visible and straight, and the edges of the tools are clean and sharp. You can also add a pop of color by using a bright measuring tape or including a colorful fabric in the background.
Cutting Tools
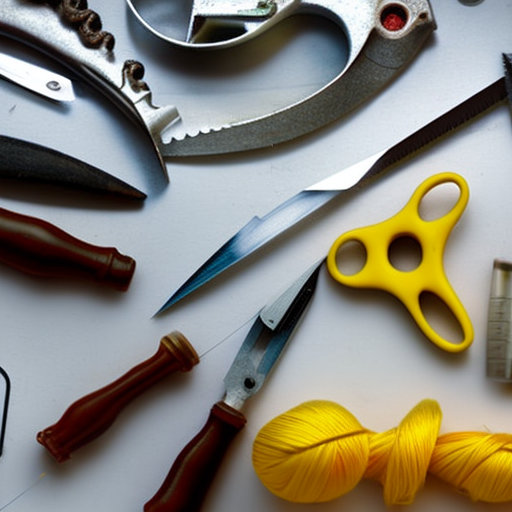
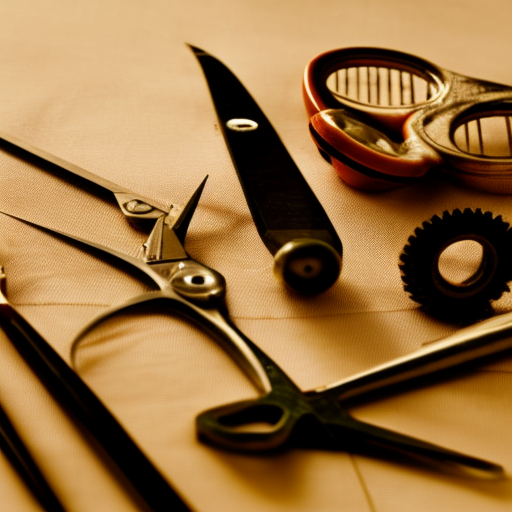
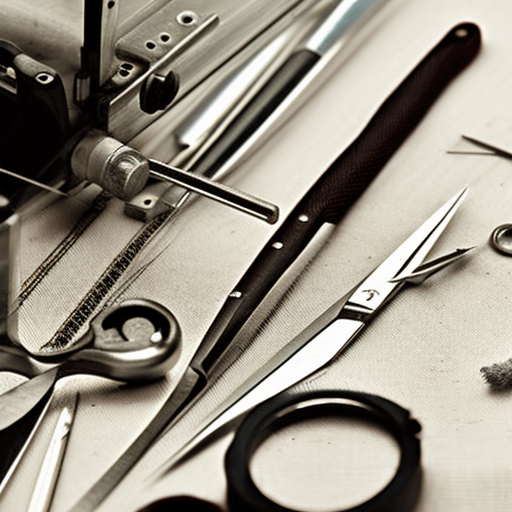
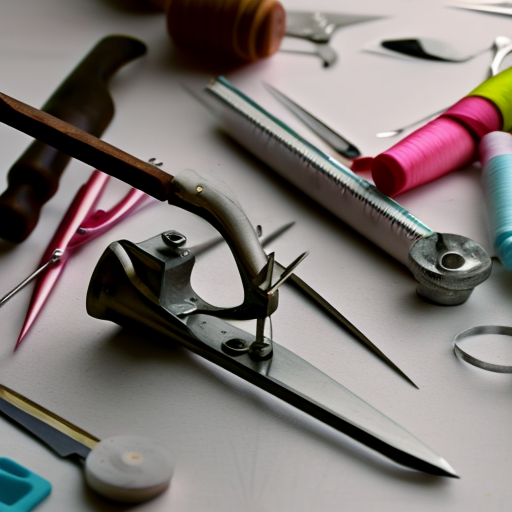
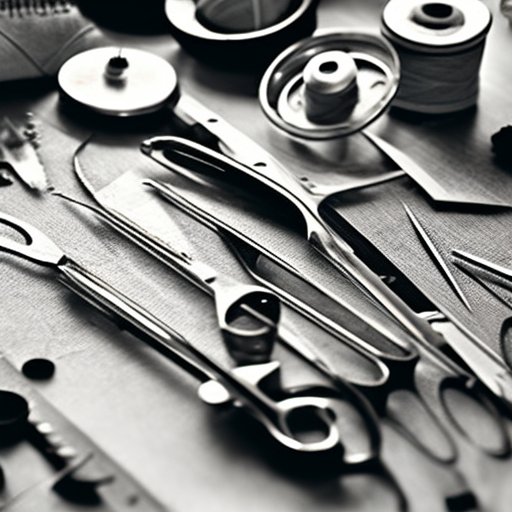
Once you have the measurements, it’s time to cut the fabric. Cutting tools are essential in achieving precise and clean edges. These tools include scissors, rotary cutters, and straight knives. When capturing these tools in an image, make sure to highlight the sharpness of the blades. You can also include a piece of fabric being cut to show the tools in action.
Sewing Tools
After the fabric is cut, it’s time to start sewing. Sewing tools are used to fasten the pieces of fabric together. These tools include needles, pins, and thimbles. When photographing these tools, consider adding some elements of the sewing process in the background. This could include spools of thread, different fabrics, or even a sewing machine.

Finishing Tools
Last but not least, finishing tools are used to give the final touches to a garment. These tools include ironing boards, irons, and pressing cloths. When photographing these tools, try to capture the steam coming out of the iron or the crispness of a just-ironed fabric. You can also include a well-finished garment in the image to show the tools in their full potential.

In Conclusion
Tailoring tools not only serve a functional purpose, but they can also be visually appealing. As a tailor, showcasing your tools through images can help you attract potential clients and highlight your skills. And as a photography enthusiast, capturing these tools can be a fun and creative project. So next time you’re in the sewing room, don’t forget to take some beautiful images of your tailoring tools!
Remember to pay attention to details, add elements of the tailoring process, and play with different angles and lighting. With these tips, you’ll be able to capture some stunning images that showcase the beauty and functionality of tailoring tools.
Now, if you’ll excuse me, I’m off to take some photos of my own tailoring tools!
Wow, love the images! Great collection!
Awesome collection! Very useful for anyone looking to get into tailoring. The details in the images are impressive and sure to be helpful to anyone just starting out.
Definitely an impressive array of tools!
Impressive! I’m sure these images will bring a lot of value to anyone who needs it.