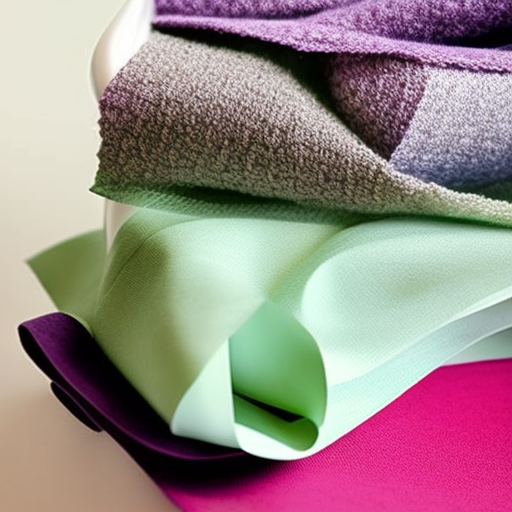

Velvet is a luxurious fabric that adds elegance and sophistication to any project. Its smooth, soft texture and rich appearance make it popular for various garments, upholstery, and other sewing creations. However, sewing with velvet can be a bit challenging due to its pile and delicate nature. To help you achieve flawless results with velvet, here are some essential tips to keep in mind:
1. Preparing Velvet
Bef’re starting your sewing project, it’s crucial to prepare the velvet fabric properly. Always pre-wash the fabric to remove any excess dye or shrinkage. Avoid using hot water or aggressive detergents that may damage the delicate fibers. Instead, opt for a gentle cycle with cold water. Once washed, let the fabric air dry by laying it flat to avoid any stretching.
2. Cutting Velvet
When cutting velvet, it’s important to consider its nap, which is the direction of the fabric’s pile. The nap gives velvet its unique look, as it reflects light differently depending on its orientation. To cut velvet accurately, lay it out on a flat surface with the nap going downwards. Make sure all pattern pieces are aligned with the nap in the same direction to maintain consistency in appearance.
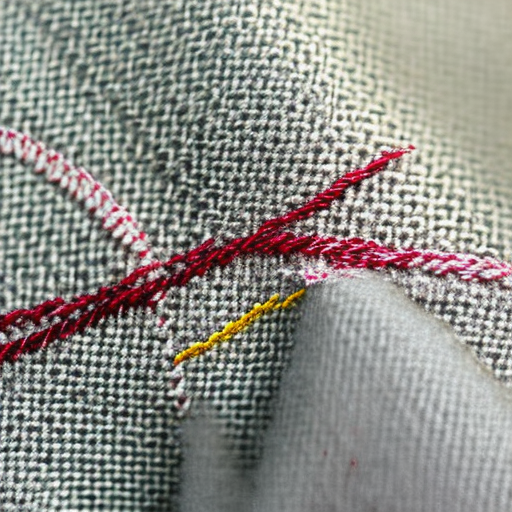
3. Pinning and Marking
Velvet is prone to pinholes, so when pinning the fabric, make sure to place the pins within the seam allowance to avoid visible marks on the finished product. Additionally, avoid using traditional tailor’s chalk, as it can be challenging to remove from velvet. Instead, opt for marking tools specifically designed for velvet, like chalk pencils or removable fabric markers.
4. Needle and Thread Choice
When it comes to sewing velvet, selecting the right needle and thread is crucial. Opt for a fine, sharp needle, such as a size 9 or 11. Using a smaller needle reduces the risk of damaging the fabric or leaving noticeable holes. In terms of thread, choose a high-quality polyester thread that matches the color of your fabric. Consider using a slightly longer stitch length to prevent puckering or pulling on the velvet.
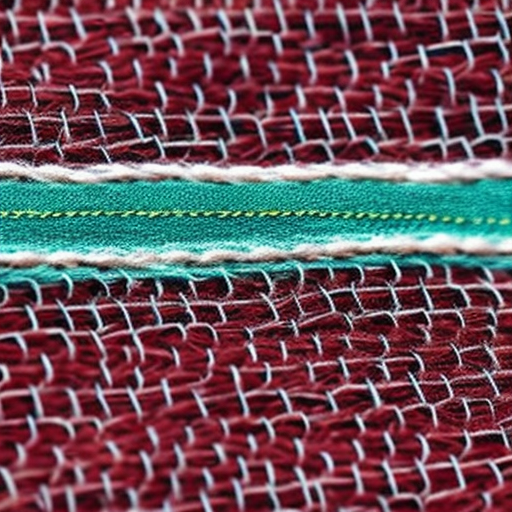
5. Seams and Finishing
When sewing seams on velvet, it’s best to use a technique that minimizes bulkiness and maintains the fabric’s luxurious appearance. French seams, for example, enclose the raw edges inside the seam, creating a neat and clean finish. Alternatively, you can trim the seam allowances and finish them with a serger or overlock stitch to reduce bulk. Always press the seams gently with a low-medium heat iron, using a pressing cloth to avoid flattening the velvet’s pile.
Remember these tips for sewing with velvet!
Sewing with velvet requires extra care, but the results are worth it!
By following these sewing tips, you can confidently work with velvet and create stunning projects with professional-looking results. Remember, practice makes perfect, so take your time and enjoy the process of sewing with this sumptuous fabric!