Sewing is a timeless skill that has been passed down from generation to generation. In today’s fast-paced world, the art of sewing is often overlooked, as we rely on mass-produced clothing items. However, learning to sew is not only a practical life skill but also a creative outlet and a way to express oneself through fashion.
As a teacher, it is important to instill a love for sewing in your students and equip them with the necessary knowledge and skills to become proficient in this craft. One crucial aspect of sewing that students must learn about is the different tools and equipment used in the process. Therefore, this lesson plan will outline all the essential sewing tools and equipment and how to use them correctly.
Objective
The objective of this lesson plan is to introduce students to the various tools and equipment needed for sewing. By the end of the lesson, students will be able to correctly identify and handle these tools and understand their purposes.
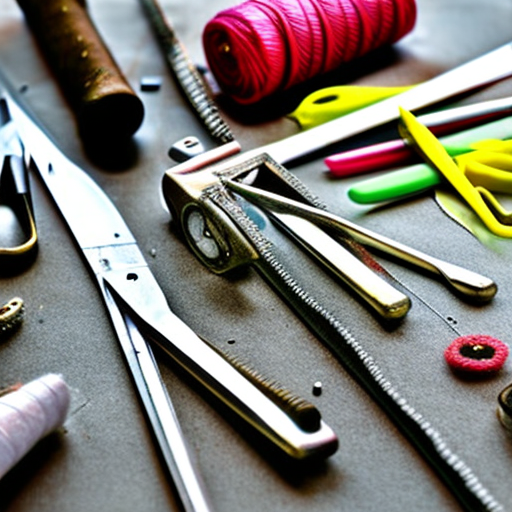
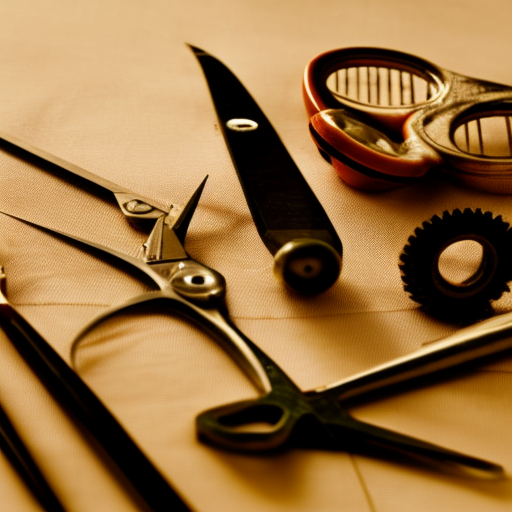
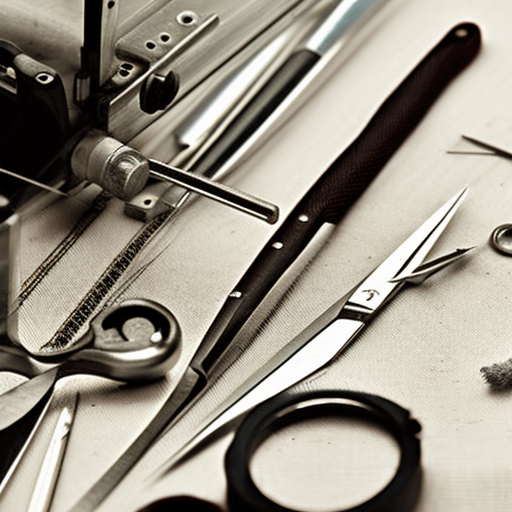
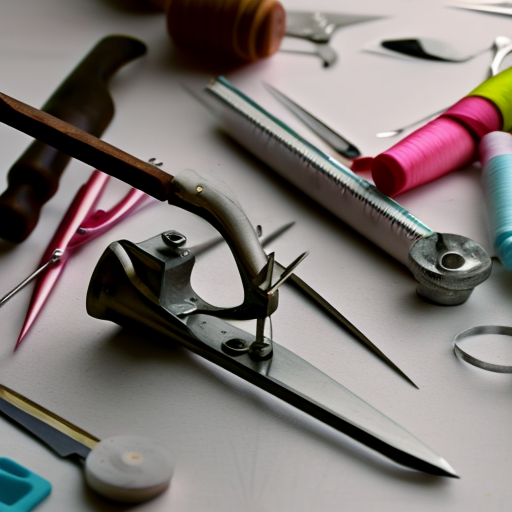
Materials Required
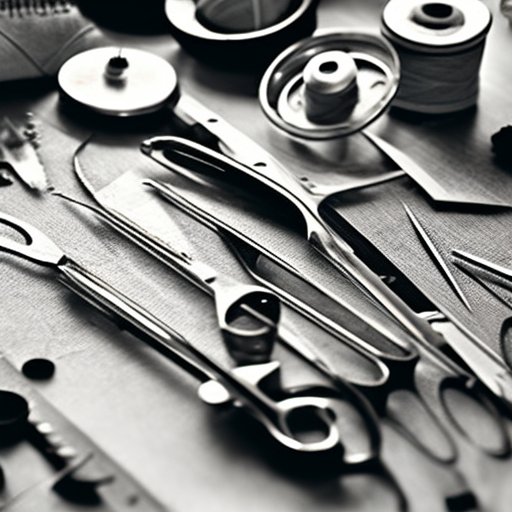
- Sewing Machine
- Scissors
- Pins
- Needles
- Seam Ripper
- Tape Measure
- Iron and Ironing Board
- Thimble
- Thread
- Fabric
- Pattern
- Paper
Introduction
Begin the lesson by discussing the importance of knowing the tools and equipment used in sewing. Talk about how each tool has a specific purpose and how using the wrong one can affect the quality of the final product. Show students the different tools and equipment, either through real objects or visual aids, and have them identify each one.
Activities
1. Scavenger Hunt
Divide the class into small groups and give each group a list of different sewing tools and equipment. Have them scour the room, looking for each item on the list. This activity will not only familiarize students with the tools but also encourage teamwork and communication.
2. Guessing Game
Place different sewing tools in a bag and have students pick out one item at a time. They must then guess the name and purpose of the tool. This activity will make the lesson more interactive and engaging for students.
3. Tool and Equipment Demonstration
Show students how to use each tool and equipment correctly. For example, demonstrate the correct way to hold scissors or thread a needle. This step is crucial as it will prevent any mishaps or injuries while sewing.
4. Making a Simple Project
After the demonstration, give students a simple project to work on, such as making a small pouch or a drawstring bag. This activity will allow them to practice using the tools and equipment they have learned about.
Conclusion
To conclude the lesson, have a class discussion about the importance of knowing the different sewing tools and equipment. Ask students about their favorite tools and which ones they found the most challenging to use. Remind them that practice makes perfect and encourage them to keep sewing as a hobby.
Learning about sewing tools and equipment is an essential step in becoming proficient at sewing. With this lesson plan, students will not only gain the necessary knowledge but also develop a love for sewing that will stay with them for years to come.
Remember, knowledge of sewing tools and equipment is just one part of becoming a skilled seamstress/seamster. As a teacher, it is also important to impart values such as patience, precision, and attention to detail, which are all crucial qualities needed for sewing. With the right tools, skills, and mindset, your students will be well on their way to becoming confident and proficient at sewing.
Great info here, thanks for sharing!
Awesome! This lesson plan will help teach the basics of sewing tools and equipment – a valuable skill to have!
Very helpful and informative!
Fabulous resource! Thank you for sharing.