Sewing Techniques for KS1

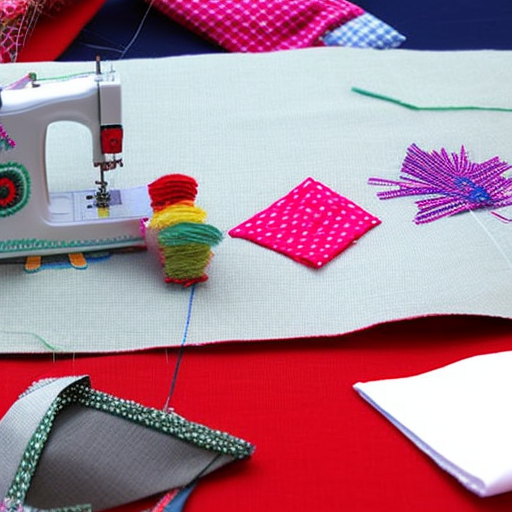
Sewing is a valuable skill that children can learn from a young age. It helps in developing their fine motor skills, creativity, and boosts their confidence in accomplishing tasks. In KS1 (Key Stage 1), children aged 5 to 7 can start exploring simple sewing techniques that are fun and age-appropriate.
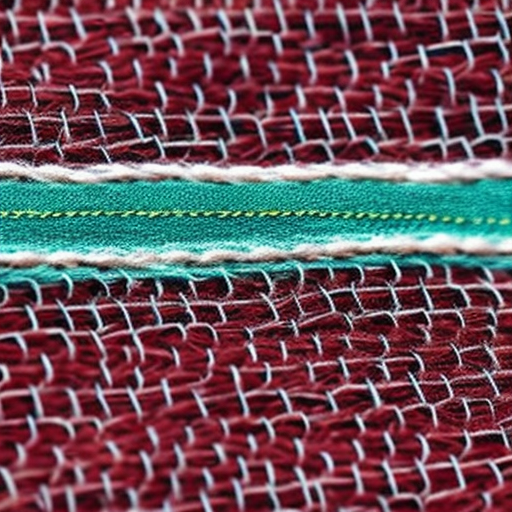
1. Running Stitch
The running stitch is one of the basic stitches that every child should learn. It involves passing the needle in and out of the fabric, creating a straight line of stitches. This stitch is perfect for securing two pieces of fabric together or creating simple designs.
Here’s how to do it:
- Start by threading the needle and knotting the end of the thread.
- Hold the fabric and gently push the needle from the back to the front, creating a small stitch.
- Repeat the previous step, keeping the stitches evenly spaced.
- Keep sewing until you reach the end. Secure the thread by making a knot at the back of the fabric.
2. Blanket Stitch
The blanket stitch is a decorative stitch that can be used to finish the edges of fabric or felt. It creates a looped effect and adds a nice touch to any sewing project.
Follow these steps to create a blanket stitch:
- Thread the needle and knot the end of the thread.
- Insert the needle from the back of the fabric, pulling it through to the front a short distance from the edge.
- Loop the thread over the edge of the fabric and insert the needle back into the same hole.
- Continue stitching evenly spaced loops along the edge until you reach the end.
- Secure the thread with a knot on the backside of the fabric.
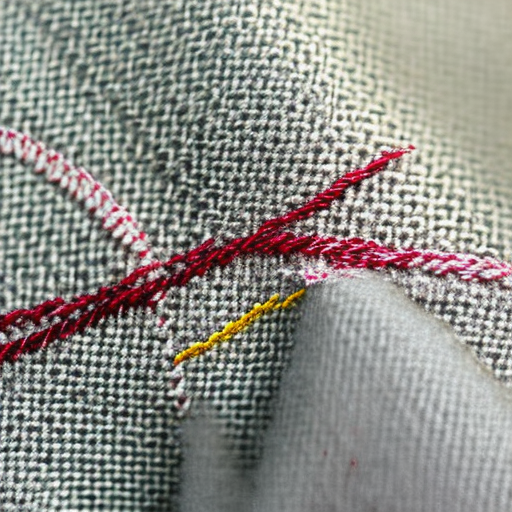
3. Cross Stitch
Cross stitch is a popular embroidery technique that involves creating X-shaped stitches to form patterns or designs. While it requires more precision and patience, it can be a rewarding skill to learn.
Follow these steps to create a cross stitch:
- Start by threading the needle with the desired color of embroidery floss.
- Refer to a cross stitch pattern or create your own design on the fabric by marking the spots where the stitches will go.
- Bring the needle up through the fabric at the bottom of the first stitch, forming a diagonal line.
- Insert the needle back down through the fabric at the top of the stitch, creating an X-shape.
- Continue stitching, following the pattern or design, until you complete the desired area.

Exploring these sewing techniques in KS1 can lay the foundation for more complex projects in the future. It’s important to supervise children during sewing activities and provide them with appropriate tools and materials.
Remember, sewing is not only educational but also a great way for kids to express their creativity and have fun!
Happy sewing!

Great post, must check this one out!
@LoganShaver: Agreed! This post is a great resource for anyone interested in learning the basics of sewing. It provides great step-by-step instructions that will easily get beginners started with the basics of stitching.