Learning to sew by hand is a valuable skill for beginners to acquire. It allows you to mend clothes, create unique decorations, and even embark on more complex projects. In this article, we will cover some essential sewing techniques to help you get started.
Choosing the Right Needle and Thread
Before you start sewing, it’s important to select the appropriate needle and thread. Choose a needle size based on the fabric you are working with - finer needles for delicate fabrics and heavier needles for thicker ones. Similarly, select a thread type that matches your fabric, considering factors such as color, weight, and durability.
Back Stitch
The back stitch is a basic and versatile technique that creates a strong and secure seam. Follow these steps to perform a back stitch:
- Insert the needle from the underside of the fabric, leaving a small tail of thread at the back.
- Bring the needle up a short distance ahead (around 0.25 inches) and insert it back down at the starting point.
- Next, bring the needle up a short distance ahead of the previous stitch, making sure it overlaps the previous stitch.
- Insert the needle back down at the end of the previous stitch.
- Repeat steps 3 and 4 until you finish the seam.
- To secure the stitch at the end, make a few small stitches in place or create a knot at the back.

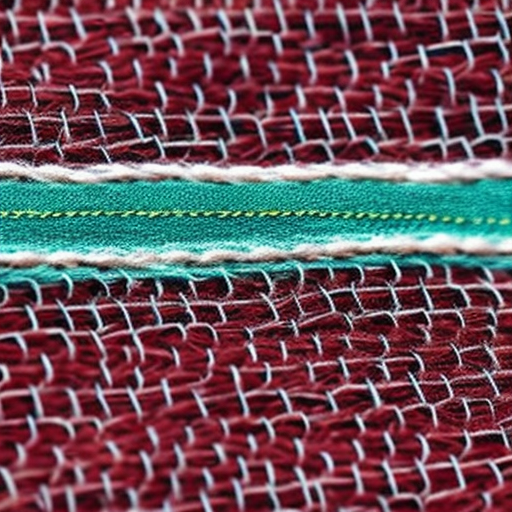
Illustration of back stitch technique
Running Stitch
The running stitch is another simple yet versatile sewing technique commonly used in hand sewing. It is perfect for basting, gathering fabric, or adding decorative elements. Follow these steps to execute a running stitch:
- Insert the needle from the underside of the fabric, leaving a small tail of thread at the back.
- Bring the needle up a short distance ahead and insert it back down at a slightly longer distance ahead.
- Continue the process, creating evenly spaced stitches.
- For better precision, use the spaces between the fabric’s threads as a guide.
- To secure the stitch at the end, make a few small stitches in place or create a knot at the back.

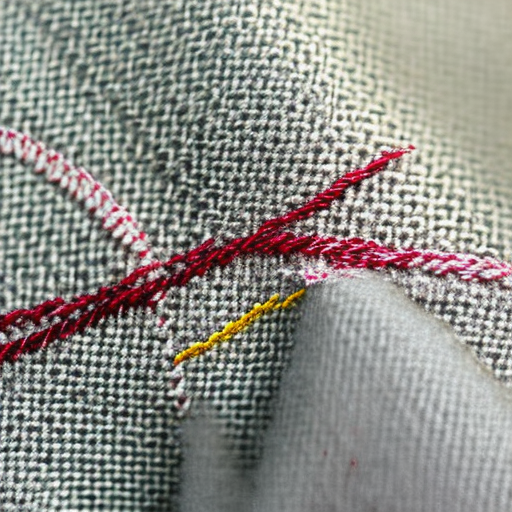
Illustration of running stitch technique
Whip Stitch
The whip stitch is a useful technique for joining two edges or finishing raw edges. It creates a neat and visible seam. Follow these steps to perform a whip stitch:
- Align the edges of the fabric you want to join or finish.
- Insert the needle from one side and bring it out on the opposite side, creating a diagonal stitch across the edges.
- Repeat the process, ensuring each stitch catches both edges.
- To secure the stitch at the end, make a few small stitches in place or create a knot at the back.

Illustration of whip stitch technique
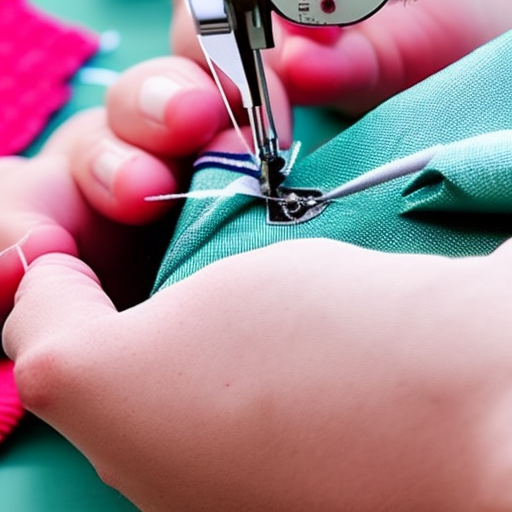
Remember, practice makes perfect! As a beginner, take your time and experiment with different techniques, fabrics, and threads. With patience and diligence, your hand-sewn projects will improve and open up a world of creative possibilities! Happy sewing!
Note: All images used in this article are for illustrative purposes only.