Accidents happen, and one common problem we often face is holes in our clothes or other fabrics. However, there is no need to panic when you find a hole; sewing stitches can come to your rescue and save your favorite piece of clothing. Whether it’s a small tear or a larger hole, knowing a few basic sewing stitches can help you mend them with ease.
Materials You’ll Need
- A needle suitable for the fabric type (thimble optional)
- Thread matching the fabric color
- Scissors
- Pins
- A fabric patch or a scrap fabric piece (optional for larger holes)
Basic Sewing Stitches
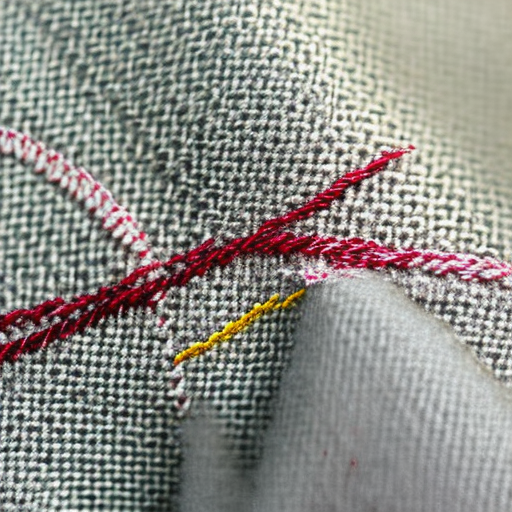
1. Straight Stitch: The straight stitch is the most commonly used stitch for repairing small holes. To sew a straight stitch, follow these steps:
- Thread the needle and tie a knot at one end of the thread.
- From the backside of the fabric, bring the needle up through the hole.
- Insert the needle diagonally across the hole and push it back down through the fabric.
- Repeat this process, making small, evenly-spaced stitches until the hole is completely repaired.
- Knot the thread on the backside of the fabric to secure it, and trim any excess thread.
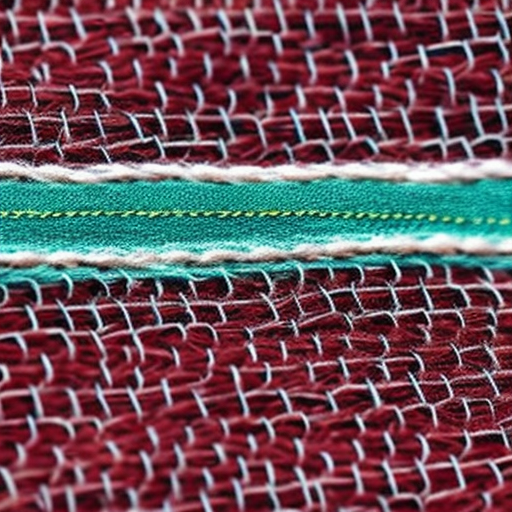
2. Running Stitch: The running stitch is another simple and effective stitch to fix holes. It is especially useful for longer tears or seams that have come apart. Here’s how to do it:
- Thread the needle and tie a knot at one end of the thread.
- From the backside of the fabric, bring the needle up through one end of the hole.
- Insert the needle back down through the fabric a short distance away, creating a small running stitch.
- Continue this in-and-out motion, creating evenly spaced stitches, until the hole is repaired.
- Knot the thread on the backside of the fabric and trim any excess thread.
3. Zigzag Stitch: The zigzag stitch is perfect for repairing larger holes or reinforcing weak areas. To sew a zigzag stitch:
- Thread the needle and tie a knot at one end of the thread.
- From the backside of the fabric, bring the needle up through one corner of the hole.
- Insert the needle diagonally across the hole to the opposite corner.
- Continue moving the needle back and forth diagonally across the hole until it is fully covered with stitches.
- Knot the thread on the backside of the fabric and trim any excess thread.
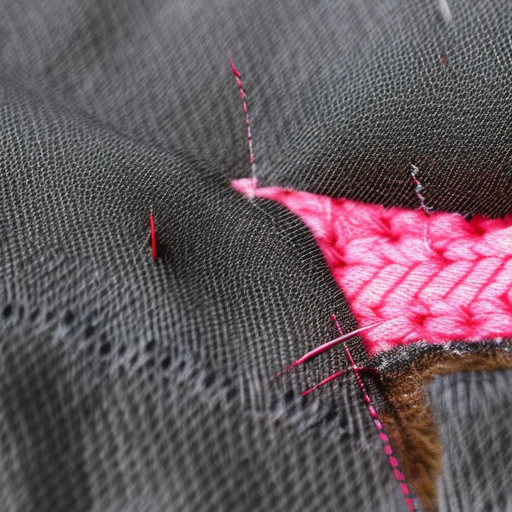
When to Use a Fabric Patch
For larger holes or tears, using a fabric patch provides more strength and stability. Here’s how to repair a hole using a fabric patch:
- Cut a fabric patch that is larger than the hole. The patch should be of a similar fabric type and color.
- Place the patch on the backside of the hole.
- Pin the patch in place, ensuring it covers the entire hole.
- Thread the needle and tie a knot at one end.
- Starting from the backside, sew around the edge of the patch, stitching it to the fabric. Use a straight stitch or a zigzag stitch for this.
- Knot the thread on the backside of the fabric, trim any excess thread, and remove the pins.
By following these simple sewing stitches and techniques, you no longer have to say goodbye to your favorite clothes due to holes or tears. With a bit of patience and practice, you can extend the life of your garments and enjoy them for years to come!