
The art of sewing has been practiced for centuries, and various techniques have been developed to create beautiful and durable stitches. Among these techniques are sewing stitches buttons. Buttons not only provide functionality to garments, but they can also be decorative, adding a touch of style to any clothing item or accessory.
The Importance of Choosing the Right Button
When it comes to sewing stitches buttons, choosing the right button is crucial. The type, size, and material of the button can all impact the way it complements the fabric and enhances the overall appearance of the project. The button should be durable enough to withstand regular use and washing while also blending seamlessly with the fabric.
Types of
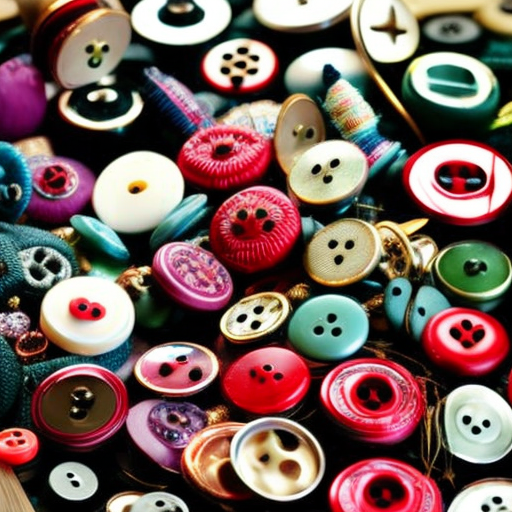
There are various types of buttons that can be used in sewing stitches, each with its own unique characteristics:
- Flat buttons: These buttons have two or four holes, making them suitable for basic stitching techniques. They are commonly used for shirts, blouses, and other lightweight garments.
- Shank buttons: These buttons have a loop or shank on the back, allowing room for fabric, such as in jackets, coats, and heavy fabrics. They can be sewn on without much pressure on the fabric.
- Toggle buttons: This style of button consists of a bar or loop and is commonly used in jackets or coats. They add a classy and functional touch to outerwear garments.
- Decorative buttons: These buttons are often unique in design and add an element of creativity to garments or accessories. They can be made of various materials, like metal, wood, or even gemstones.
Tips for
When sewing stitches buttons, there are a few tips to keep in mind to ensure a professional finish:
- Thread selection: Use the appropriate thread for the fabric and button. A strong, durable thread is usually recommended for buttons that will experience tension or stress.
- Marking placement: Before sewing a button, mark its placement on the fabric with chalk or a removable fabric marker. This will ensure accurate button positioning.
- Reinforcing the button: For added durability, reinforce the button by sewing through its holes multiple times or by creating an “X” pattern over the button.
- Button spacing: Consider the spacing between buttons to maintain the garment’s integrity and prevent gaping or pulling.
- Mix and match: Be creative and experiment with different button styles and sizes to create unique and eye-catching designs.
Now that you are familiar with sewing stitches buttons, it’s time to grab your needle, thread, and buttons to embark on your sewing journey. Remember, the right button selection, proper sewing techniques, and attention to detail will result in stunning garments and accessories that truly stand out!