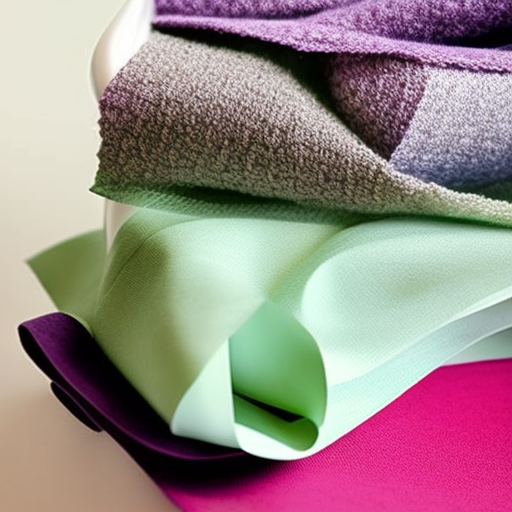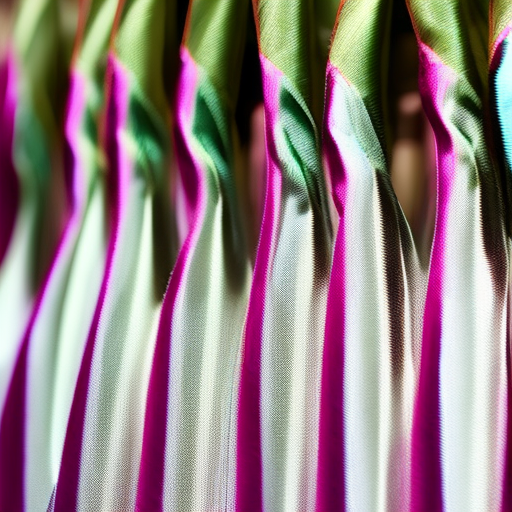
Silk is a luxurious fabric that requires special care and attention when sewing. Whether you’re a beginner or experienced seamstress, these tips will help you achieve beautiful results when working with silk fabrics.
1. Choose the Right Needle and Thread
When sewing silk, it’s crucial to use a fine needle that won’t damage the delicate fabric. Opt for a sharp, thin needle specially designed for silk or microfibers. Additionally, use a high-quality silk thread that matches the fabric’s color for seamless stitches.
2. Preparing the Fabric
Before starting your project, make sure to prewash the silk fabric according to the manufacturer’s instructions to remove any finishes or chemicals that may affect the final result. Be gentle when washing or ironing silk and use mild detergent.
Pro Tip: Test a small area of the fabric by running a hot iron over it to check for any potential damage or discoloration.
3. Pinning and Cutting Silk
When pinning silk, use thin, sharp pins to avoid leaving noticeable holes in the fabric. Place the pins within the seam allowance to prevent them from leaving visible marks on the right side of the fabric. For cutting, use sharp fabric scissors or a rotary cutter to ensure clean edges without fraying.

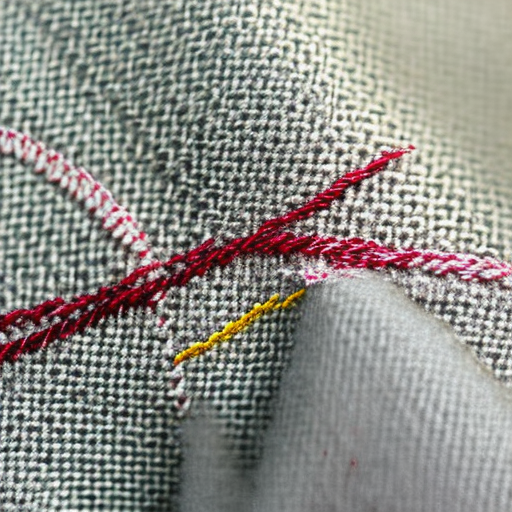
4. Adjusting Tension and Stitch Length
When sewing silk, adjust your sewing machine’s tension to a lower setting to avoid puckering or gathering. A longer stitch length (around 2.5mm) is preferable to prevent excessive perforation on the fabric. Always test your settings on a scrap piece of fabric before sewing the actual project.
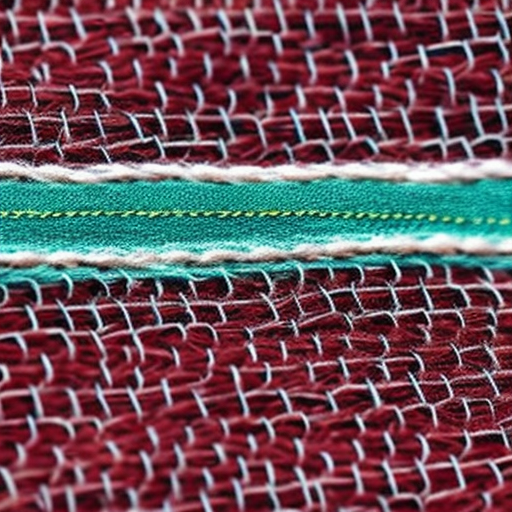
5. Finishing Techniques
For seam finishing, consider using French seams or flat-felled seams to enclose the raw edges neatly. These techniques prevent fraying and result in a more professional-looking finish. Alternatively, you can also apply delicate rolled hems or bias binding.
- French Seam: Ideal for lightweight silks, this seam hides the raw edges inside itself for a clean finish.
- Flat-Felled Seam: Suitable for silk garments that require more durability, this type of seam sandwiches the raw edges between multiple folds.
- Rolled Hem: A rolled hem is perfect for finishing silk edges elegantly. It involves folding and stitching the edge to create a narrow, tidy hem.
- Bias Binding: Bias binding is a fabric strip cut on the bias, which is sewn over the fabric’s raw edges to create a decorative and sturdy finish.
6. Pressing Silk Seam Allowances
When pressing silk seams, use a cool iron setting or use a pressing cloth to avoid scorching or leaving shiny marks on the fabric. Gently press the seams open or to one side, depending on the project’s requirements.
7. Never Skip a Test Stitch
Lastly, always perform a test stitch on a scrap piece of silk fabric before beginning your actual sewing. This allows you to adjust the machine settings if needed, and ensures that you’re happy with the stitch quality and appearance.
By following these sewing silk tips, you’ll be able to handle silk fabrics with confidence and create elegant garments or accessories that showcase the fabric’s natural beauty. Happy sewing!