
Ruching is a beautiful sewing technique that adds texture, depth, and visual interest to garments and accessories. It involves gathering fabric in a controlled manner to create soft pleats or ripples, resulting in a unique and elegant look. Ruching can be applied to various projects, from adding detail to a dress or blouse to embellishing accessories like headbands and handbags.
Types of Ruching Techniques
There are several methods for achieving ruched effects, each with its own distinctive look. Here are a few common techniques:
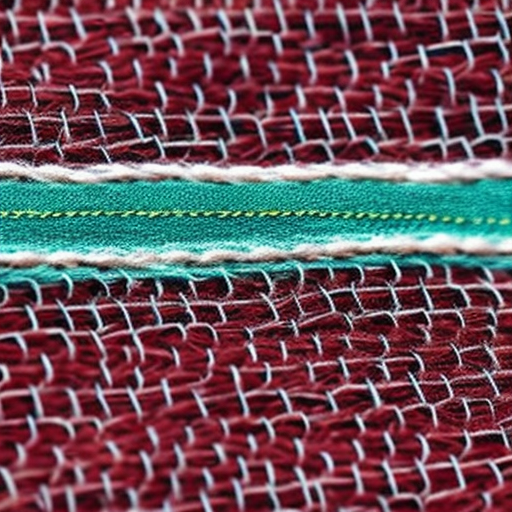
- Gathered Ruching: This technique involves stitching parallel rows of long, loose stitches on the fabric and then pulling the threads to gather the fabric into beautiful, even pleats. It is often used to add fullness and dimension to sleeves, bodices, or skirts.
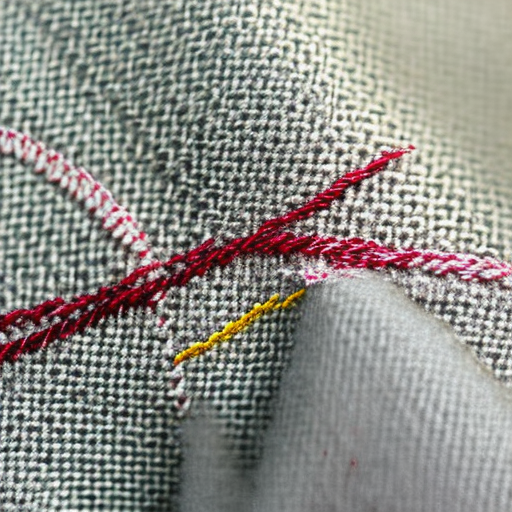
- Pintuck Ruching: Pintucks are tiny folds of fabric stitched parallel to one another. When created at regular intervals and gathered together, they form delicate textured lines. Pintuck ruching is commonly used to accent collars, cuffs, or yokes, giving them a touch of sophistication.
- Elastic Ruching: This method involves sewing elastic directly onto the fabric in parallel rows. As the elastic stretches, it creates gathers along its length. Elastic ruching is frequently used in waistbands, sleeves, or neckline inserts to add a comfortable and adjustable ruched effect.
Tips for Sewing Ruching
Whether you are a beginner or an experienced seamstress, these tips will help you achieve flawless ruching:
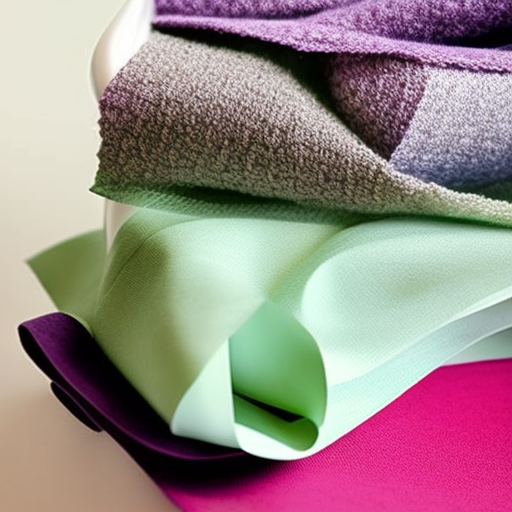
- Select the Right Fabric: Not all fabrics are created equal when it comes to ruching. Lightweight and semi-sheer fabrics such as chiffon, organza, or lightweight cotton are ideal for creating soft and delicate ruched effects. Avoid heavy or stiff fabrics that may resist gathering and look bulky.
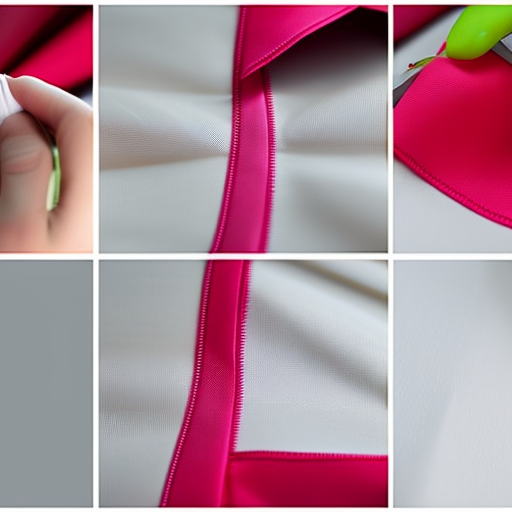
- Prepare Your Fabric: Before starting, it’s important to stabilize your fabric to ensure the ruched effect remains in place. You can use lightweight interfacing or stabilizer on the wrong side of the fabric or attach a strip of fusible tape along the stitching line.
- Experiment with Stitch Length: The length of your stitches will determine the tightness of the ruched effect. Longer stitches create looser gathers, while shorter stitches give a more pronounced and defined look. Make sure to test different stitch lengths on a scrap fabric to achieve your desired result.
- Evenly Distribute the Fabric: While gathering the fabric, distribute the gathers evenly across the entire piece to avoid an unbalanced or lopsided appearance. Take your time and adjust the gathers until you achieve a visually pleasing distribution.
- Secure and Finish: Once you achieve the desired ruched effect, press the gathered fabric gently to set the pleats. To ensure the gathers stay in place, stitch along the edges or apply a thin line of fabric glue. Additionally, don’t forget to finish the raw edges of your fabric to prevent fraying.
With these techniques and tips in mind, you can explore the world of ruching and add an exquisite touch to your sewing projects. Whether you’re aiming for a vintage-inspired or contemporary look, ruching offers endless possibilities for creating unique and visually captivating designs.