
Introduction
If you’re new to sewing or simply want to improve your skills when working with stretchy fabrics like Lycra, you’ve come to the right place! Sewing with Lycra can be a bit challenging due to its slippery nature and elasticity. However, with the right techniques and tips, you’ll be able to create stunning and comfortable garments effortlessly.
Choose the Right Needle and Thread
When sewing with Lycra, it’s crucial to use the correct needle and thread to ensure seamless and durable seams. Opt for a ballpoint needle, which will glide through the fabric without tearing or damaging it. As for the thread, polyester or nylon threads are recommended as they offer excellent stretch and strength.
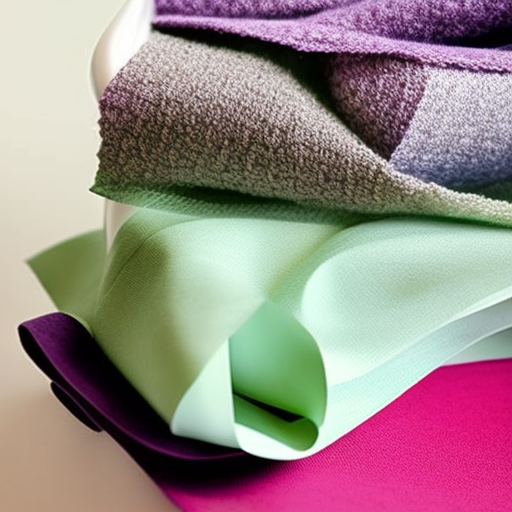
Prepping and Cutting the Fabric
Before you start sewing, it’s important to prewash your Lycra fabric to prevent any potential shrinkage that might occur later. Once prewashed and dried, lay the fabric flat on a cutting mat and use sharp fabric scissors or a rotary cutter to cut your pattern pieces. Pinning your pattern to the fabric may cause unnecessary stretching, so consider using pattern weights or fabric clips instead.
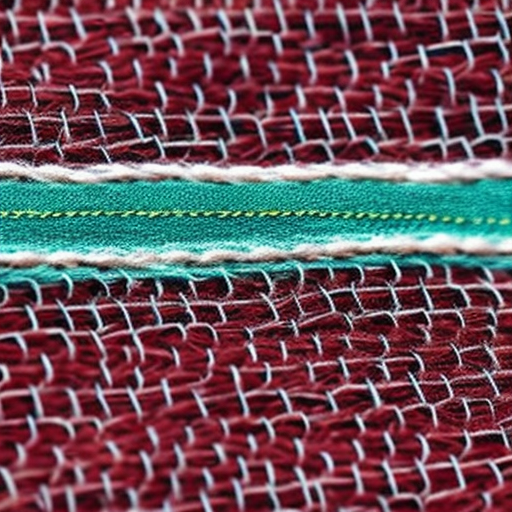
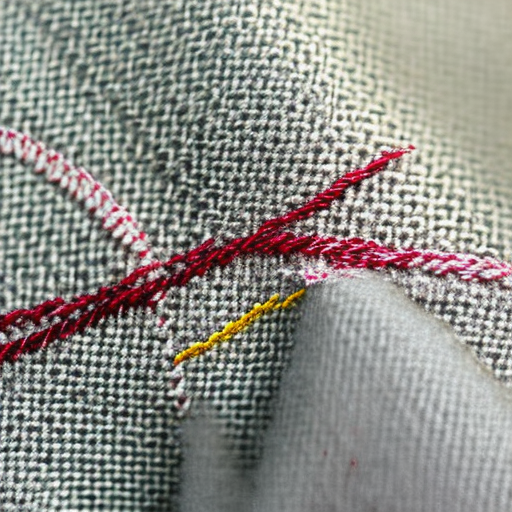
Stretch Stitches and Techniques
Using the right stitches and techniques is crucial to maintain the stretchiness and structural integrity of your Lycra garments.
- Straight stitch: While straight stitches are commonly used, they lack stretchability. It’s best to reserve them for areas that don’t need much stretch, such as hems.
- Zigzag stitch: Zigzag stitches are perfect for Lycra fabric. Set your machine to a medium-width zigzag stitch, which allows the fabric to stretch without breaking the thread.
- Twin needle: A twin needle creates parallel rows of stitches on the right side of the fabric, resembling a professional finish. This technique is ideal for finishing hems, necklines, and other areas that require stretch.
Handle with Care
Due to Lycra’s delicate nature, it’s crucial to handle it gently throughout the sewing process to avoid unnecessary stretching or distortion. Avoid pulling or tugging the fabric when feeding it through the sewing machine. Additionally, using an even-feed or walking foot attachment can help prevent fabric slippage during stitching.
Test and Adjust
Before stitching your final garment, it’s recommended to test your stitches on a fabric scrap. This will give you the opportunity to check the thread tension, stitch length, and ensure that the stitches adequately accommodate the fabric’s stretchiness. Make any necessary adjustments to your sewing machine settings before proceeding with the project.
| Tip | Description |
|---|---|
| Use a serger or overlocker | These machines offer professional finishes and effectively prevent fraying in stretch fabrics. |
| Take breaks and stretch | Sewing for extended periods can strain your wrists and hands. Take regular breaks and stretch to avoid discomfort. |
| Experiment with decorative stitches | Lycra allows for numerous creative opportunities. Try using decorative stitches on your projects for added flair. |
With these essential tips, you’re now ready to start sewing with Lycra confidently. Remember, it may take a few practice runs to master the techniques, so don’t get discouraged. With time and patience, you’ll be stitching fabulous Lycra creations that fit and feel incredible!