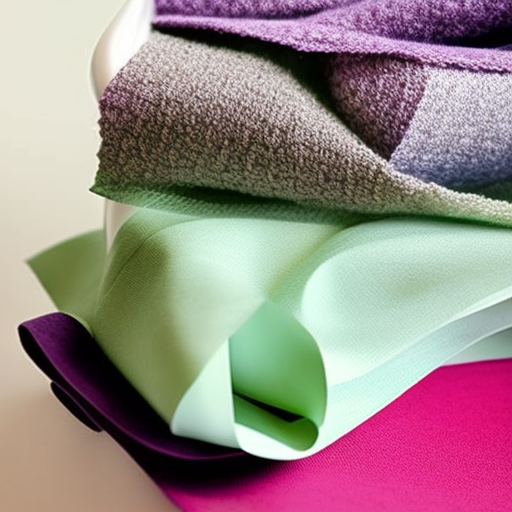

When it comes to sewing, mitering corners is an essential technique that gives your projects a polished and professional finish. Whether you’re working on quilts, tablecloths, or any other project with corners, mastering this technique can greatly enhance the overall look of your sewing projects. In this guide, we’ll walk you through the steps of sewing how to miter corners.
Step-by-Step Guide:
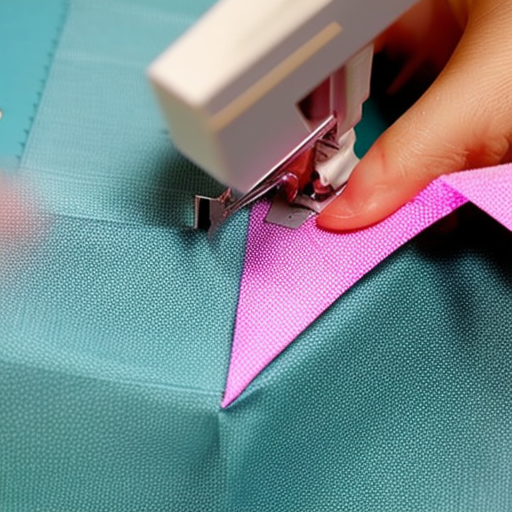
- Start by folding and pressing the fabric along one edge. This will create a 45-degree angle at the corner.
- Next, fold and press the adjacent side of the fabric, aligning it with the folded edge from the previous step. You should now have a triangular fold at the corner.
- Pin the layers together to secure them in place.
- Using a sewing machine or needle and thread, stitch along the folded edge, starting from the corner and moving towards the outer edge of the fabric.
- Repeat these steps for each corner of your project.
With practice, your mitered corners will become crisp and seamless, adding an elegant touch to your sewing projects. Remember to take your time and be precise in your folding and stitching to achieve the best results.
Now that you have learned how to miter corners, you can apply this technique to a variety of sewing projects. From adding decorative elements to creating clean and professional finishes, mitering corners is a skill that every sewing enthusiast should have in their toolbox.
So, go ahead and give it a try! Take your sewing skills to the next level by incorporating this technique into your future projects. Experiment with different fabrics and designs to see the transformative effect mitered corners can have.
Happy sewing!