– A Step-by-Step Guide

Are you interested in adding a professional-looking finishing touch to your sewing projects? Piping can give any item a polished and custom look. Whether you want to enhance the edges of a pillow, a garment, or any other fabric project, making your own piping is easier than you might think. Here’s a step-by-step guide to help you get started with making your own piping.
Materials You’ll Need:
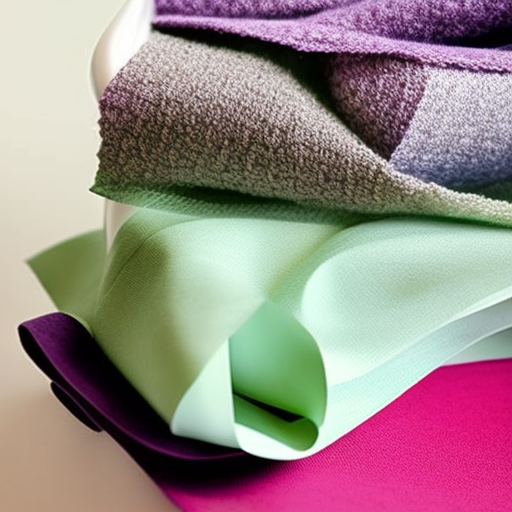
- Fabric of your choice
- Cotton cord (size may vary based on the desired thickness of piping)
- Rotary cutter or fabric scissors
- Piping foot for your sewing machine (optional, but recommended)
- Thread matching the fabric
- Sewing machine
- Pins
- Ruler or measuring tape
- Iron and ironing board
Step 1: Cutting the Fabric Strips
Start by determining the desired width of your piping. Measure the circumference of the cord and add the desired seam allowance. Typically, a 1/4 inch or 1/2 inch seam allowance works well. Cut fabric strips on the bias (45-degree angle to the grain) with a width according to your measurement.
Step 2: Creating the Piping
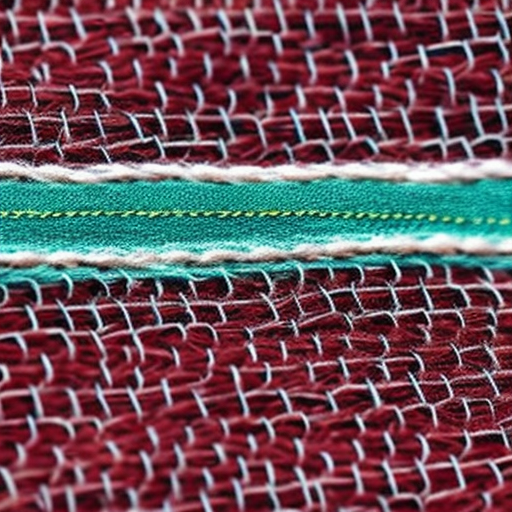
Place the cord in the center of the fabric strip, wrong side up. Fold the strip in half, enclosing the cord, aligning the raw edges. Pin or use wonder clips to secure the fabric layers together.

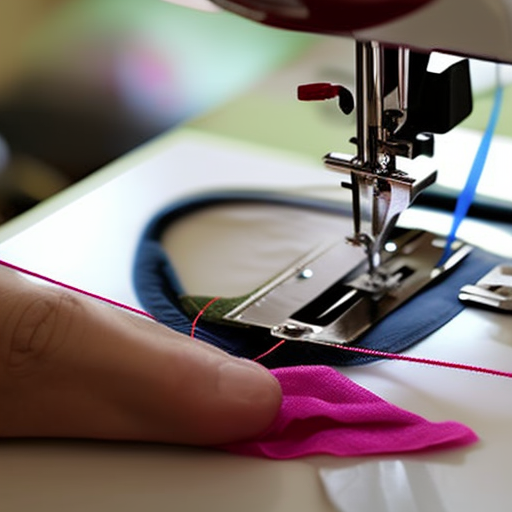
Step 3: Sewing the Piping
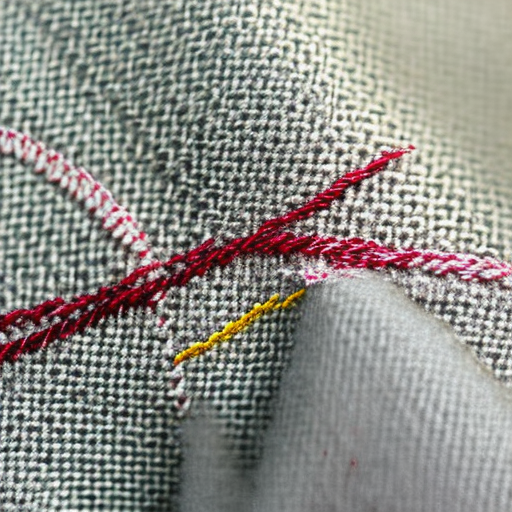
Attach the piping foot to your sewing machine (if available) and adjust the needle position to get as close to the cord as possible. Stitch along the entire length of the fabric strip, staying close to the cord. Be sure to remove the pins or clips as you sew.
Step 4: Trimming Excess Fabric
Trim any excess fabric from the seam allowance, leaving about 1/8 to 1/4 inch to prevent bulkiness in the final project.
Step 5: Pressing and Finishing
With the wrong side up, gently press the sewn piping to flatten the fabric and shape the piping. Use an iron set to the appropriate temperature for your fabric. Make sure not to melt the cord inside. Your piping is now ready to be incorporated into your sewing project!
Whether you’re adding piping to a clothing item, cushions, or home decor projects, mastering this sewing technique will elevate your creations to a new level of sophistication. So grab your supplies and start making your own piping today!
Additional Tips:
- Practice on scrap fabric to perfect your piping-making skills before attempting it on your actual project.
- Experiment with different fabric combinations and cord sizes to achieve varying effects.
- When attaching the piping to your project, use pins or wonder clips to keep it in place before sewing.
- Consider using a contrasting color for your piping to create a bold or playful look.
- Be patient and take your time while sewing to achieve clean and professional results.
With a little practice and creativity, you’ll soon become proficient at making your own piping. Enjoy the process and have fun adding this beautiful detail to your sewing projects!