Sewing: How To End

Sewing is a wonderful skill that allows you to create beautiful garments, home decor, and accessories. However, knowing how to properly end your sewing projects is essential to ensure a clean and professional finish. Here are some tips on how to end your sewing projects with finesse:
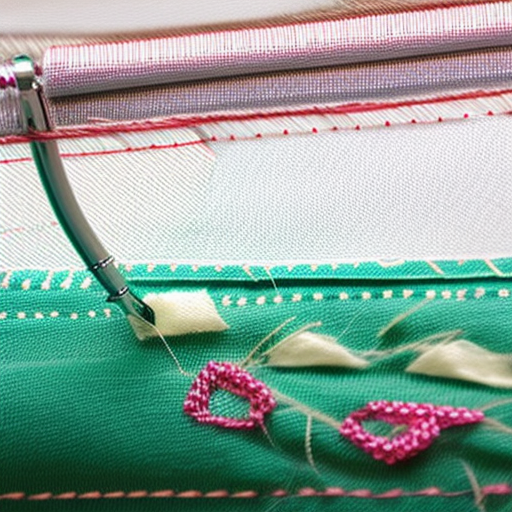
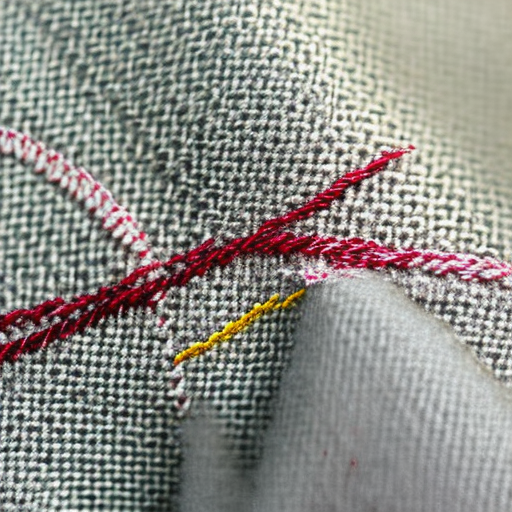
- Backstitch: Whenever you reach the end of a seam, it’s important to backstitch to secure the stitches. Simply reverse your stitching a few stitches, then sew forward again to create a small reinforcement at the seam’s end.
- Trimming Threads: After backstitching, carefully trim the excess threads close to the fabric. Be cautious not to cut through the stitches, ensuring a neat and tidy appearance.
- Knotting: For hand sewing projects, tying a knot at the end of your thread is crucial to prevent unraveling. Make a small loop with the needle, pass the needle through the loop, and tighten carefully to secure the knot.
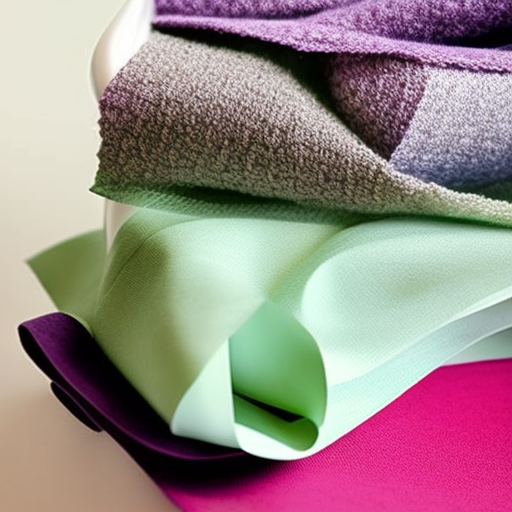
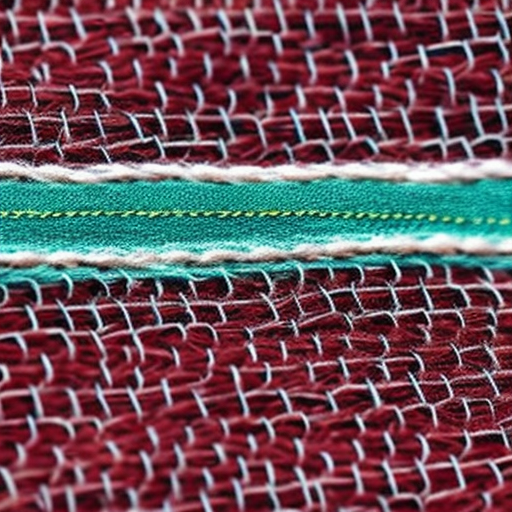
- Finishing Edges: If you want to prevent fraying, consider finishing the edges of your fabric before ending your sewing project. Methods like serging, using pinking shears, or folding and stitching a narrow hem are common techniques that add durability and a polished touch.
- Pressing: To achieve professional-looking results, don’t forget to press your final sewn project. The iron will help flatten any wrinkles and set the stitches, giving your sewing an overall crisp appearance.
Remember, taking the time to properly end your sewing projects will greatly enhance their final appearance and durability. With these simple techniques, you can ensure that your creations have a clean, neat finish that will impress yourself and others.
Happy sewing!

Life hack – if you’re stuck, here’s a great video tutorial for finishing a project!
Great tutorial! Really helpful tips!
This is perfect for beginners or those who need a quick refresher! It’s so detailed and helpful, and the video tutorial makes it even easier to follow. I’m really glad Lora Isom shared this life hack – it’s already saved me a ton of time stitching projects!
Such an awesome resource! I’m so glad you shared it – it’ll definitely come in handy 🙂
Definitely bookmarking this post – this will come in handy for all my future sewing projects! Thanks for sharing such a great how-to!