
Introduction
Sewing elastic bands is an essential skill for creating comfortable and flexible garments. Whether you are
making waistbands, cuffs, or gathering fabric, elastic bands offer both functionality and style. This article
will guide you through the steps of sewing elastic bands, ensuring a secure and professional-looking finish.
Step 1: Choosing the Right Elastic

There are different types of elastic bands available, such as woven or knitted, braided or knitted, and clear
elastic. Choose the appropriate elastic based on your project requirements. For heavy-duty applications,
sturdy woven elastic bands work well, whereas lightweight fabrics may require softer knitted elastics.
Additionally, consider the width of the elastic band. Thicker elastics provide more support, while narrower
ones are suitable for delicate fabrics.
Step 2: Measuring and Preparing the Elastic
- Measure the elastic: Wrap the elastic around the area where it will be used, ensuring a
snug fit without being too tight. - Trim the elastic: Cut the measured elastic with sharp scissors, allowing a small overlap
for stitching. - Prepare the ends: To prevent fraying, use a zigzag stitch or apply fray stopper to the
cut ends of the elastic.
Step 3: Attaching the Elastic
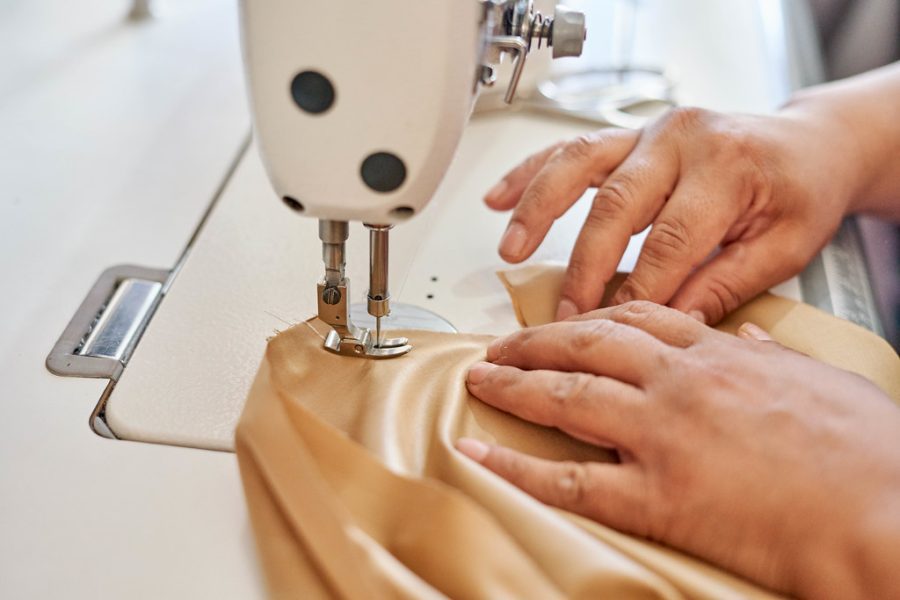
- Position the elastic: Pin the elastic to your fabric, evenly distributing the tension or
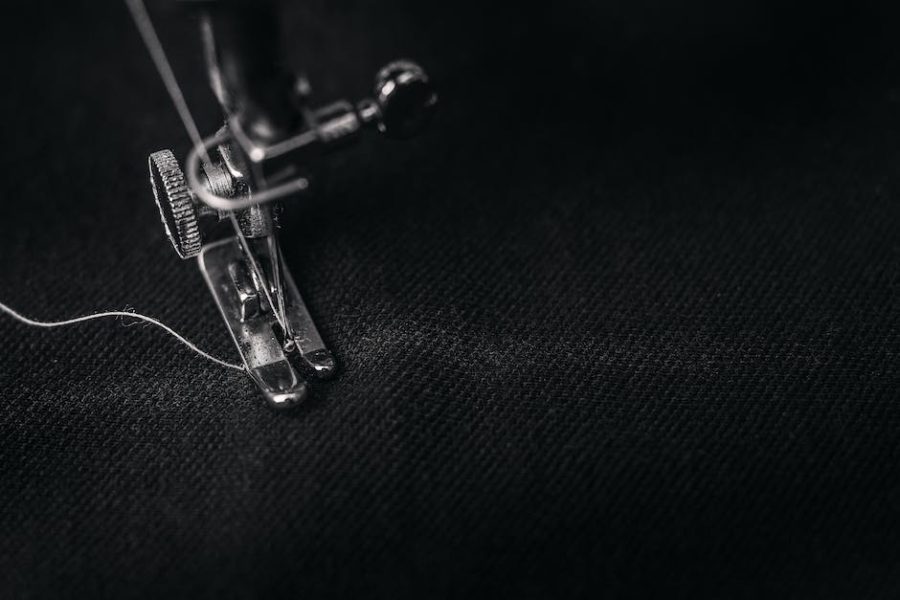
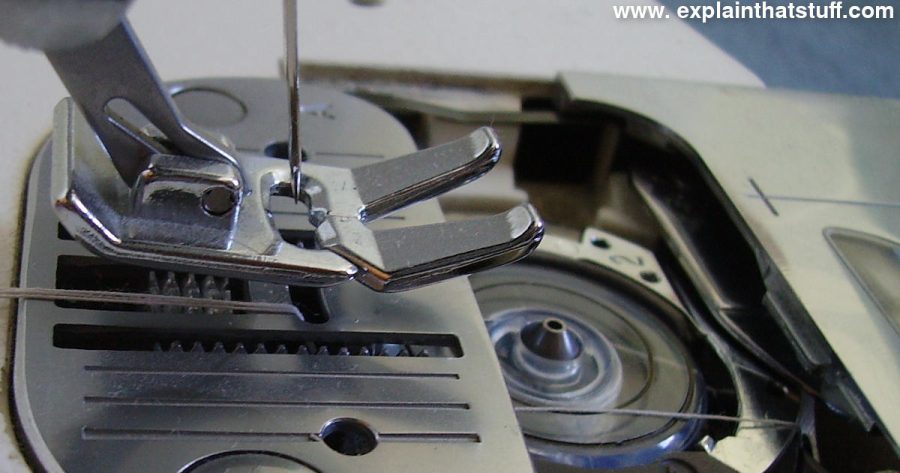
creating gathers, as desired. - Prepare your sewing machine: Use a zigzag or stretch stitch to secure the elastic. Set
your machine to a stretch stitch, adjusting the stitch length and width as necessary. - Sew the elastic: Sew along the edge of the elastic, ensuring it lays flat against the
fabric. Gently pull the fabric to match the elastic’s length as you sew. - Finishing touches: Once the elastic is stitched, check that it is secure and evenly
attached. Trim any excess thread and remove any pins used for positioning.
Step 4: Final Adjustments
Try on your garment or fabric item to check the elastic’s effectiveness and fit. Make any necessary
adjustments by repositioning, shortening, or lengthening the elastic.
Tips and Tricks
- Practice on scrap fabric before sewing elastic onto your main project.
- Ensure the tension of the elastic is appropriate. It should be snug but still comfortable.
- For a more decorative look, consider using patterned or colored elastics.
- Use matching thread to create a seamless appearance.
Conclusion
Now that you have learned how to sew elastic bands with our step-by-step guide, you can confidently
incorporate this technique into your sewing projects. Elastic bands provide ease of movement and a polished
finish, ensuring comfortable and stylish garments every time.