
Introduction
Sewing cover stitches is an essential technique in garment making and finishing. Cover stitches provide a professional
appearance to hems, edges, and seams, making them ideal for a wide range of projects, such as t-shirts, activewear,
lingerie, and home decor items. In this article, we will explore what cover stitches are and how to sew them
successfully.
What Are Cover Stitches?
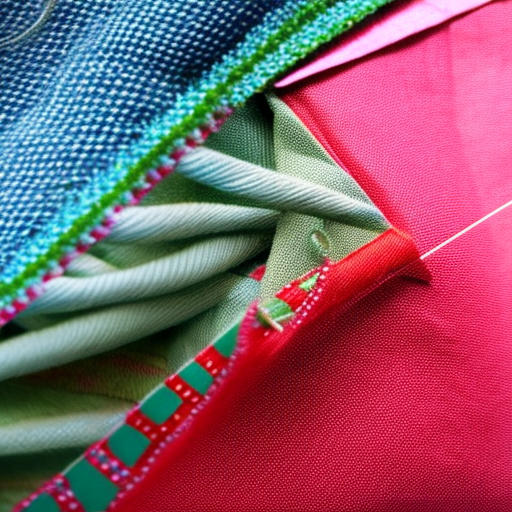
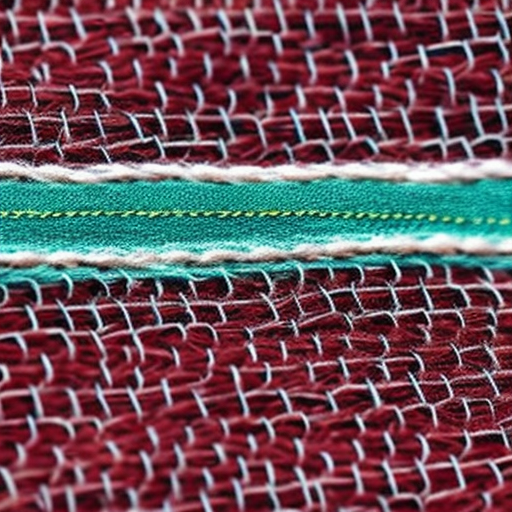
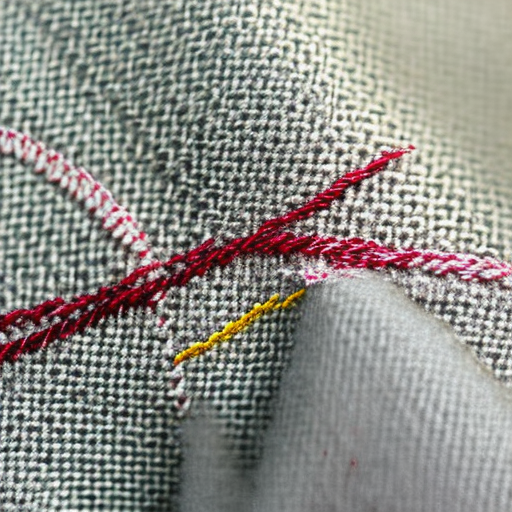
Cover stitches are a type of stitching that creates parallel lines of stitching on the right side of the fabric while
forming a stretchable and flexible seam. The stitches appear like double-needle stitching on the front and a chain stitch
on the back, providing a clean and professional finish. Cover stitches are often used in garments made from stretchy
fabrics or items that require a high level of durability.
How to Sew Cover Stitches
To sew cover stitches, you will need a sewing machine equipped with a coverstitch capability or a dedicated coverstitch
machine. Here are the basic steps to sew cover stitches:
- Prepare your machine: Install the appropriate needles and thread the machine with at least two threads, one for the
needle and one for the looper. Refer to your machine’s manual for specific instructions. - Set up the fabric: Place your fabric under the presser foot, aligning the raw edge or hem where you want the cover
stitch to be sewn. - Adjust the settings: Depending on your sewing machine, you may need to adjust the stitch length, width, and tension.
Test on a scrap piece of fabric to ensure the desired results. - Start sewing: Lower the presser foot and begin sewing slowly, guiding the fabric evenly. Make sure to keep the fabric
flat and avoid stretching it. - Finish the seam: When you reach the end of your fabric or desired length, lift the presser foot and carefully remove
your project from the machine. Trim any excess threads and press the seam with an iron if necessary.
Tips for
- Use the right needles: Choose stretch or ballpoint needles that are suitable for your fabric type to prevent any
damage or runs in the material. - Experiment with tension: Adjust the thread tension to achieve the desired look for your cover stitches. Higher
tension creates tauter stitches, while lower tension produces looser stitches. - Practice on scrap fabric: Before sewing cover stitches on your final project, practice on scrap fabric to become more
comfortable and familiar with your machine’s settings. - Consider using contrasting thread: For decorative purposes, try using a contrasting thread color that complements or
adds visual interest to your fabric.
Conclusion
Sewing cover stitches can elevate the quality and aesthetics of your sewing projects. With a reliable sewing machine and
some practice, you can master this technique and create beautiful, durable finishes on your garments and other textile
creations. So, pick up your machine, gather some fabric scraps, and start exploring the world of cover stitches!

Wow, this looks really cool!
Karen Carter: What a great tutorial!
This is such a creative way to make unique designs and patterns! I’m definitely bookmarking this tutorial for the next time I want to make something special. It’s a fantastic way to elevate any garment. #sewing
I love this! Cover stitches make clothing so much more professional looking. Thanks for sharing!