Sewing is an essential skill for anyone who wants to create and repair garments or home decor items. Mastering a few basic hand stitches can be incredibly useful, and can save you both time and money. Whether you are a complete beginner or want to refine your sewing techniques, this article will guide you through some of the most commonly used hand stitches, accompanied by helpful pictures.
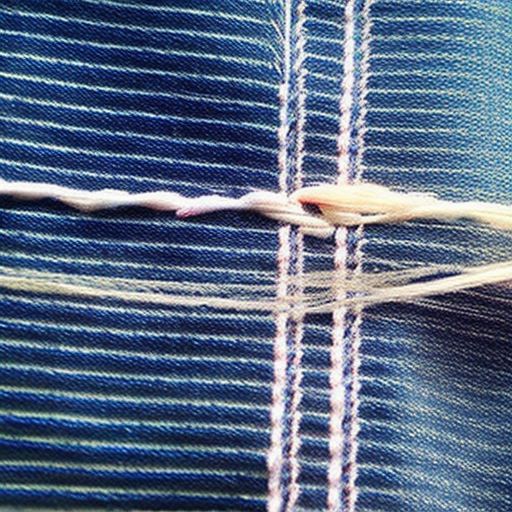
1. Running Stitch

The running stitch is the simplest and most commonly used hand stitch. Start by bringing the needle up through the fabric, then insert it back down an equal distance away, creating a straight line of stitches. This stitch is perfect for gathering fabric or temporarily holding pieces together.
2. Backstitch

If you need a stronger and more secure stitch, the backstitch is ideal. It creates a solid line of overlapping stitches, making it great for seams or fixing tears. Start by taking a small backstitch and then bring the needle forward, positioning it ahead of the previous stitch. Repeat this process to create a sturdy line of stitches.
3. Slip Stitch

A slip stitch is almost invisible from the outside, making it excellent for hemming, attaching bindings, or sewing folded edges. Start by inserting the needle through the fold of the fabric, then pick up a small thread from the opposite side. Repeat this process, ensuring the stitches remain small and barely noticeable.
4. Whip Stitch

The whip stitch is ideal for joining two fabric edges together. It creates a row of diagonal stitches on the fabric’s right side. To execute this stitch, position the two fabric edges side by side and insert the needle into the fabric, then bring it over the edge and insert it into the other fabric, creating a diagonal stitch. Repeat this process, ensuring the stitches are evenly spaced.
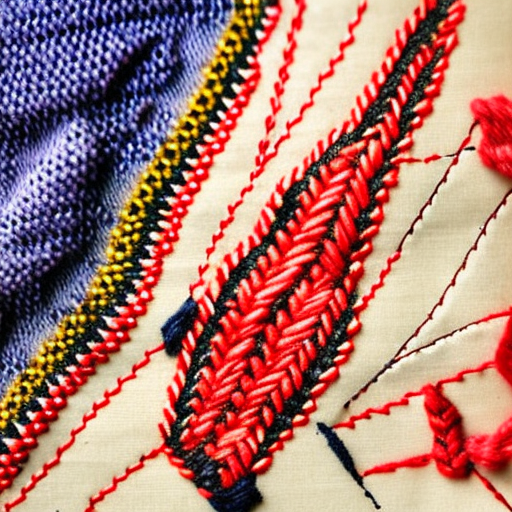
5. Blanket Stitch

The blanket stitch has both a functional and decorative purpose. It is often used to finish raw edges, prevent fraying, or create a decorative border. Start by bringing the needle up through the fabric, then take it diagonally and insert it back down. Repeat this process, ensuring each stitch catches a small loop of the fabric edge. The result is a stitch that resembles the teeth of a comb.
By mastering these five essential hand stitches, you’ll be well-equipped to handle a wide range of sewing projects. Remember, practice makes perfect, so take your time to familiarize yourself with each stitch. With patience and attention to detail, you’ll soon be stitching like a pro!
“This is so helpful, thank you!” Ryan Lane: “Very practical guide!”
This looks like an incredibly useful and practical guide that will be great for those looking to learn and master some basic hand stitches! The addition of pictures makes it even easier to understand for a beginner.