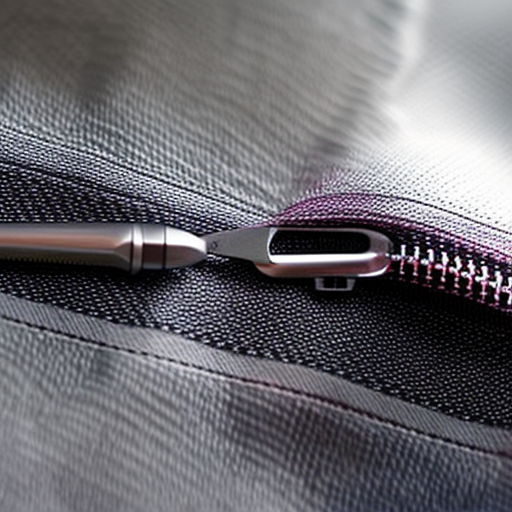
Working with zippers can be intimidating for many sewers, but with the right techniques, it becomes a straightforward process. Whether you need to sew a zipper on a dress, a pair of pants, or even a pillowcase, understanding the fundamentals is key to achieving professional-looking results. This article will cover some essential zipper sewing techniques that will enhance your sewing skills and boost your confidence in tackling various projects.
Materials Needed
Before we delve into the techniques, let’s gather some essential materials to get started:
- A zipper that matches your fabric and desired length
- A sewing machine (though hand-sewing is also possible)
- Pins or clips
- Scissors or rotary cutter
- Thread matching your fabric color
- Seam ripper (helpful to have, especially if you’re a beginner)
Technique #1: Installing a Regular Zipper
If you’re adding a zipper to a garment or a bag, this technique is commonly used. Here’s a step-by-step guide:
- Prepare your fabric by sewing the seam where you want to place the zipper, leaving an opening wide enough to accommodate the zipper length. Press the seam open.
- Place the zipper face down on the seam and align it so that the zipper teeth match the seam edges. Pin or clip in place.
- Using a zipper foot on your sewing machine, start stitching close to the zipper teeth, securing the zipper tape in place. Stitch down both sides, reversing at the beginning and end of the zipper.
- Once stitched, open the zipper to ensure it moves smoothly. If all looks good, trim any excess zipper tape.
Technique #2: Sewing an Invisible Zipper
Invisible zippers create a seamless finish, making them popular for formal wear and dresses. Here’s a basic guide:
- Prepare your fabric by sewing the seam where the zipper will be inserted. Press the seam open.
- On the right side of the fabric, place the zipper face down, aligning the zipper teeth with the seam edges. Pin or clip in place.
- Attach an invisible zipper foot to your sewing machine. Starting from the top, stitch close to the zipper teeth, following the contour of the zipper tape.
- Once stitched, switch to a regular zipper foot and stitch the remainder of the seam, starting below the zipper. Press the seam open.
- Carefully open the zipper to reveal the hidden closure.
Conclusion
Mastering zipper sewing techniques opens up a world of possibilities for your sewing projects. With practice, you’ll gain confidence, and the zippers will become much less daunting. Remember to take your time, carefully follow instructions, and don’t be afraid to make mistakes. Happy sewing!
Article Reference: . Retrieved from https://yourwebsitename.com/zipper-sewing-techniques.html


