Learning how to sew is a valuable skill that allows you to mend clothes and create your own unique garments. One of the essential basics in sewing is the simple sewing stitch, also known as the running stitch. It’s a straightforward stitch that forms a straight line of even stitches. Here’s a step-by-step guide on how to execute this stitch effectively:
Step 1: Thread the Needle
Choose a thread color that matches your fabric. Cut a piece of thread approximately 18 inches long and thread it through the eye of the needle. Tie a knot at the opposite end of the thread.

Step 2: Start from the Back
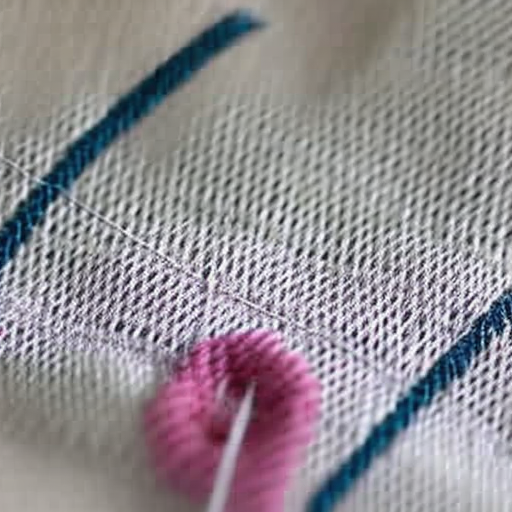
Hold the fabric you want to sew together and position the needle at the backside. Push the needle through the fabric, starting at the point where you want to begin your stitch.

Step 3: Stitch Forward
Bring the needle forward and insert it back down into the fabric a short distance away, parallel to the first stitch. Ensure the stitches are of equal length.

Step 4: Repeat
Continue making parallel stitches until you reach the end point or complete the desired section. Remember to maintain even spacing between each stitch.

Step 5: Knot the Thread
Once you reach the end point, bring the needle through the fabric to the backside. Tie a knot close to the fabric to secure the stitches.

And there you have it! The simple sewing stitch can be used for various sewing projects such as attaching patches, hemming fabrics, or even creating decorative designs. With practice, you’ll master this basic stitch in no time, paving the way for more complex sewing techniques.
What an awesome idea!
#LoveThatDIY – Great tutorial! This looks like something I can easily do.