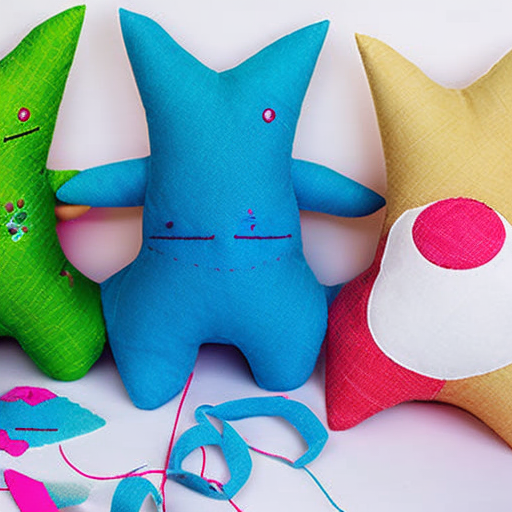

Pattern
Sewing your own plush toys can be a fun and rewarding craft activity. With this simple sewing pattern, you’ll be able to create adorable plush toys in no time. Whether you’re a beginner or an experienced seamstress, this pattern is suitable for all skill levels.
The pattern consists of four basic shapes: a body shape, two ear shapes, and a tail shape (if applicable). You can easily customize the size and proportions of the shapes to create different animal or character plush toys.
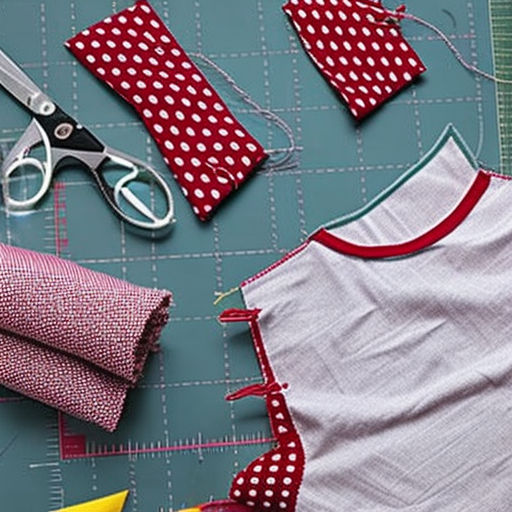
To get started, simply download and print the pattern template from our website. Cut out the shapes and trace them onto your chosen fabric with a fabric marker. Don’t forget to add a seam allowance of your desired width around the shapes.
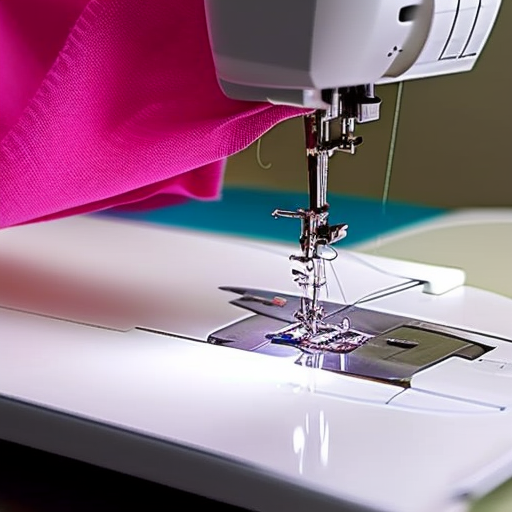
Once you have all your fabric pieces prepared, pin them together, right sides facing each other. Use a sewing machine or hand stitching to sew along the edges, leaving a small opening for stuffing. After sewing, trim any excess fabric and turn your plush toy right side out.
Instructions
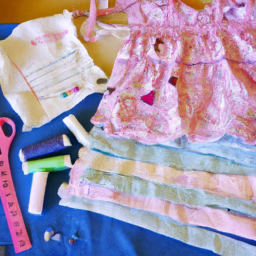
- Gather all necessary materials, including fabric, thread, sewing machine, stuffing, and scissors.
- Download and print the pattern template from our website or create your own design.
- Cut out the pattern shapes and trace them onto your chosen fabric with a fabric marker.
- Add a seam allowance around the shapes, ensuring it is wide enough for sewing and stuffing.
- Pin the fabric pieces together, right sides facing each other.
- Using a sewing machine or hand stitching, sew along the edges of the shapes, leaving a small opening for stuffing.
- Trim any excess fabric and turn your plush toy right side out.
- Stuff your plush toy with a suitable filling material, ensuring it is evenly distributed.
- Hand stitch the opening closed or use a ladder stitch for an invisible finish.
- Optional: Embellish your plush toy by adding eyes, a nose, or other decorative elements using embroidery thread or fabric glue.

Tips and Additional Ideas
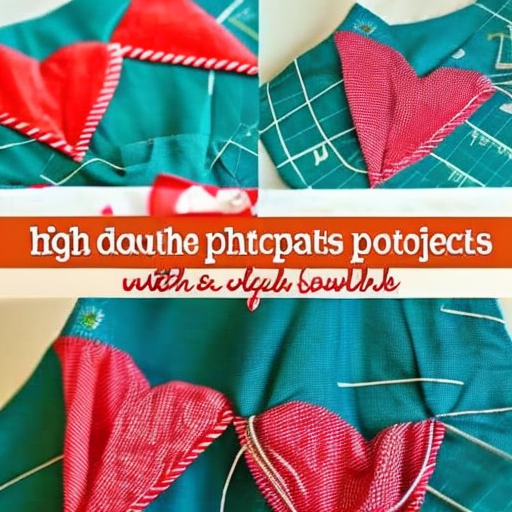
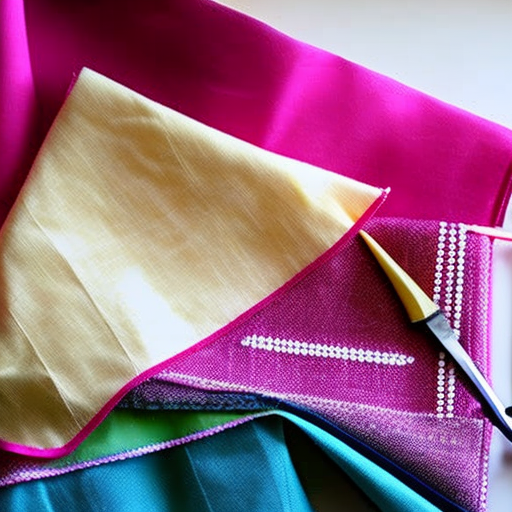
- Experiment with different fabrics, such as fleece, faux fur, or patterned cotton, to give your plush toy a unique look.
- If you’re new to sewing, start with a smaller plush toy and gradually work your way up to increased complexity.
- Add additional details or features to your plush toy, such as ears, horns, or a bowtie, to make it even more adorable.
- Consider making a set of plush toys to give as gifts or to decorate your home.
- Join online sewing communities or forums to connect with other sewing enthusiasts and exchange ideas and tips.
This looks so cuddly and cute!
Erin Reznik: I can’t wait to try this pattern!
This is such a great project for beginners! It looks like it would be fun and easy to make, and the end result is so adorable! There’s something special about homemade projects that really bring a smile to everybody’s face!
Agreed! Whatever the occasion, a handmade gift always means so much more than something store-bought.
Love it! These plushies look so huggable and cozy–a perfect gift for a special someone.