Introduction
Sewing zippers might seem challenging, but with a little practice and patience, you can master this valuable skill. Whether you’re adding a zipper to a garment, a bag, or any other project that requires a secure closure, understanding the fundamentals of sewing zippers is essential. This article will guide you through the step-by-step process of sewing a zipper, ensuring a professional and polished finish.
Materials You’ll Need
- Fabric (the material you’re sewing the zipper onto)
- A zipper (measuring the appropriate length)
- Pins
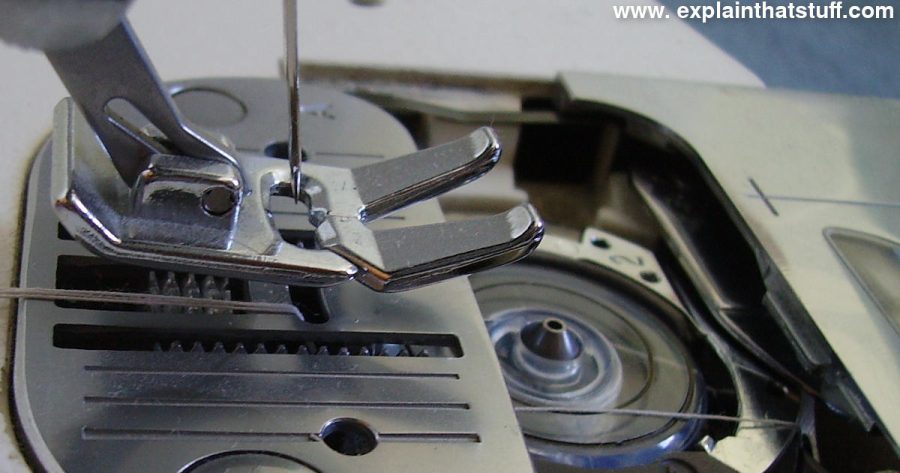
- A zipper foot
- A sewing machine
- Thread (matching or contrasting)
- Scissors
Step 1: Preparing the Fabric
Before sewing the zipper, ensure that your fabric is properly cut and prepared. If necessary, iron out any wrinkles or creases that may interfere with the zipper’s alignment.
Step 2: Pinning the Zipper
Position the zipper face down on one side of the fabric, aligning the top edge of the fabric with the zipper tape. Use pins to hold the zipper in place. Repeat this step on the other side of the fabric, ensuring that both sides are aligned symmetrically.
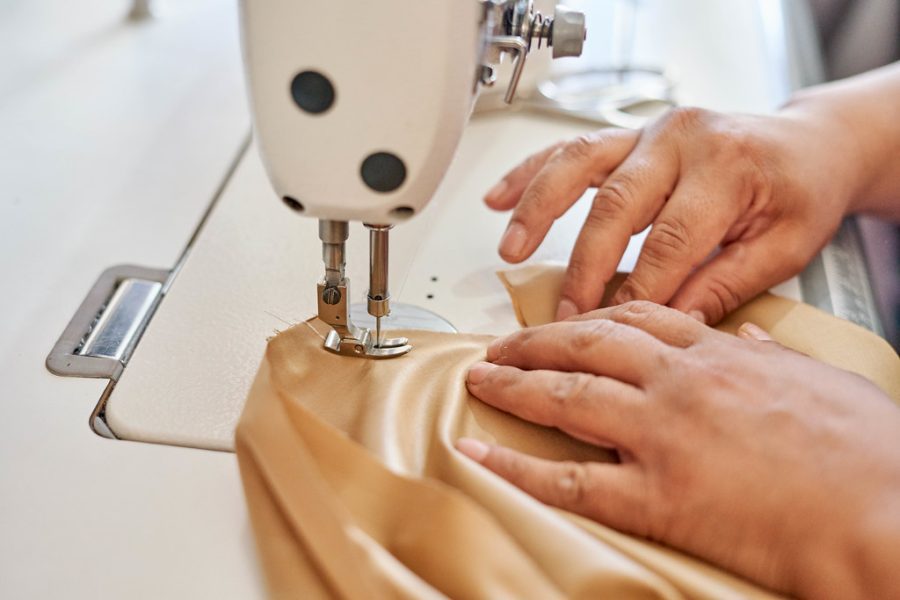
Step 3: Stitching the Zipper
Attach the zipper foot to your sewing machine. Starting at the top edge, carefully stitch along the tape, removing the pins as you go. Stitch all the way down to the bottom, securing the zipper in place. Repeat the process on the other side.
Step 4: Testing the Zipper
After sewing the zipper, test its functionality by zipping and unzipping it a few times. Ensure it moves smoothly without any snags or obstruction. If necessary, adjust the stitches by using a seam ripper to remove any uneven sections and re-stitch the problematic areas.
Step 5: Finishing Touches
Trim any excess fabric and loose threads. Give your sewn zipper a final press with an iron, being cautious not to directly touch the zipper itself. Your project is now complete, and you’ve successfully sewn a zipper!
Tips and Tricks
- Always take accurate measurements to ensure you purchase the correct zipper size.
- If you’re a beginner, using contrasting thread color can help you easily identify any mistakes and adjust them accordingly.
- Practice on scrap fabric before working on your main project to gain confidence and perfect your technique.
- Consider using special equipment like a zipper presser foot or a wash-away basting tape to make the process even easier.
Conclusion
With a little practice, sewing zippers can become a breeze. Following these steps and incorporating the mentioned tips and tricks will help you achieve professional-looking results. Don’t get discouraged if your first attempts aren’t flawless – sewing is a skill that only gets better with time and experience. So grab your materials, choose a project, and start sewing zippers like a pro!

I love sewing zippers! It’s such an easy and satisfying way to bring an item of clothing to life.
Alexandra Ruby: Sewing zippers is one of my favorite things to do. It adds such a finsihing touch to a project.
Sherri Gold: Sewing zippers is a crafty skill and I’m so thrilled to be able to do it. What a great accomplishment!
Lauren Daniels: Absolutely! Sewing zippers is a great way to give life to an item of clothing. It’s very rewarding.