
When it comes to adding a professional and secure finish to fabric edges, sewing zigzag stitches is an essential technique to master. Zigzag stitching creates a zigzag pattern along the fabric edge, providing additional strength, preventing fabric fraying, and giving a neat and polished appearance.

Why Sew Zigzag Edges
There are several reasons why sewing zigzag edges is advantageous:
- Prevents Fraying: Zigzag stitching helps prevent fabric edges from fraying, ensuring the longevity and durability of your sewing projects.
- Added Strength: The zigzag pattern creates multiple points of contact along the fabric edge, making it more resistant to wear and tear.
- Seam Allowance Enclosing: Zigzag stitches can also be used to enclose raw edges within seams, giving a clean and finished look to the inside of your garments.
How to Sew Zigzag Edges
Follow the steps below to sew zigzag stitches along fabric edges:
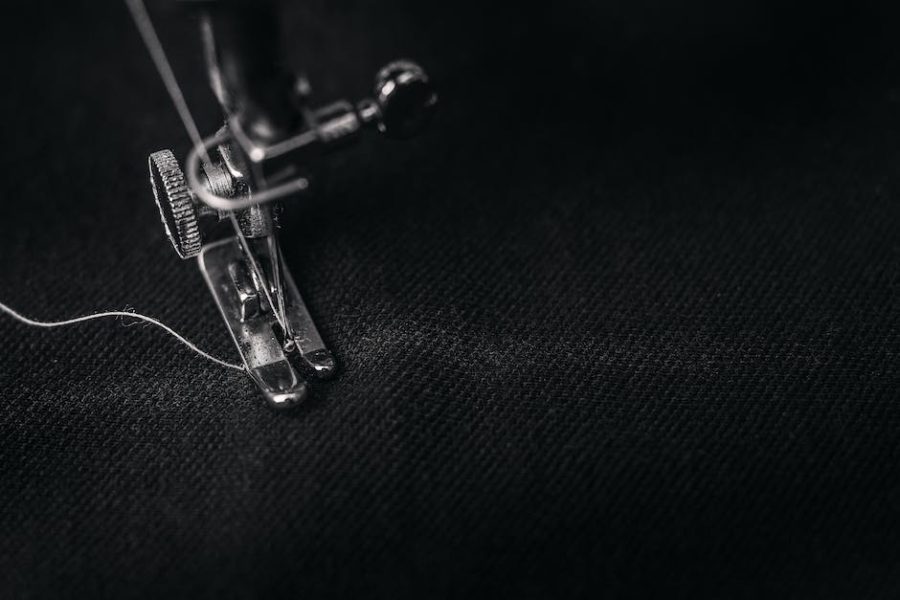
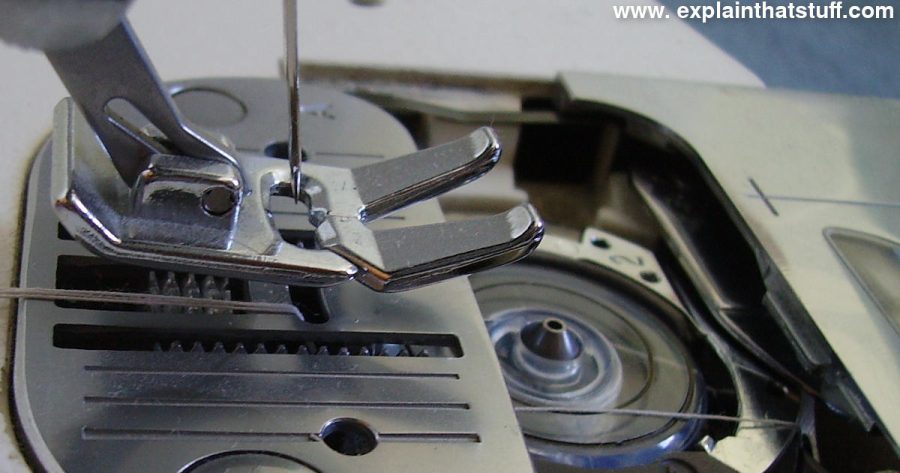
- Set Up Your Machine: Start by selecting a zigzag stitch on your sewing machine. Adjust the stitch width and length according to your desired outcome. If you are uncertain, test on scrap fabric to find the right settings.
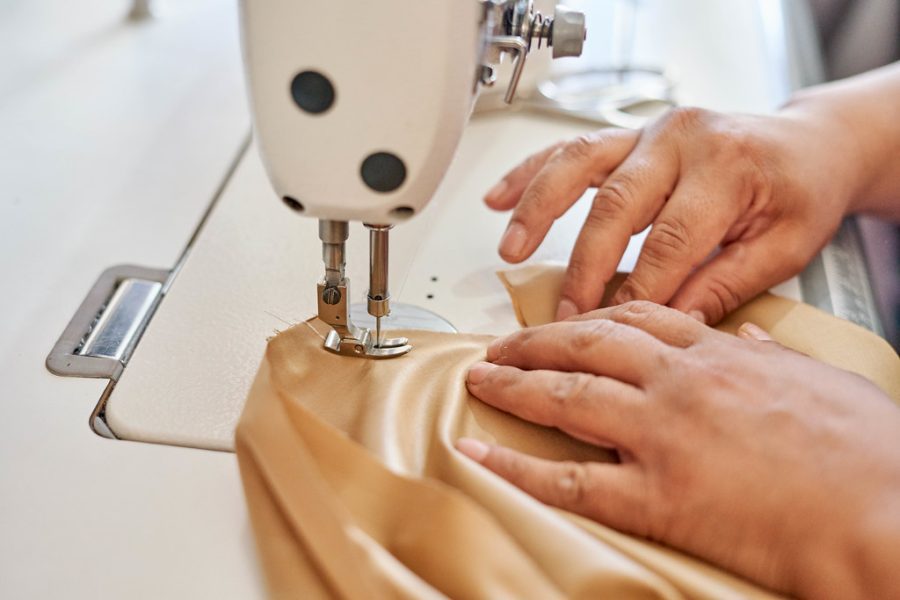
- Prepare the Fabric: Place the fabric to be stitched under the presser foot, aligning the fabric edge with the needle. Make sure the fabric is flat with no wrinkles or folds.
- Begin Stitching: Start sewing slowly, guiding the fabric edge along the chosen stitch width. Keep the fabric moving steadily, ensuring the needle catches the fabric neatly.
- Continue Stitching: Maintain a consistent speed and smoothly guide the fabric along the desired path, following the edge or seam line. Take care to keep the stitches evenly spaced and the zigzag pattern consistent.
- Finishing: Once you reach the end of the fabric edge, sew a few extra stitches to secure the zigzag pattern. Trim any excess thread using sharp scissors.
Tips and Tricks
Follow these additional tips for better zigzag stitching results:
- Choose the Right Thread: Use a thread color that matches or complements your fabric for a seamless finish.
- Practice on Scrap Fabric: Before working on your main project, practice sewing zigzag stitches on scrap fabric to ensure you are comfortable with the settings and technique.
- Experiment with Different Widths and Lengths: Depending on your project, you might want to adjust the stitch width and length to achieve varying results. Play around with different settings to find what works best for you.
- Backstitching for Added Security: For additional durability, consider backstitching at the beginning and end of your zigzag stitching to secure the threads in place.
- Use a Zigzag Foot: If your sewing machine has a specialized zigzag foot, using it can help guide the fabric smoothly and ensure precise stitches.
Sewing zigzag edges is a simple yet invaluable technique that enhances the quality and durability of your sewing projects. Mastering this skill will give a professional finish to your garments, accessories, and other fabric creations. So, grab your fabric, set up your sewing machine, and start sewing those zigzag stitches with confidence!

Great post – so helpful!
This post is so informative and makes sewing zigzag edges a breeze! I never knew how helpful a guide like this could be and now I’m eager to practice this myself.
This is so useful! Thanks for sharing!
This is an incredibly helpful guide for anyone looking to pick up sewing as a hobby. It’s clear and concise, and it’s easy to see how even the most beginner sewers can start practicing with this information. Great post!