Introduction
Sewing yarn hair on dolls is a fantastic way to add personality and uniqueness to your favorite cloth
companions. Whether you’re a seasoned doll maker or just starting out, this article will guide you through
the process of achieving beautiful, realistic-looking hair using yarn. So let’s grab some yarn and get
started!
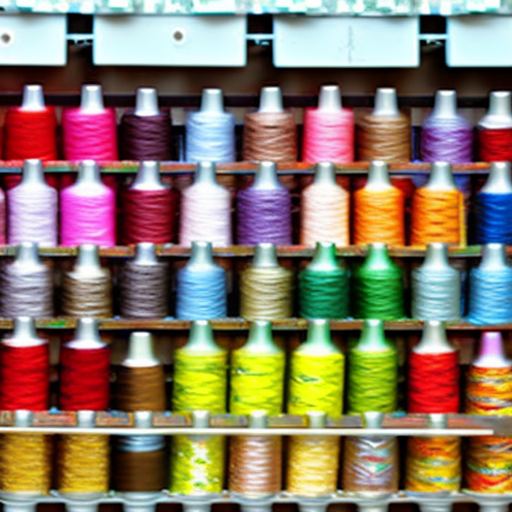
Materials Needed
- Doll of your choice
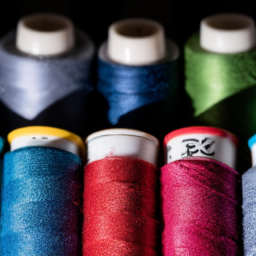
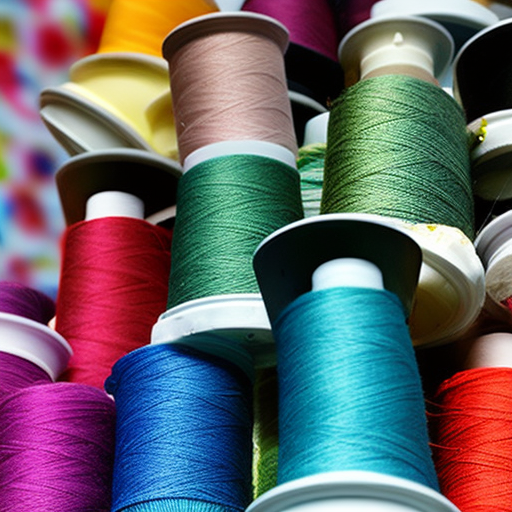
- Yarn in desired color(s)
- Scissors
- Embroidery needle
- Marker or chalk
- Optional: hairbrush or comb
Step-by-Step Tutorial
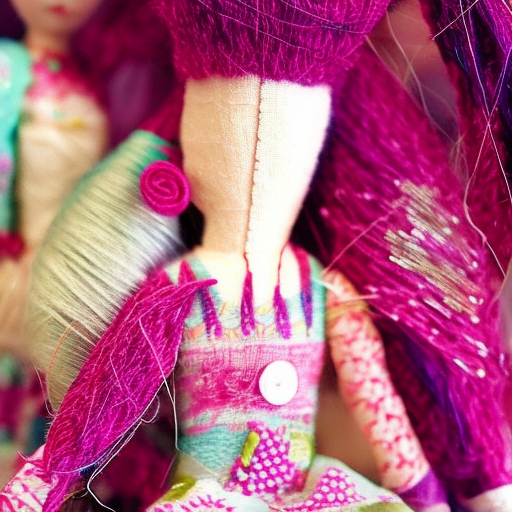
- Start by determining the style and length of hair you want for your doll. Use a marker or chalk to
mark the desired hairline on the doll’s head. - Cut individual strands of yarn to your desired hair length. It’s better to cut them longer initially
as you can always trim them later. - Thread the embroidery needle with one strand of yarn. Double knot the end to secure it.
- Starting from the inside of the doll’s head, insert the needle through the marked hairline and pull
it out on the other side. - Slide the yarn down until the knot sits flush against the doll’s head.
- Repeat steps 3 to 5 until you cover the entire marked area with yarn, making sure to space the strands
evenly. - After finishing the first layer, move on to the next layer, slightly overlapping the previous one for a
fuller look. - Continue layering yarn until you’re satisfied with the doll’s hair thickness.
- If desired, use a hairbrush or comb to style the yarn hair and create different looks.
- Finally, give your doll a name, admire your handiwork, and enjoy your newly styled companion!
Tips and Tricks
- Experiment with different colors and yarn textures to achieve various styles.
- If using multiple colors, create a more natural look by blending them together while sewing.
- Consider using a crochet hook instead of an embroidery needle for easier yarn insertion.
- Play around with different hairstyles, braids, or even add accessories like ribbons or bows.
- Pull the yarn tightly to avoid loose strands and ensure a secure attachment.
- Take your time, enjoy the process, and trust your creative instincts – each doll will have its unique
personality!
Conclusion
Sewing yarn hair on dolls is a delightful craft that allows you to customize your dolls and give them
individualized character. By following the step-by-step tutorial and applying your creativity, you can
create dolls with stunning, personalized hairstyles. Remember to experiment and have fun, and soon you’ll
have a collection of dolls with beautiful yarn hair that will impress everyone!

Love it!
Julia Heller: So creative! #dollHairGoals
This is such a great way to bring extra personality to your dolls! Not only is this an inventive way to customize, it also looks so cute when it’s done. #DollCustomizationGoals
Agreed, this is amazing! Adding another layer of detail to dolls gives them so much personality.