If you are an avid sewing enthusiast, you may have come across the term ”Y seams” and wondered what it means. Y seams are a specialized technique used to join fabric pieces together at odd angles, creating intricate shapes like hexagons, diamonds, or star patterns. This article will guide you through the process of sewing Y seams and provide helpful tips along the way.
Step by Step Guide
- Prepare your fabric pieces by cutting them into the desired shapes. For this example, let’s assume we are sewing hexagons together.
- Take two hexagon pieces and place them right sides together, aligning the edges where the seams will meet.
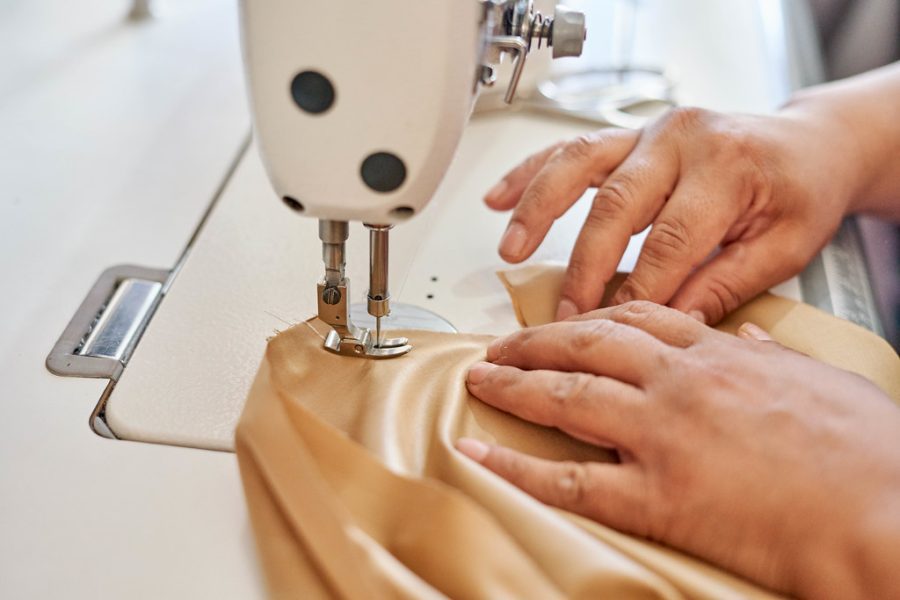
- Start sewing from one corner, using a 1/4-inch seam allowance. Sew until you reach the point where the side edges intersect, forming a Y shape.
- Pause your stitching and secure it with a backstitch.
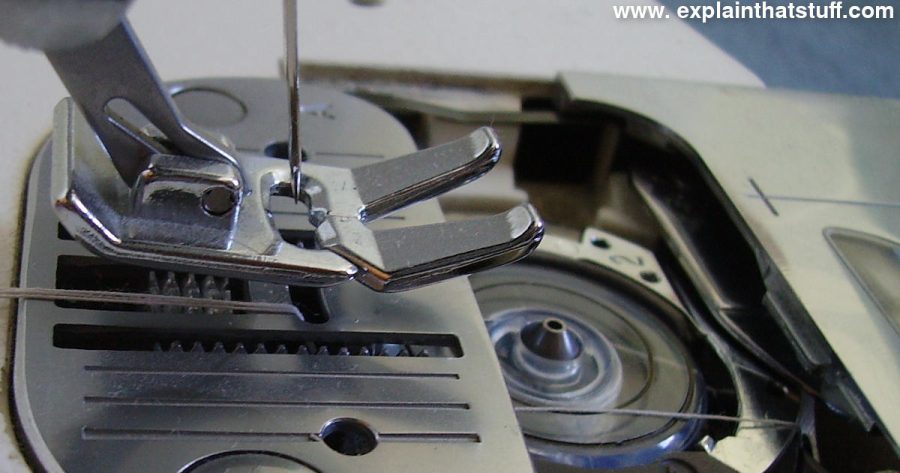
- Rotate the fabric 90 degrees and sew along the second side of the Y shape, again pausing and backstitching near the intersection point.
- Repeat this process for all remaining sides of the hexagons.
- Press the seams open or to the desired side.
- Your Y seam is complete!
Tips for Successful Y Seams
- Take your time and sew slowly to ensure accuracy.
- Backstitching at the intersection points helps reinforce the seams.
- Using a shorter stitch length (2mm) can make it easier to navigate the corners.
- Ironing the fabric before sewing helps create crisp edges and precise alignments.
When to Use Y Seams
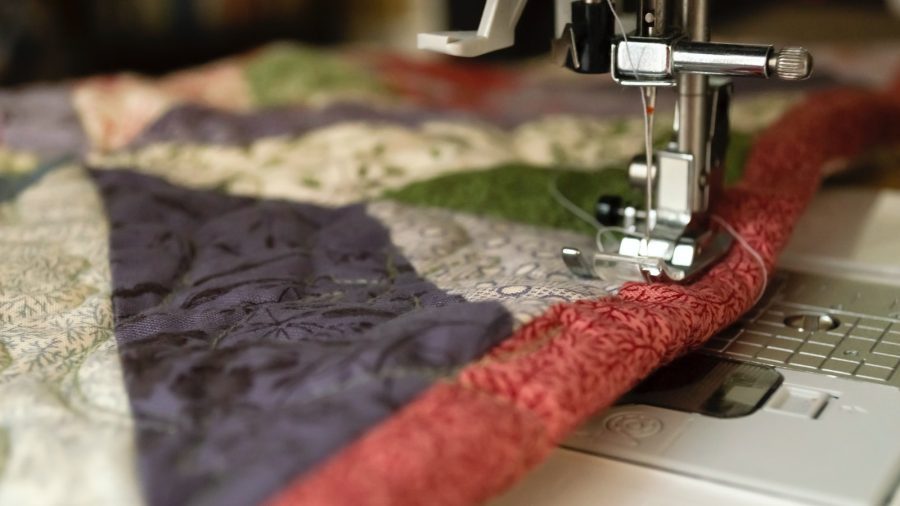
Y seams are commonly used in patchwork quilting, English paper piecing, and other sewing projects that involve intricate geometric designs. They allow you to connect fabric pieces that wouldn’t normally fit together smoothly. By mastering the Y seam technique, you can expand your creative possibilities and tackle more complex patterns.
Conclusion
Now that you understand the process of sewing Y seams, you can confidently incorporate this technique into your sewing projects. With practice and patience, you’ll be able to conquer even the most challenging angles and create stunning quilt designs and other fabric creations. Happy sewing!

Love it!
Great tips – such a tricky task made easier! #masteringtheseams
What a great tutorial! I’m sure this will help many quilters. #yseamsfordays
This is very helpful! Thank you for the tutorial! #seamseverywhere
Awesome tutorial! This is sure to help a lot of quilters hone their skills on mastering these tricky Y seams! #yseamsforthewin