Introduction:
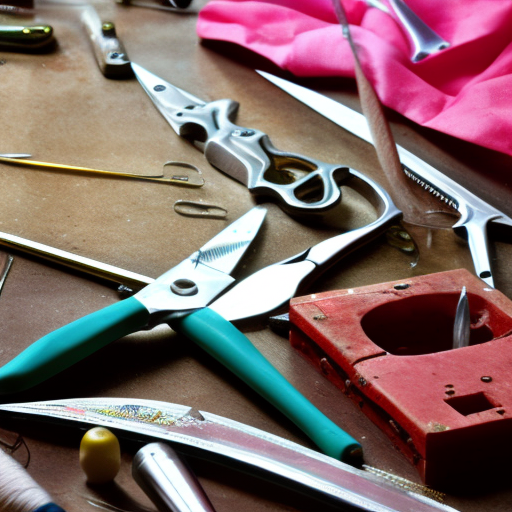
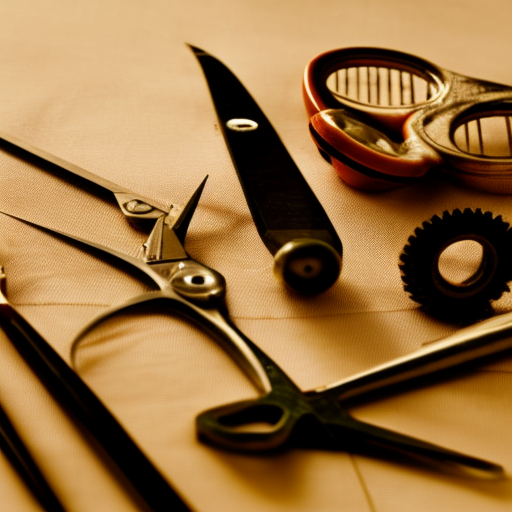
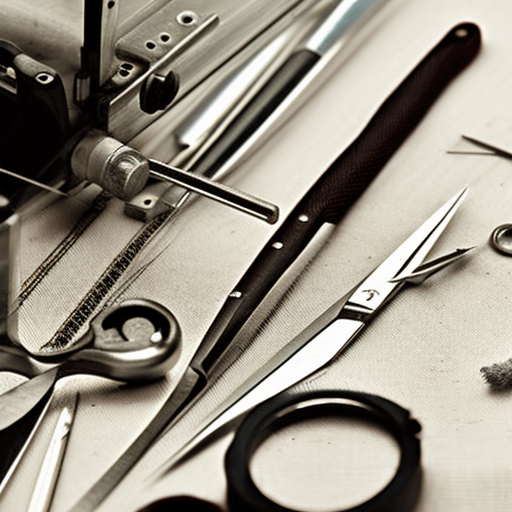
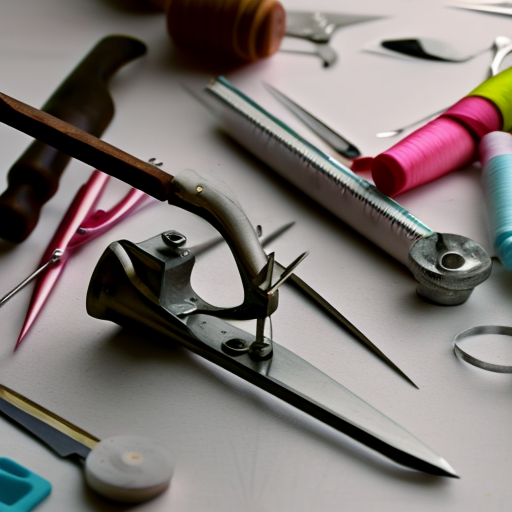
Sewing is a valuable and practical skill that has been passed down through generations. It involves stitching different pieces of fabric together to create garments, accessories, and home decor items. To successfully sew, one must have a basic understanding of the tools used in the process. Therefore, teaching students about sewing tools is an essential part of any sewing curriculum. In this lesson plan, we will explore the different tools used in sewing, their purposes, and how to use them effectively.
Objectives:
- Students will be able to identify and name sewing tools.
- Students will understand the uses of each sewing tool.
- Students will learn how to use each sewing tool correctly and safely.
- Students will demonstrate their understanding by completing a sewing project using the tools they have learned about.
Materials needed:
- Sewing machine
- Needles
- Threads
- Fabric scraps
- Scissors
- Tape measure
- Straight pins
- Pincushion
- Seam ripper
- Iron and ironing board
- Rulers
- Chalk or fabric markers
- Seam gauge
- Hand sewing needles
- Thimble
- Buttons
- Hand sewing thread
Lesson plan:
- Introduction to sewing tools (10 min)
- Start the lesson by introducing the students to different sewing tools and their purposes. Show them the tools and explain their functions briefly.
- Ask the students why they think each tool is essential in sewing.
- Demonstration (20 min)
- Set up the sewing machine and demonstrate how to thread it correctly and wind the bobbin.
- Show the students how to use the different sewing machine feet, such as the straight stitch foot, zipper foot, and buttonhole foot.
- Demonstrate how to sew a straight stitch and a zigzag stitch.
- Show the students how to change the needles and adjust the tension on the sewing machine.
- Hands-on practice (30 min)
- Have students practice using the sewing machine by sewing straight lines and zigzag stitches on fabric scraps.
- Guide them to use different sewing machine feet and adjust the stitch length and width.
- Once they are comfortable, challenge them to sew on curved lines and see if they can maintain a consistent stitch length.
- Introduction to hand sewing tools (10 min)
- Introduce students to hand sewing tools such as needles, thimble, hand sewing thread, scissors, and buttons.
- Show them how to thread a needle correctly and how to tie a knot at the end.
- Demonstrate how to sew on a button using different techniques such as two-hole, four-hole, or shank button.
- Hands-on practice (30 min)
- Have students practice sewing on buttons and making simple hand stitches such as running stitch, backstitch, and slip stitch.
- Encourage them to be creative and decorate their fabric scraps with different stitches and buttons.
- Final project (20 min)
- Challenge students to put their skills to the test by creating a small project using the sewing tools they have learned about.
- They can choose to make a simple bag, a pillowcase, or any other project that incorporates machine and hand sewing techniques.
- Encourage them to think creatively and use their new skills to personalize their project.
- Conclusion (5 min)
- Gather the students and have a brief discussion about what they have learned. Ask them about their favorite sewing tools and why.
- Encourage them to continue practicing and exploring new sewing techniques on their own.
- Thank them for their participation and remind them to clean up their workstations.
Assessment:
To assess students’ understanding, you can have them complete a written quiz or a project rubric. The quiz can cover the names and purposes of sewing tools, while the project rubric can assess their skills in using the sewing machine and hand sewing tools to create a project.
Conclusion:
Teaching students about sewing tools is a crucial part of any sewing curriculum. As they say, “a worker is only as good as their tools,” and this applies to sewing as well. By introducing students to essential sewing tools and teaching them how to use them correctly, they will be able to sew with confidence and create beautiful projects. This lesson plan is designed to make learning about sewing tools fun and engaging, and with practice, students will be well on their way to becoming proficient in sewing.
Great article, really helpful! Great article with some really helpful information! This lesson plan looks like a great way to get started with sewing.
Such a great resource for basic sewing!
This is an invaluable resource for anyone looking to learn about or advance their knowledge on the basics of sewing! The lesson plan looks comprehensive and easy-to-understand.