: A Beginner’s Guide to Creating Your Own Masterpiece

Sewing is not just a hobby, it’s an art form that allows you to express your creativity and make something beautiful with your own hands. And what better way to showcase your love for sewing than by creating a drawing of your trusty sewing tools?
Whether you’re a seasoned artist or just starting out, this article will guide you through the steps of creating a stunning sewing tools drawing. So grab your pencils, markers, or digital tools and let’s get started!
Materials You’ll Need
- Pencils or markers (colored or black)
- Drawing paper or sketchbook
- Ruler
- Drawing eraser
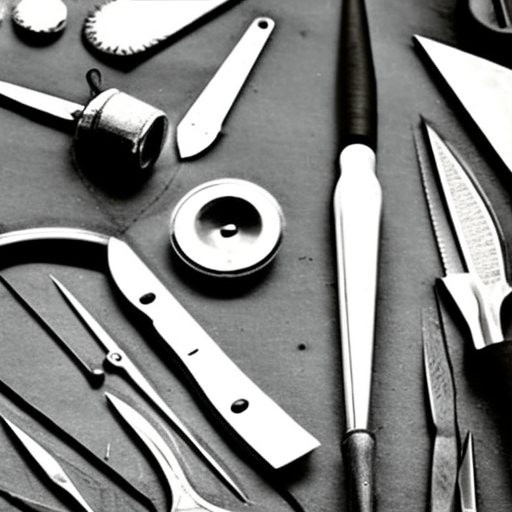
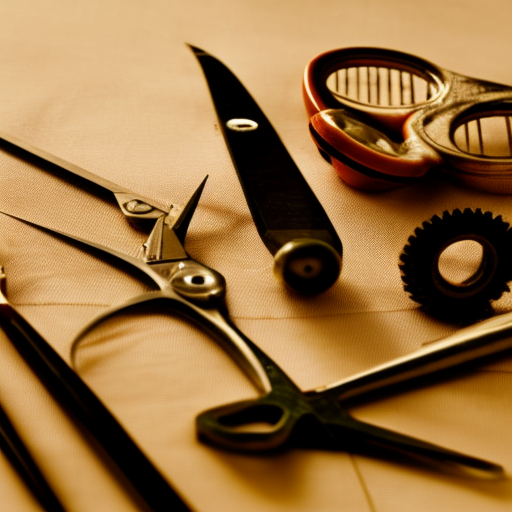
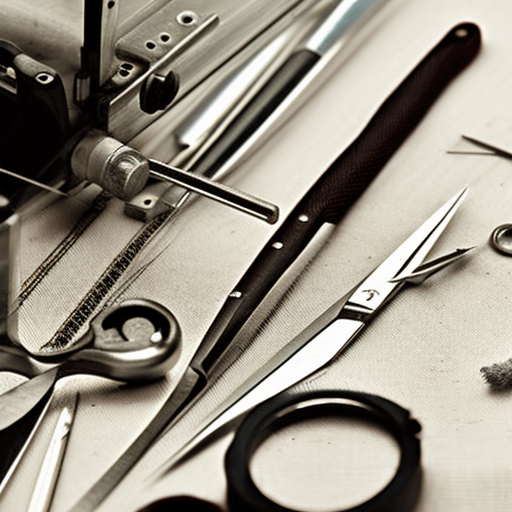
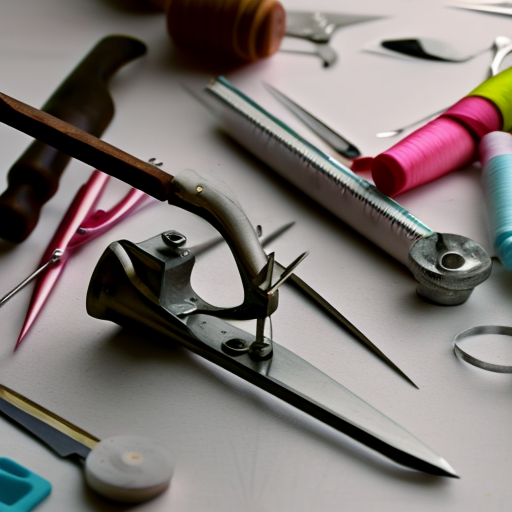
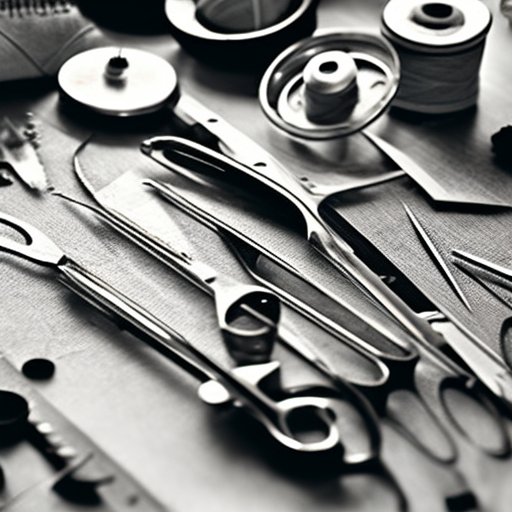
- Reference photo of sewing tools
Step 1: Sketch Out the Basic Shapes
To begin, lightly sketch out the basic shapes of your chosen sewing tools. Use a ruler to create straight lines for the body of the sewing machine and scissors. For circular shapes like the spool of thread, use a compass or trace a circular object. Don’t worry about making it perfect, this is just a rough sketch to guide you.
Step 2: Add Details and Features
Now it’s time to add the details and features of your sewing tools. Observe your reference photo and carefully draw in the small details like buttons, knobs, and dials. Pay attention to the proportions and make sure they are accurate. Add in any logos or brand names if applicable.
Step 3: Shade and Add Depth
To make your drawing look more realistic, add shading and depth. Start by identifying the light source in your reference photo and shade accordingly. Use a lighter touch for areas with more light and a heavier touch for areas with less light. This will create a sense of dimension to your drawing.
Step 4: Choose Your Medium
At this stage, you can choose to stick with a black and white drawing or add color to your sewing tools. If you’re using markers, make sure to choose colors that are similar to the actual tools. If you’re using pencils, experiment with blending different shades to achieve a more realistic look.
Step 5: Final Touches and Details
Lastly, add the final touches and details to complete your drawing. This could include adding in some texture or highlights to make your sewing tools look more realistic. Take a step back and make any necessary touch-ups if needed.

Final Thoughts
Creating a sewing tools drawing not only showcases your artistic skills, but also your love for the craft of sewing. With some practice and patience, you’ll be able to create a masterpiece that you can proudly display in your sewing room.
Remember, there’s no right or wrong way to draw, so have fun and let your creativity flow. And once you’ve mastered drawing your sewing tools, why not try your hand at drawing other sewing-related subjects like fabrics or patterns? The possibilities are endless!
So go ahead and grab your tools and start drawing. Who knows, it may even inspire you to create your own sewing designs and patterns in the future!
Love it!
This looks like a great way to learn about basic sewing tools! Such an interesting example, definitely going to try this out. #SewOn 🧵
This is very cool! #crafts #sewing
What a great post! Sewing provides us with so many possibilities and this drawing is a great way to help visualize the different tools used and to get inspired! #sewingtools #keepsewing