Sewing Tools Drawing Made Easy With Name
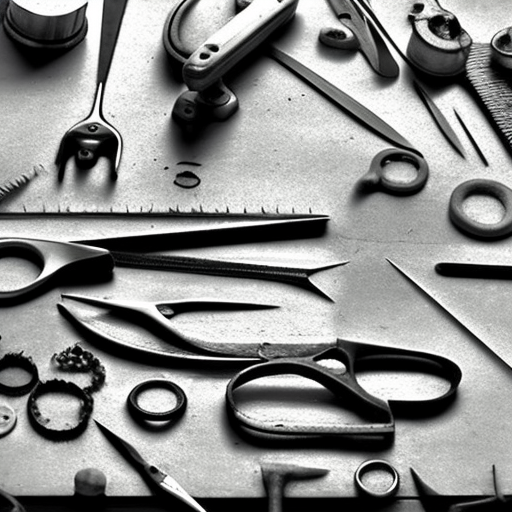
Sewing is a craft that has been around for centuries. From simple mending to creating intricate designs, sewing requires skill, patience, and the right tools. And what better way to showcase your love for sewing than by creating drawings of your favorite sewing tools?
But for those who are just starting out, drawing sewing tools may seem like a daunting task. There are so many different tools with intricate details that it may feel overwhelming to even attempt to draw them. However, with the right techniques and a little practice, you can master the art of drawing sewing tools with ease. And not just that, you can also learn the names of each tool while you draw them.
In this article, we will guide you through the process of drawing some of the most common sewing tools, while also providing their names for better understanding.
1. Sewing Machine
Let’s start with the most essential tool for any seamstress, the sewing machine. To draw a sewing machine, begin with a rectangle for the main body of the machine. Then, add a smaller rectangle on top of it for the stitch cover and two round knobs on either side for the tension and stitch length controls. Next, add a rectangle for the base and two lines connecting it to the body. Finally, add the needle and the presser foot. Voila, your sewing machine is ready! You can add more details, such as the thread spool, as you please.
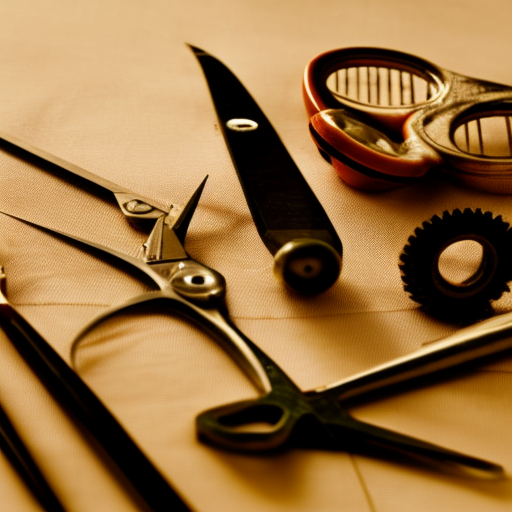
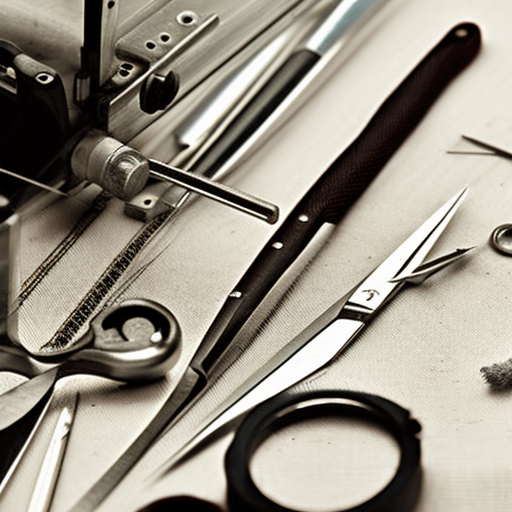
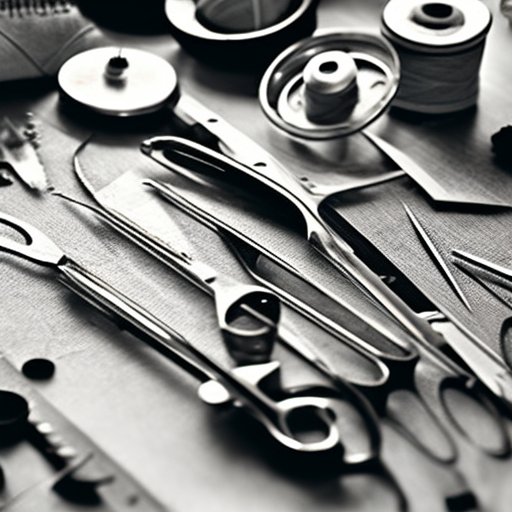
2. Scissors
Scissors are a must-have for any sewing project. To draw them, start with a curved line for the blades, joining at a point. Then, draw another curved line at the end of the first one, creating the shape of the handles. Next, add a small rectangle at the base of the handles to represent the joint. Complete your drawing by adding a small circle at the tip of the handles for the finger holes. You can also add a few details, such as a design on the handles, to make your drawing more interesting.
3. Needle and Thread
Another essential tool in any sewing kit is the needle and thread. To draw them, start by creating a straight line, which will represent the needle. Then, draw a small rectangle at the top for the eye of the needle. Moving on to the thread, draw a curved line near the needle, and add a few more lines to create the shape of the thread. And just like that, you have a simple yet accurate drawing of the needle and thread.
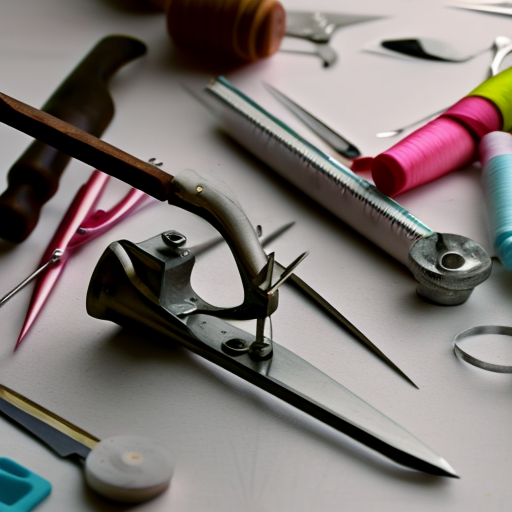
4. Tape Measure
A tape measure is a crucial tool for taking precise measurements while sewing. Start by drawing a rectangle with rounded edges. Then, add small rectangles at each end for the metal tips. Finally, draw a few lines inside the rectangle to represent the measuring tape. You can also add numbers, starting from 0 at one end and counting up to the desired length.
With these four basic sewing tools, you can create a simple yet comprehensive drawing of a sewing kit. But, of course, there are many more tools that you can add to your drawing, such as a pin cushion, thimble, thread spools, and more. The key is to use simple shapes and lines to create a rough outline and then add details as you please.
Now that you have your drawings of sewing tools, let’s learn their names.
1. Sewing Machine – Used for stitching fabric, controlling thread tension and stitch length.
2. Scissors – Used for cutting fabric, thread, and other materials.
3. Needle and Thread – Used for hand stitching.
4. Tape Measure – Used for taking measurements.
5. Pin Cushion – Used for holding pins and needles.
6. Thimble - Used to protect the finger while hand stitching.
7. Thread Spools – Used for holding thread.
With these tools and their names, you can now confidently create a drawing of a fully equipped sewing kit.
In conclusion, drawing sewing tools with their names is a fun and creative way to showcase your passion for sewing. The key is to start with simple shapes and lines and then add details as you go along. And by learning their names, you can also increase your knowledge and understanding of each tool’s purpose. So go ahead, grab your pencils and papers, and start drawing your favorite sewing tools!
What a helpful guide! I’m definitely going to start trying it out.
Gabe Oberlin: This looks amazing! I’m already bookmarking this for later.
A great resource for anyone who wants to learn how to draw and name their sewing tools – perfect for beginners and experts alike! #sewing #art #tools
Such an awesome guide! I’ve been searching for one like this for some time and I’m glad I found it.