
Sewing Tools and Equipment Drawing: A Comprehensive Guide

Sewing is an art that requires precision and attention to detail. Whether you are a beginner or an expert, having the right tools and equipment can make all the difference in the final outcome of your sewing project. And what better way to understand these tools and equipment than by drawing them?
The Importance of Knowing Sewing Tools and Equipment
Sewing tools and equipment are essential for any sewing project. These tools not only help in achieving a professional finish but also make the sewing process smoother and more efficient. Knowing how to use and identify these tools correctly is crucial in producing high-quality garments.
Drawing Sewing Tools and Equipment
Drawing is a great way to learn and understand sewing tools and equipment. It allows you to see each tool in detail, including its different parts and functions. Plus, it also improves your artistic skills and creativity.
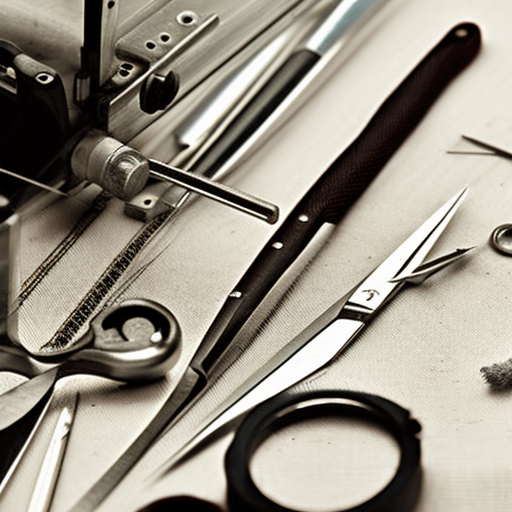
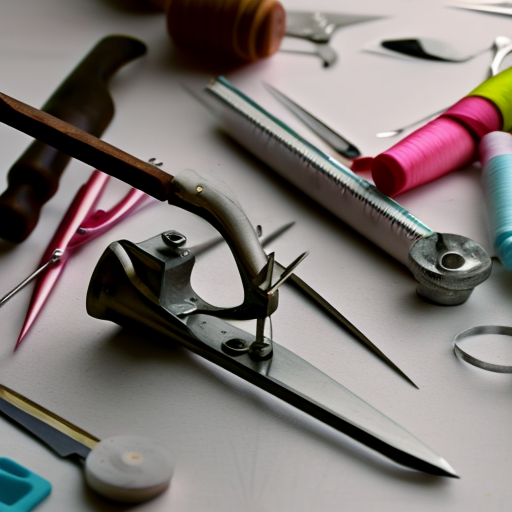
Here’s a list of essential sewing tools and equipment that you can practice drawing:
- Needles and Pins: These are the most basic sewing tools that are used to hold fabric in place while sewing. Practice drawing various types of needles such as hand sewing needles, machine needles, embroidery needles, and pins of different sizes and shapes.
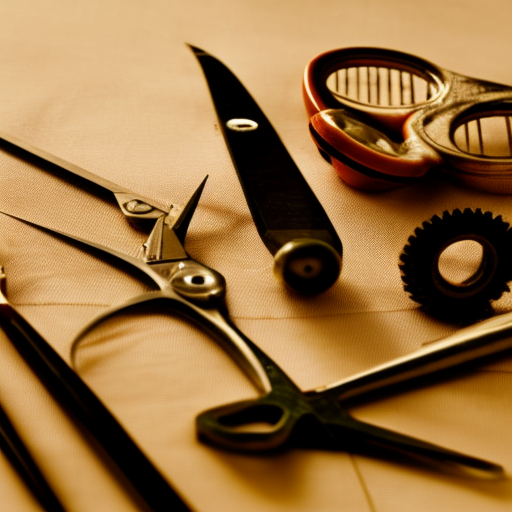
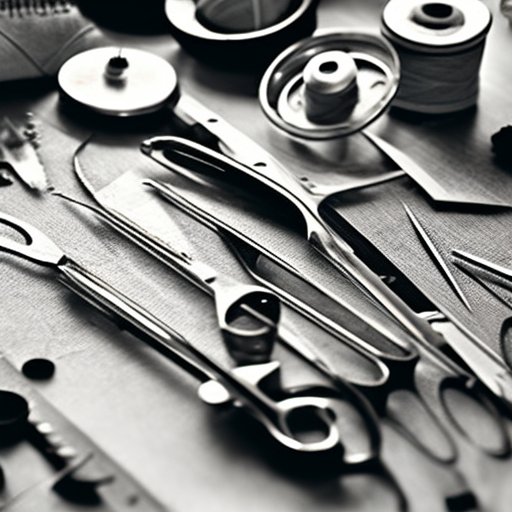
- Scissors: A selection of scissors is essential for every sewing project. Practice drawing fabric scissors, thread snips, pinking shears, and embroidery scissors.
- Tape Measure: A flexible tape measure is used to take body measurements and for pattern making. You can draw a simple oval shape with measurements marked or add more details to make it more realistic.
- Sewing Machine: The sewing machine is the most crucial equipment for any sewing project. Drawing a sewing machine can be a bit complicated, but you can start with a simple sketch and add details like the needle, presser foot, and stitch length adjustment knob.
- Iron and Ironing Board: Proper pressing and ironing are essential for achieving neat and professional-looking garments. Practice drawing an iron and ironing board to add to your sewing tools collection.
- Seam Ripper: This small, sharp tool is used to remove stitches or open seam allowances. Drawing a seam ripper will help you understand its shape and how it works.
- Thread: No sewing project is complete without thread. Practice drawing different sizes and colors of thread spools.
- Pins Cushion: A pincushion is used to store needles and pins securely while working on a sewing project. You can add different patterns or designs to your pin cushion drawing to make it more attractive.
Tips for Drawing Sewing Tools and Equipment
- Use reference images to make your drawings more accurate.
- Start with simple shapes and add more details gradually.
- Pay attention to proportions and angles.
- Use colored pencils or markers to add more depth and dimension to your drawings.
- Practice regularly to improve your drawing skills.
In Conclusion
Drawing sewing tools and equipment is an enjoyable and beneficial exercise for anyone interested in sewing. It helps in understanding the tools better and improves your drawing skills at the same time. So grab your pencil and paper, and start drawing your sewing tools and equipment today!
Great for all levels of sewers! Poppy Tanga: A fantastic tutorial for any beginner sewers!
Excellent resource! It is so useful for anyone interested in learning the basics of sewing – whether you are just starting out or already have some experience, the tools and equipment outlined in this drawing are essential for a successful sewing project.
Absolutely indispensable!