: A Comprehensive Guide
If you’re an avid sewer or have some experience in sewing, you know how frustrating it can be when you make a mistake or need to undo a seam. Sometimes, using scissors or a seam ripper can leave your fabric damaged or wrinkled. That’s where a sewing tool to remove stitches comes in handy. This small, yet powerful tool can help you efficiently and accurately remove stitches without damaging your fabric. In this article, we’ll take a closer look at this sewing tool and how to use it effectively.
What is a ?
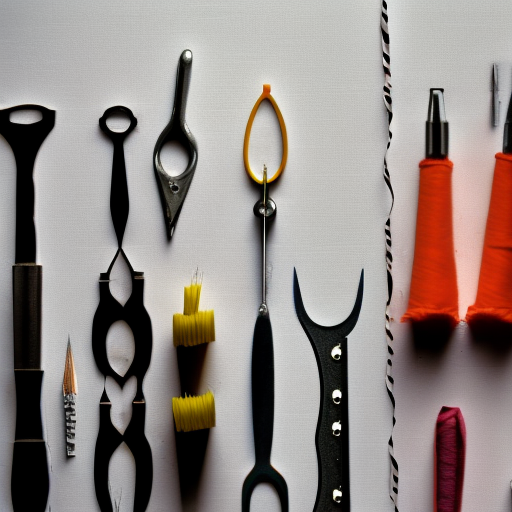
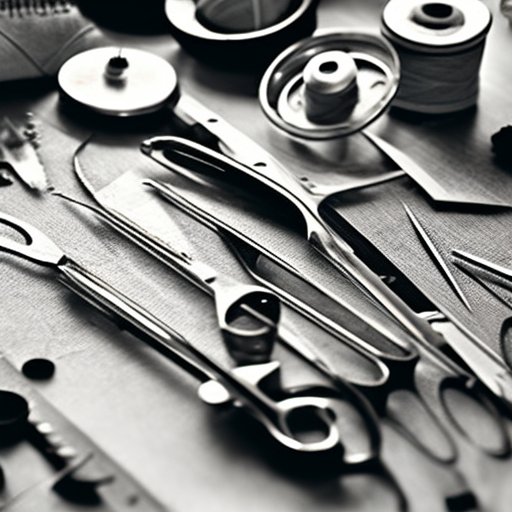
A sewing tool to remove stitches, also known as a seam ripper, is a small tool with a sharp blade at one end and a pointy hook at the other. The blade is used to cut through stitches, and the hook is used to grab and remove the loose threads. It is an essential tool for any sewer, whether you’re a beginner or an experienced seamstress.
When is a Seam Ripper Used?
A seam ripper is used when you need to remove stitches from a seam, either to fix a mistake or to alter a garment. It can also be used to take apart old garments for repurposing or to remove unwanted embellishments.
How to Use a ?
Using a seam ripper may seem simple, but it requires a bit of practice to get the hang of it. Here’s a step-by-step guide on how to use this handy tool:
Step 1: Start by finding the right spot
Before you start using the seam ripper, make sure you mark the area where you want to remove stitches. This will help you stay on track and avoid accidentally ripping through the wrong seam.
Step 2: Insert the pointy end
Insert the pointy end of the seam ripper under one stitch and push it slightly to the side to loosen the thread. Then, move the seam ripper to the other side of the stitch and do the same.
Step 3: Cut through the threads
Hold the fabric taut with one hand and gently slide the blade of the seam ripper under the stitch, cutting through the threads. Be careful not to cut through the fabric; use a light hand to avoid any accidents.
Step 4: Remove the loose threads
Using the hook end of the seam ripper, gently pull out the loose threads from the fabric. You can use your fingers to help guide the threads out if needed.
Step 5: Repeat the process
Continue this process until you have removed all the stitches in the marked area.
Step 6: Clean up any remaining threads
After removing the stitches, you may have some remaining bits of threads stuck in the fabric. Use a lint roller or a piece of tape to remove them and give your fabric a quick press with an iron to smooth it out.
Tips for Using a
- Always use a sharp seam ripper to get clean and accurate cuts.
- Be patient and take your time; rushing can lead to mistakes and damages.
- If you’re removing stitches from delicate fabrics like silk or chiffon, place a piece of tissue paper under the fabric to prevent any tears or holes.
- Keep your seam ripper clean by wiping it with a cloth after each use.
- If you’re a beginner, practice on scrap fabric before using a seam ripper on a real project.
In Conclusion
A sewing tool to remove stitches is an essential tool in any sewing kit. With a bit of practice, you’ll be able to use it efficiently and effectively, making it an invaluable addition to your sewing tools. Remember to take your time and be patient, and you’ll be able to fix any sewing mistakes or alter garments with ease.
Great find!
Katie Gallo: Handy dandy!
Great job finding this sewing tool! It’s essential for any sewer wanting to remove stitches and make corrections quickly and easily. With this tool, you don’t have to worry about damaging your fabric or taking a long time to unravel a mistake – it’s so convenient and ideal for seamstresses of all levels.