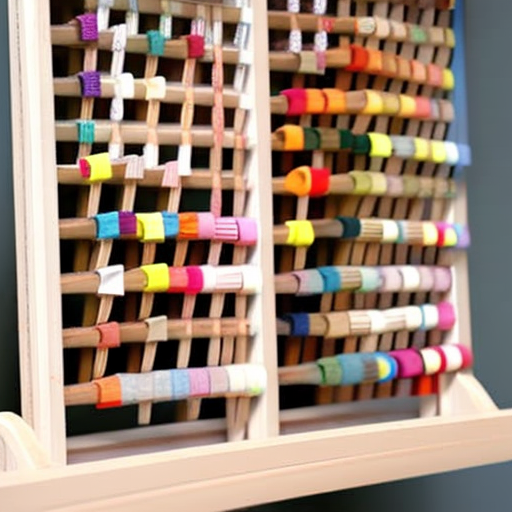
Sewing Thread Rack DIY

Organizing sewing threads can be a challenging task for any avid seamstress. Wasting time looking for the right thread color while in the middle of a project can be frustrating. Thankfully, a DIY thread rack can provide a practical and visually appealing solution.
Here’s how you can make your own sewing thread rack:
Materials Needed:
- Wooden board (size of your choice)
- Thread pegs (available in craft stores)
- Paint or stain (optional)
- Screws
Tools Needed:
- Drill and drill bits
- Screwdriver
- Saw (if resizing the wooden board)
- Sandpaper
Step-by-Step Instructions:
Prepare the wooden board by sanding its surface until smooth. If necessary, resize the board using a saw to your preferred dimensions.
Decide on the arrangement of the thread pegs on the board. Mark the spots where you want to attach the pegs.
Pre-drill holes in the marked spots using an appropriate drill bit.
Attach the thread pegs to the board by screwing them into the pre-drilled holes. Ensure they are securely fastened.
Safety Warning: Be cautious while using power tools and sharp objects. Always follow safety guidelines and wear protective gear.
Once you’ve completed these steps, your sewing thread rack is ready to use! Optionally, you can paint or stain the wooden board to match your sewing room’s decor.
A thread rack not only keeps your thread neatly organized, but it also adds a touch of charm to your sewing space. Enjoy the added convenience and aesthetic appeal of your new DIY sewing thread rack!


So useful
Melissa Powell: Absolutely love this!
#WhatAWonderfulIdea! This is a fantastic way to organize your sewing essentials while adding a sweet touch to your craft space. I’m really loving this DIY project!
Definitely giving this a try!