Sewing Thread Organizer DIY
Are you tired of constantly searching for your sewing threads? A sewing thread organizer can help you keep your
threads neatly stored and easily accessible. In this article, we will guide you through a simple and
cost-effective DIY project to create your own sewing thread organizer.

Step 1: Gather Materials
First, gather the necessary materials. You will need:
- Wooden board or plank
- Small nails or hooks
- Hammer or screwdriver
- Paint or varnish (optional)
Step 2: Prepare the Wooden Board
Prepare your wooden board by sanding it to ensure a smooth surface. You can also paint or varnish it to add a
decorative touch.
Step 3: Attach the Hooks
Take the small nails or hooks and evenly space them along the wooden board. Use a hammer or screwdriver to
securely attach them. Make sure there is enough space between each hook to accommodate your thread spools.
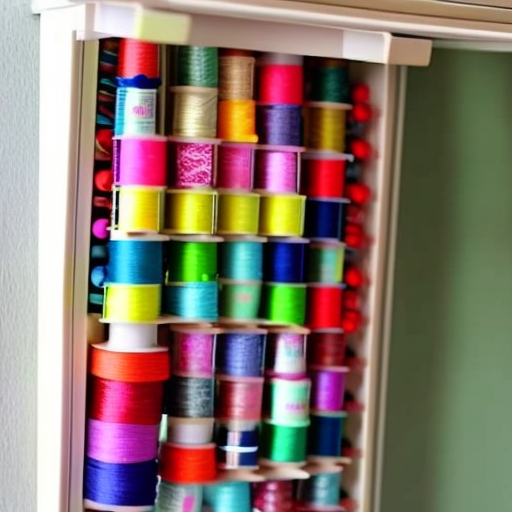
Step 4: Hang and Organize
Once the hooks are attached, find a suitable spot to hang your sewing thread organizer. It could be on a wall,
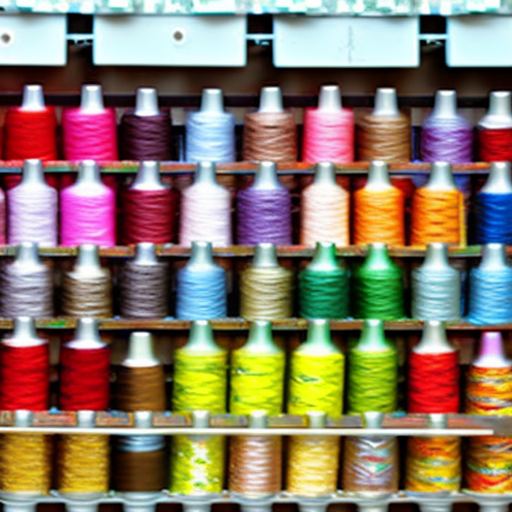
inside a closet, or anywhere convenient for you. Arrange your thread spools by color or type, making it
easier to find the thread you need.
Congratulations! You have successfully created your own sewing thread organizer. Now you can enjoy a clutter-free
space and easily find the thread you need for your sewing projects. Remember, you can always customize and
personalize your organizer to fit your preferences.

Awesome idea!
Therese Robinson: I love this!
What a great way to easily find the perfect sewing thread for any project! No more time spent rummaging through drawers and boxes; with this DIY organizer, you can keep track of multiple threads in one place. #OrganizationGoals
I’m definitely gonna give this a try!