Introduction
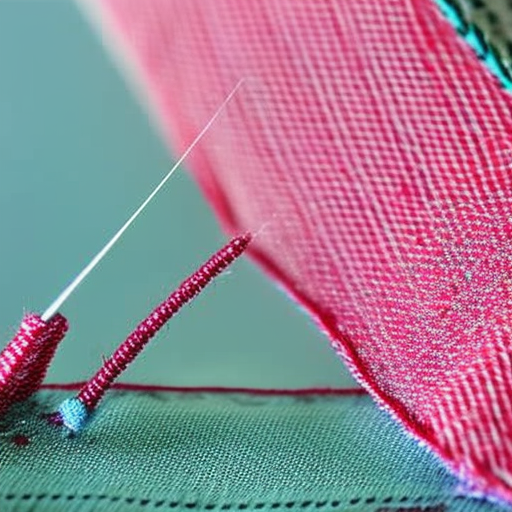
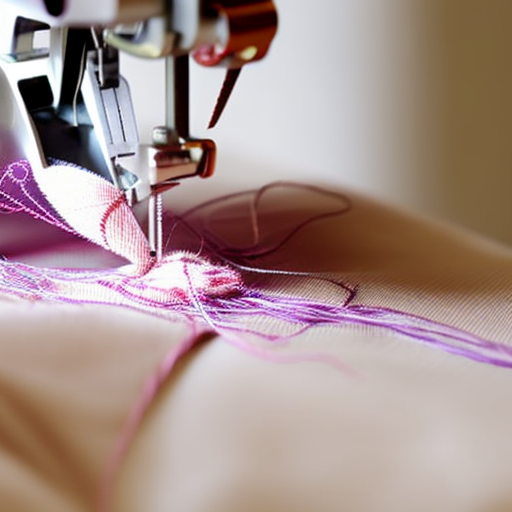
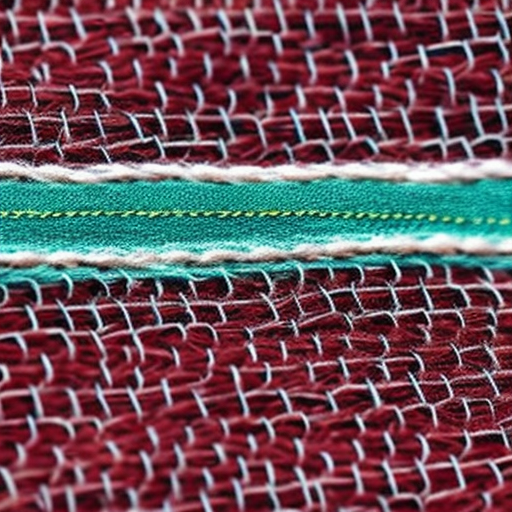
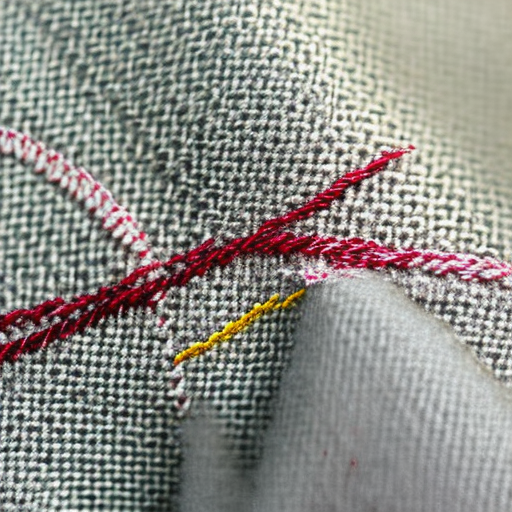
Sewing temporary stitches, also known as basting stitches, are a necessary technique utilized by sewers and quilters in various projects. Temporary stitches are typically large, straight stitches that temporarily hold fabric layers together for fitting, attaching trims, or ensuring proper alignment before permanent stitching takes place.
Why Use Temporary Stitches?
Temporary stitches serve several crucial purposes:
- Fitting Purpose: Temporarily stitching fabric allows you to make adjustments and alterations before finalizing the permanent stitch. It provides the opportunity to test the fit, shape, and drape of a garment or project without committing to permanent stitching.
- Pattern Matching: Aligning patterns or plaids requires precision. Temporary stitches enable you to check if patterns align correctly before permanently sewing them together.
- Securing Trims: When attaching trims like lace, ribbons, or decorative elements, temporary stitches can hold them in place until you finalize the positioning with permanent stitching.
- Quilting Convenience: Quilters often use temporary stitches to hold the quilt top, batting, and backing layers together, ensuring precise quilting lines without risking shifting during the quilting process.
How to Sew Temporary Stitches
Follow these simple steps to sew temporary stitches:
- Choose a contrasting thread color to easily identify the temporary stitches later.
- Thread your needle and knot the end.
- Decide where you need to sew the temporary stitches and align the fabric layers accordingly.
- Start stitching from one side, using large straight stitches (around ¼ inch in length).
- Continue sewing until you reach the end, securing the stitches with a knot.
- Repeat at regular intervals, depending on the project requirements.
Remember that temporary stitches should be easy to remove. To avoid any damage, make sure not to sew over the stitches during permanent stitching or tightly secure them together.
Removing Temporary Stitches
To remove temporary stitches:
- Carefully locate the end of the temporary stitch line.
- Insert a seam ripper or small pair of scissors underneath the stitches.
- Gently lift the stitches up, releasing them from the fabric.
- Continue removing stitches until the temporary stitches are completely gone.
- Take care not to damage the fabric during the removal process.
Conclusion
Temporary stitches are an invaluable technique in sewing and quilting. They allow for adjustments, pattern matching, securing trims, and easing the overall sewing process. Mastering the art of temporary stitches will enhance your sewing skills and ensure your final projects are precise and professional.
Remember, temporary stitches serve as a guide and should be removed once they’ve fulfilled their purpose. So grab your thread and needle, and start using temporary stitches in your sewing endeavors today!
Feel free to explore our collections of sewing tools and supplies to embark on your temporary stitching journey!
