Introduction
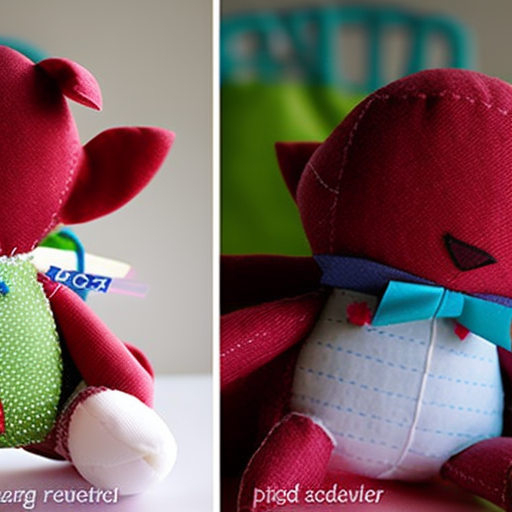
Creating your own stuffed animals is not only a fun and creative project but also a wonderful way to personalize gifts for loved ones. Whether you’re a beginner or an experienced seamstress, mastering the following sewing techniques will help you craft adorable stuffed animals with ease.
Materials You’ll Need
- Fabric of your choice
- Thread
- Scissors
- Pins
- Needles
- Stuffing material (polyester fiberfill recommended)
Step-by-Step Instructions
Pattern and Cutting
Start by selecting a stuffed animal pattern or creating your own. Transfer the pattern onto your fabric and cut out the required pieces. Remember to cut out two identical shapes for each body part to create front and back pieces.
Pin and Sew the Body
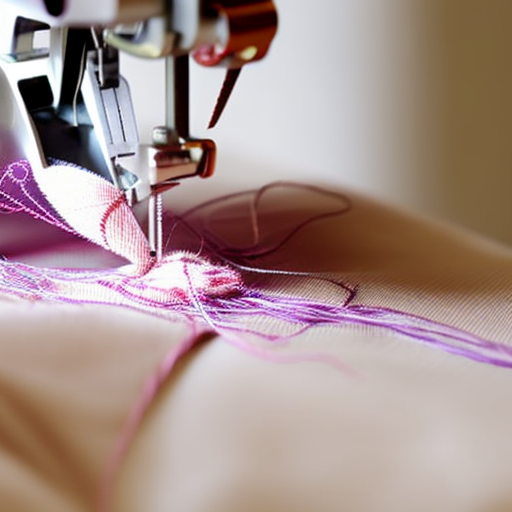
Pin the front and back body pieces together, ensuring they align perfectly. Sew along the edges, leaving a small opening for stuffing. Trim excess fabric and turn the body inside out.
Stuffing
Fill the body evenly with polyester fiberfill or your preferred stuffing material. Avoid overstuffing, as it may result in a distorted shape. Use a small tool such as a chopstick to position stuffing into hard-to-reach corners.
Closing the Opening
Using a needle and thread, carefully sew the opening closed with a slip stitch or ladder stitch. Ensure the stitches are secure, but not overly tight, to maintain a neat finish.
Additional Details
For adding eyes, noses, and other decorative elements, consider using safety eyes, buttons, or fabric appliques. Sew or glue them securely to the stuffed animal’s face or body, ensuring they are safe for children if it’s intended as a toy.
Conclusion
By mastering these sewing techniques, you’re equipped to create adorable stuffed animals that will be treasured for years to come. Remember to experiment with different fabrics, patterns, and embellishments to truly personalize your creations. Happy sewing!
