Introduction
Leather sewing techniques require specific skills and tools to achieve strong and durable stitches. Whether you are a beginner or an experienced sewer, understanding the proper techniques for sewing leather will help enhance your projects and ensure their longevity. In this article, we will explore some essential sewing techniques for leather that every enthusiast should know.
Tools for Leather Sewing
Before diving into the sewing techniques, let’s talk about the essential tools you’ll need:
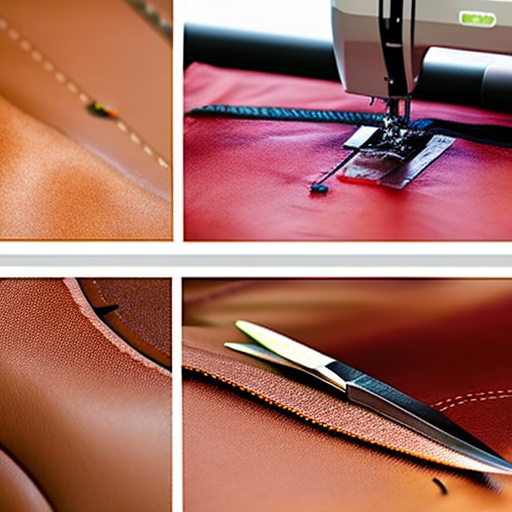
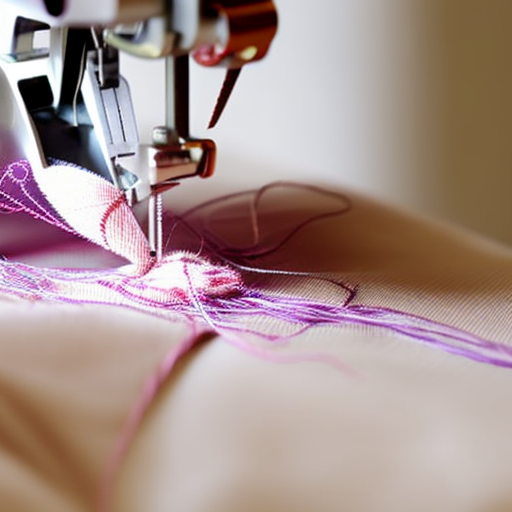
- Leather sewing machine: Investing in a machine specifically designed for sewing thick materials like leather is highly recommended.
- Leather needles: These needles have a cutting tip which facilitates sewing through leather without tearing or damaging the fabric.
- Waxed or nylon thread: These threads are stronger and more resistant, ideal for sewing leather.
- Clips or clamps: Leather can be challenging to pin, so using clips or clamps will keep your fabric in place.
- Thimble: Protect your fingers from potential pricks or cuts with a thimble specifically designed for leather sewing.
- Sharp scissors or rotary cutter: Choose a tool that can easily cut through leather without leaving jagged edges.
Sewing Techniques
1. Preparing the leather
Before starting any sewing project with leather, it’s crucial to prepare the fabric properly:
- Use a leather marker or chalk to mark your sewing lines as regular pens or markers may leave permanent stains on the material.
- Cut the leather according to your pattern, ensuring clean and precise edges.
- Punch small holes along the marked sewing lines to make stitching easier.
2. Choosing the right stitch
Unlike fabrics, leather requires stronger and longer-lasting stitches. Two common stitches used are:
- Lockstitch: This stitch is known for its durability and strength. It requires a double-threaded machine or hand sewing technique.
- Saddle stitch: This hand sewing technique involves using two needles and sewing in an overlapping figure-eight pattern. It creates a strong stitch that can withstand heavy loads.
3. Sewing techniques
When sewing leather, keep the following techniques in mind:
- Ensure the machine’s tension is set correctly to prevent loose stitches or puckering.
- Use clips or clamps instead of pins to avoid leaving visible holes in the leather.
- Always sew slowly and carefully, especially when navigating thick, multiple layers of leather.
- Consider using a Teflon or roller foot attachment on your machine to help the fabric glide smoothly.
- Backstitch at the start and end of your seams to secure the stitches and prevent unraveling.
4. Finishing touches
Once you’ve completed the main sewing, you may want to add some finishing touches:
- Trim any excess thread or leather to ensure a clean and polished look.
- If desired, apply edge paint or edge beveling to smooth and protect the edges of your leather project.
- Carefully clean the leather to remove any dirt or marks accumulated during the sewing process.
Conclusion
Mastering the art of sewing leather opens up a world of possibilities for creating unique and long-lasting projects. With the right tools, techniques, and a bit of practice, you can confidently undertake leather sewing projects and achieve professional-looking results. Remember to take your time, be patient, and enjoy the journey of learning and experimenting with this beautiful material.
