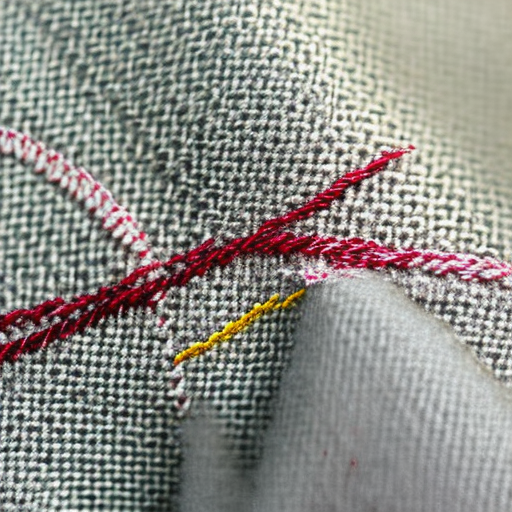
1. Choose the Right Fabric
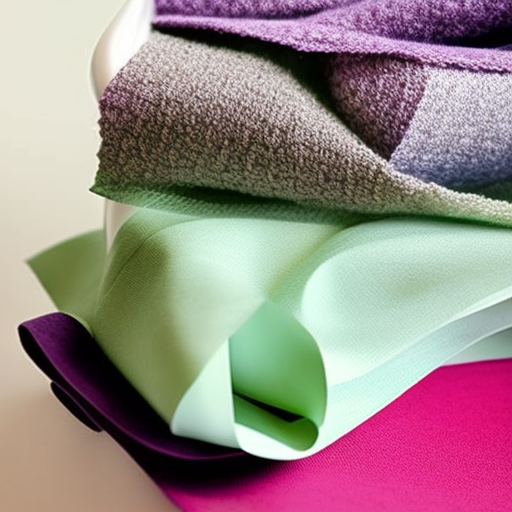
When it comes to sewing a quilt, selecting the perfect fabric is crucial. Opt for high-quality materials that are durable and have complementary colors and patterns. Cotton fabrics are popular choices for quilts due to their breathability and ease of handling.
2. Pre-Wash Your Fabric
Before you start cutting and sewing your quilt, make sure to pre-wash your fabric. This step helps to eliminate any excess dyes, shrinkage, or stiffness from the material. Following the recommended care instructions will ensure your fabric is ready for quilting and will reduce the chances of the completed quilt shrinking or distorting.
3. Accurate Cutting and Measuring
Precision is key when sewing a quilt. Invest in a high-quality rotary cutter, acrylic ruler, and self-healing cutting mat to achieve clean and accurate cuts. Ensure that all your fabric pieces are cut to the correct measurements specified in your quilt pattern to guarantee proper piecing and alignment later on.
4. Press Your Seams
Pressing your seams at each stage of the quilting process is essential for achieving precise and professional-looking results. Use an iron on the appropriate heat setting for your fabric and press the seams as directed in your quilt pattern. Pressing the seams open will create flatter blocks, while pressing them to one side will allow for nesting seams when joining blocks together.
5. Take Time to Pin or Baste
Pinning or basting your quilt layers together is crucial to prevent shifting and puckering during the quilting process. Use safety pins or basting spray to hold the quilt top, batting, and backing securely in place. Pay attention to smoothing out any wrinkles and ensuring all layers are flat and evenly aligned.
6. Experiment with Quilting Designs
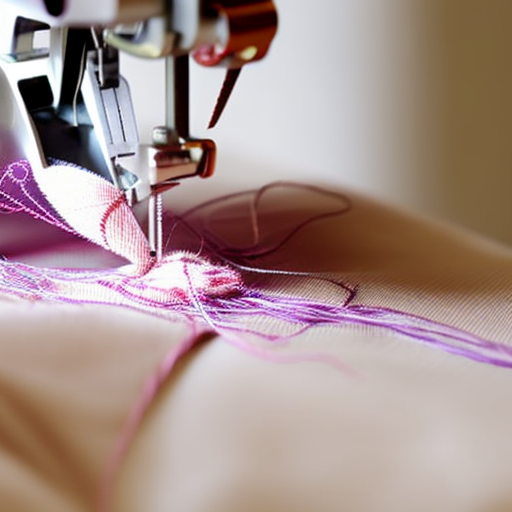
Quilting gives your project its unique personality, so don’t be afraid to experiment with various designs. Choose between free-motion quilting, straight-line quilting, or using a quilting machine to create different effects. Practice on scrap fabric before working on your actual quilt to gain confidence and refine your technique.
7. Finishing Touches
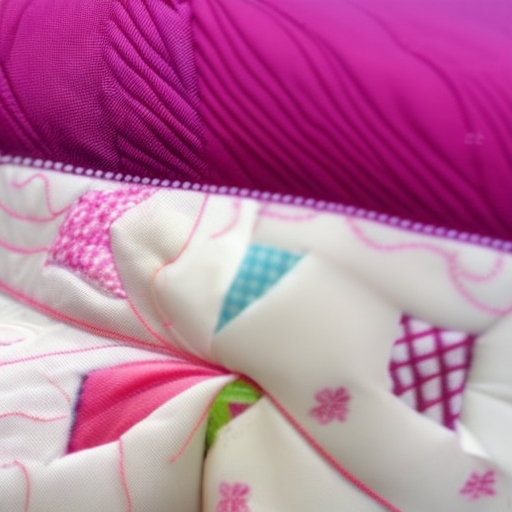
Once you have completed the quilting, it’s time to add the finishing touches. Trim any excess batting and backing, and then bind the quilt edges using either bias binding or self-binding techniques. Ensure your quilt is all smoothed out and free from loose threads or stray fibers before considering it complete.
Remember, quilting is an art form, and the more you practice, the better your skills will become. Whether you’re a beginner or an experienced quilter, these tips will help you create beautiful and functional quilts with confidence.
Happy quilting!
