
Welcome to the world of quilting! Whether you are a seasoned quilter or just starting out, understanding how to sew quilt binding is an essential skill. Binding is the finishing touch that adds both structure and beauty to your quilt. In this article, we will guide you through the process of sewing quilt binding step by step.
What is Quilt Binding?
Quilt binding is a narrow strip of fabric that is used to cover and secure the raw edges of a quilt. It not only gives a polished look to your quilt but also helps keep the layers intact for durability. There are various types of binding techniques, but we will focus on the classic machine-pieced binding method.
Materials Needed
- Quilted project
- Fabric for binding
- Rotary cutter and cutting mat
- Acrylic ruler
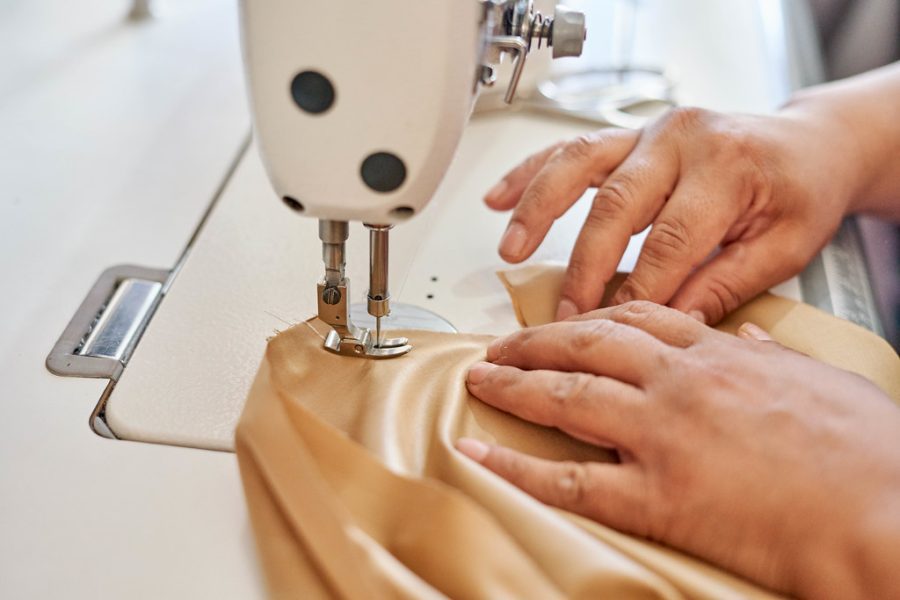
- Sewing machine
- Sewing pins
- Iron and ironing board
- Thread
- Scissors
Step-by-Step Guide
- Prepare Your Binding: Cut strips of fabric on the bias or crosswise grain, usually 2.5 inches wide. Join the strips together to create one continuous length, using diagonal seams for less bulk. Press the seams open.
- Prepare Your Quilt: Trim the excess batting and backing fabric to ensure clean edges and square corners. Press the quilt top and fold it neatly.
- Attaching the Binding: Starting in the middle of one side, align the raw edges of the binding strip with the raw edge of the quilt. Leave a 6-8 inch tail of binding, and begin stitching using a ¼ inch seam allowance. Sew until you approach the first corner.
- Mitering the Corners: When reaching a corner, stop sewing ¼ inch before the edge. Fold the binding up, away from the quilt, creating a neat 45-degree fold. Then, fold it back down, aligning the raw edges with the next side. Resume sewing from the corner.
- Joining the Binding Ends: Continue sewing around the quilt, repeating the corner mitering process for all corners. Stop stitching a few inches before reaching the starting point. Trim the excess binding, leaving enough to overlap the beginning. Unfold the binding ends, align them, and pin in place. Stitch the ends together, trim the excess, and refold the binding.
- Finishing Touches: To complete the binding, fold it over the quilt’s raw edge, making sure it covers the stitching on the quilt’s front side. Secure it with sewing pins or clips. Using a matching thread, stitch in the ditch of the seam line or sew close to the folded edge, removing the pins/clips as you go.
- Final Press and Enjoy: Give your quilt a final press to set the binding. Admire your beautifully finished quilt and revel in the satisfaction of a job well done!

Now that you have mastered the art of sewing quilt binding, you can explore different binding styles, experiment with contrasting fabrics, or even try hand-sewn binding techniques to add your personal touch to future quilting projects. Remember, practice makes perfect, and soon you’ll be expertly binding your quilts!
I’m so excited to try this! Serenity Designs: Great tutorial!
Fantastic tutorial – makes it so much easier to tackle a quilt-binding project!
It looks so professional when the quilt binding is finished!
I need to try this!
This tutorial makes quilt binding look easy and achievable! Definitely worth trying – it will give your quilt a professional and polished finish.