Jersey fabric is a popular choice for various sewing projects, such as t-shirts, dresses, and comfortable loungewear. It is known for its stretchability and softness. Sewing with jersey, however, can sometimes be tricky, as it requires a slightly different approach compared to other fabrics. Here are some helpful tips to achieve successful and professional-looking results when working with jersey:
1. Choose the Right Needle and Thread
Select a ballpoint or stretch needle for your sewing machine. These needles have rounded tips that slide between the fibers of the fabric without damaging them. Use polyester or cotton-wrapped polyester threads. They provide additional stretch and durability, ensuring your stitches won’t break when the fabric stretches.
2. Use a Stretch Stitch or Zigzag Stitch
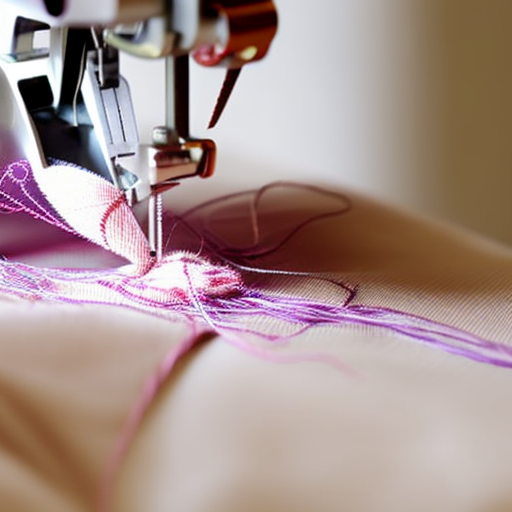
When sewing jersey, opt for a stretch stitch or a narrow zigzag stitch. These stitches allow the fabric to stretch without breaking the seams. Test different stitch options on a scrap piece of fabric to determine which one works best with your sewing machine.
3. Stay Away from Pins
Pinning jersey fabric can leave permanent holes or distort the fabric. Instead of using pins, consider using clips or fabric weights to hold the fabric in place. If you must use pins, insert them within the seam allowance to minimize any visible marking.
4. Pre-wash and Dry
It is essential to pre-wash and dry your jersey fabric before sewing. Jersey fabrics can shrink, and pre-washing helps to remove any sizing or chemicals that may be present. This step ensures your finished garment won’t be ruined by unexpected shrinkage after the first wash.
5. Use Stabilizers
If you are working with thin or lightweight jersey, using stabilizers can improve the stitching process. Place a strip of tear-away or wash-away stabilizer under the fabric or use a stabilizer spray to provide additional support, especially around hems or edges.
Pro Tip:
When cutting jersey fabric, use sharp fabric scissors or a rotary cutter to achieve clean and accurate cuts. This prevents the fabric from fraying and reduces the risk of any jagged edges.
6. Experiment with Tension and Presser Foot Pressure
Jersy fabric can be easily stretched or distorted during sewing. Consider adjusting the tension and presser foot pressure on your sewing machine to accommodate the fabric’s stretchiness. Test different settings and adjustments on scrap fabric to find the optimal settings for your specific machine.
7. Finish Raw Edges
To prevent fraying, finish the raw edges of your jersey fabric. You can use a serger/overlocker, a narrow zigzag stitch, or even a simple turned and stitched edge. This will help your final garment maintain its shape and longevity.
8. Try a Twin Needle
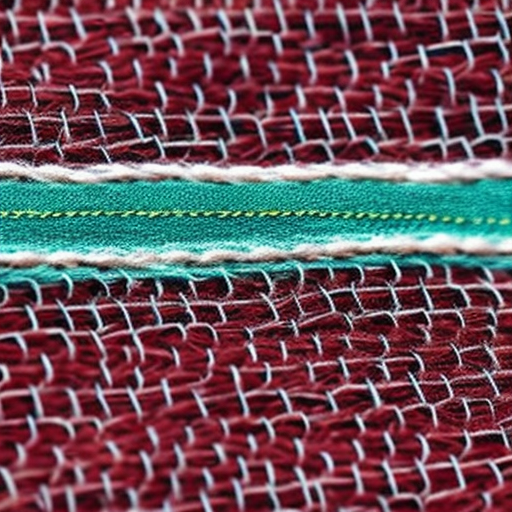
A twin needle, also known as a double needle, adds a professional touch to your jersey projects. It creates parallel lines of stitching on the right side of the fabric while forming a zigzag stitch on the wrong side. This technique works exceptionally well for hems, necklines, and decorative topstitching.
By following these sewing tips, you’ll be well on your way to successfully working with jersey fabric. Embrace the stretch and softness of this versatile material while creating beautiful and comfortable garments.
This is so helpful!
Great post! Sewing jersey can be tricky at times, especially when you’re first starting out, so tips like this are invaluable for learning how to successfully sew with jersey.
These tips are perfect for a beginner!rn
I’m so glad this article was posted – it’s full of great insights and advice for those of us just starting out with sewing jersey, which can be intimidating! Thanks for sharing your knowledge!
Very informative post!
This is a fantastic post, full of great advice regarding sewing jersey. It can be intimidating to learn this type of material, so these tips are sure to help us become confident with it in no time. Thanks for sharing!