


Step 1: Gather Supplies
To sew fabric roses, you will need the following supplies:
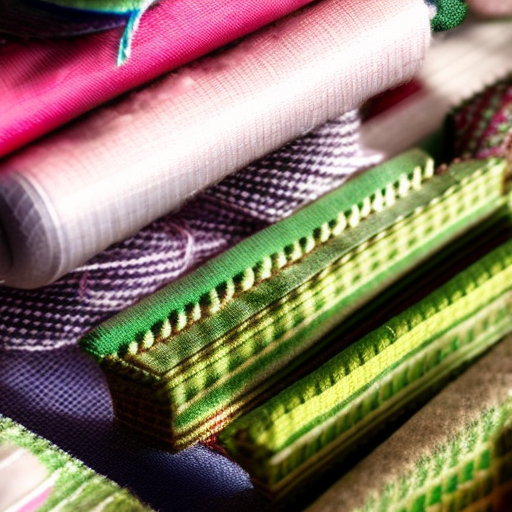
- Fabric of your choice
- Scissors
- Needle and thread
- Glue gun
- Optional: floral wire and tape
Step 2: Cut Fabric
Start by cutting your fabric into long strips, approximately 2 inches wide. The length of the strips will depend on how big you want your roses to be.
Step 3: Fold and Sew
Take one fabric strip and fold it in half horizontally. Begin sewing along the raw edge, starting at one end and working your way to the other end. You can use a running stitch or a backstitch.
Once you reach the end, gently pull the thread to gather the fabric and create the rose shape. Tie a knot to secure the shape.
Step 4: Repeat and Stack
Repeat the folding and sewing process with additional fabric strips until you have enough roses for your desired project.
Stack the fabric roses on top of each other, slightly offsetting them to create a fuller look. You can use a hot glue gun to secure them together.
Step 5: Optional: Add Stems
If you want to create fabric roses with stems, you can insert floral wire into the base of each rose and secure it with hot glue. Wrap the wire with floral tape to complete the stem.
Step 6: Use and Enjoy
Your beautiful fabric roses are now ready to be used for various projects! You can attach them to headbands, decorate gift boxes, embellish clothing or accessories, or use them in any other creative way you can imagine!
Enjoy the process of creating these lovely fabric roses and let your imagination run wild with the endless possibilities they offer!


Wow this looks amazing!
Jessi: Love your work!
This project looks so beautiful and delicate! This is such a special and creative way to show off your skills in sewing and crafting with fabric. I’m looking forward to seeing the results.
I am inspired and ready to learn how to make those fabric roses!! 💐🌹
I’m intrigued and can’t wait to learn the craft!