sewing-fabric.jpg” alt=”Sewing Fabric” />
When it comes to sewing, paying attention to the right side of your fabric is crucial. Knowing how to identify the right side of the fabric and properly sewing it can make a significant difference in the final appearance of your project.
Identifying the Right Side of the Fabric
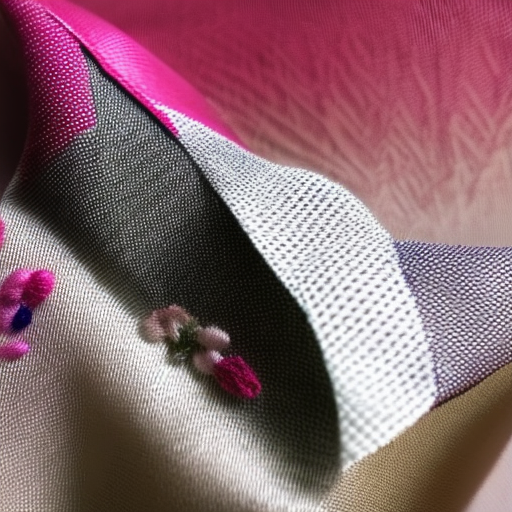
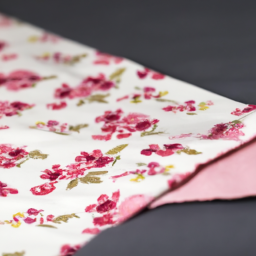
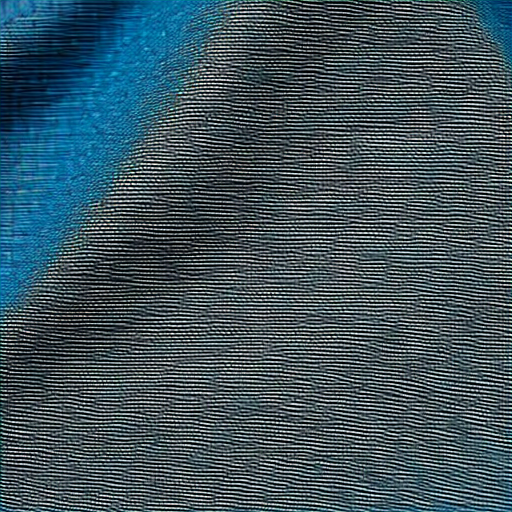
The right side of the fabric is the side that is meant to be visible once your project is complete. It often has a more vibrant color or pattern compared to the wrong side, which is typically duller. However, it’s not always easy to differentiate between the two, especially with fabrics that have a very similar appearance on both sides.
Here are a few techniques you can use to identify the right side:
- Textural Difference: The right side of the fabric may have a smoother texture compared to the wrong side, which can help you determine which side is which by touch.
- Print or Design Orientation: If your fabric has a specific print or design, such as flowers or stripes, the right side will typically have the prints facing outward, while the wrong side will have a reversed or faded appearance.
- Manufacturers’ Indicators: Sometimes, fabric manufacturers mark the right side with small notches, dots, or symbols. Check the selvedges or any selvage marks to determine which side is intended to be the right side.
- Water Test: Sprinkle a small amount of water on an inconspicuous area of your fabric. The water droplets will usually absorb more quickly or disappear on the right side due to the possible application of water-resistant finishes on the wrong side during production or printing processes.
Sewing the Right Side
Once you have confidently identified the right side of your fabric, you want to make sure you sew it correctly to achieve professional-looking results.
Follow these general steps when sewing fabric right side:
- Pin or Mark: If necessary, pin or mark your fabric pieces together to help you align them correctly while sewing.
- Align Edges: Match the edges of the fabric pieces with the right sides facing each other. The wrong side should be on the inside, hidden from view.
- Sew: Use your preferred sewing machine or needle and thread to sew along the designated sewing line, securing the pieces together. Make sure to backstitch at the beginning and end of each seam to reinforce them.
- Finish Seam: After sewing the pieces together, you may want to finish the seam edges with methods such as serging, zigzag stitching, or binding to prevent fraying and add durability to your project.
- Press: Finally, press the seam allowances to set the stitches and create a neat finish. You can use an iron on the appropriate heat setting for your fabric type.

Sewing the fabric right side is a crucial step to ensure a professional and visually pleasing outcome. Take the time to identify the right side of your fabric accurately, and follow proper sewing techniques to achieve high-quality results.

It’s so helpful to have clear instructions that make sewing so much easier!
Samantha Grey: I love sewing and this tutorial looks perfect!
Great tutorial! It seems like such a useful tool for anyone who is just starting out or has experience in sewing fabric. The instructions provide helpful guidance on the various techniques required and can help to create wonderful and unique pieces. It’s always nice to have resources you can rely on when it comes to sewing fabric and this post looks like a goldmine of options.