

When it comes to adding a professional and stylish touch to your sewing projects, fabric ribbing is an excellent choice. Ribbing is a stretchy, ribbed knit fabric that is commonly used to finish the edges of garments such as cuffs, collars, and waistbands. It not only provides functionality but also adds a decorative element to your creations.
Types of Ribbing
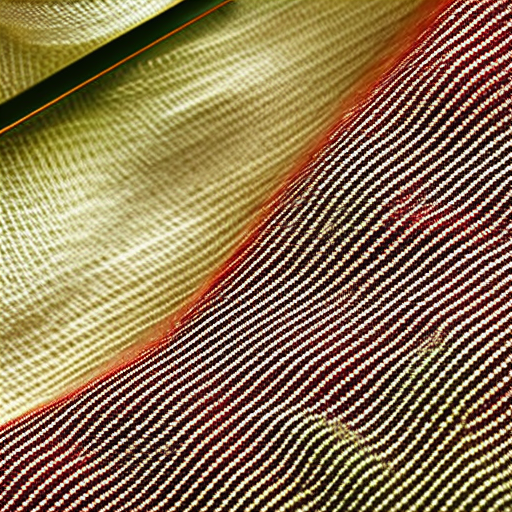
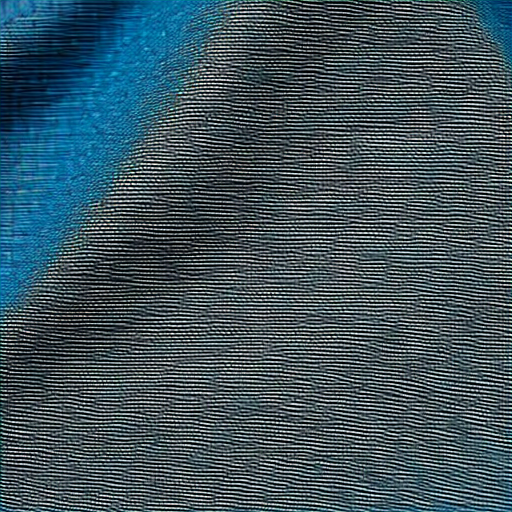
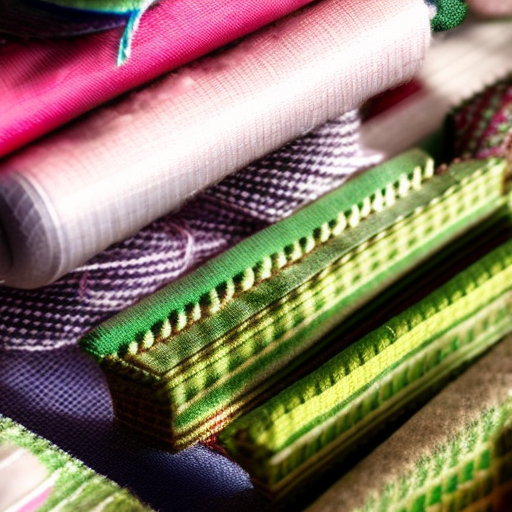
There are various types of ribbing available, including cotton ribbing, ribbed knit, and rib knit with spandex. Cotton ribbing is a popular choice for a more casual look and is ideal for tops, while rib knit with spandex provides excellent stretch and recovery, making it suitable for body-hugging garments. Ribbed knits come in a range of colors and patterns, allowing you to find the perfect match for your sewing project.
Preparation
Before sewing fabric ribbing, it is crucial to properly measure the neck, waist, or wrist circumference, depending on your project. Use a flexible measuring tape to ensure accuracy. Ribbing should generally be cut shorter than the actual measurement, anywhere between 10-30% shorter, depending on the desired fit and stretch of the finished product. Remember that ribbing is stretchy, so it needs to be slightly smaller than the area it will be attached to.
Cutting and Sewing
When cutting ribbing fabric, it’s best to place the pattern piece on a fold so that you end up with a continuous loop. If your fabric doesn’t have much stretch, make sure the ribbing is cut perpendicular to the fabric’s stretch to ensure maximum elasticity once attached.
Next, pin the ribbing to the edge of your project, starting at one end and working your way around. Stretch the ribbing slightly as you sew, ensuring it lays flat without puckering or gathering. Using a stretch stitch or a narrow zigzag stitch on your sewing machine will help maintain flexibility in the finished project. Remember to backstitch at the beginning and end of your seam to secure it.
Finishing Touches
Once you have sewn the ribbing onto your garment, it’s time to neaten the edges. You can trim any excess fabric or use pinking shears to reduce bulk. Press the ribbing gently with an iron to ensure a polished look.
If desired, you can topstitch the ribbing to secure it further and add a decorative touch. This step is optional but can elevate the overall appearance of your project.
In Summary
Using fabric ribbing is a fantastic way to add style and functionality to your sewing projects. Remember to measure accurately, choose the appropriate type of ribbing, and sew with a stretch stitch or narrow zigzag stitch to maintain flexibility. With a little practice and attention to detail, you’ll master sewing fabric ribbing in no time, giving your creations a professional and polished finish.
I love to sew – this looks like a great project!
Lovely! Perfect for all sorts of creative projects. This fabric ribbing is a great way to make sure that any garments you make turn out looking amazing! It’s so great to be able to tailor your own clothes!
Absolutely! Such a great way to get creative and end up with something one of a kind. Plus, it looks like it will be really fun to sew!