Sewing fabric onto a card is a fun and creative way to add a personal touch to your greetings or invitations. Whether you want to create a unique birthday card or an elegant wedding invitation, sewing fabric onto a card can elevate your crafting project to a whole new level. Here’s a simple tutorial to help you get started:

Step 1: Gather Materials
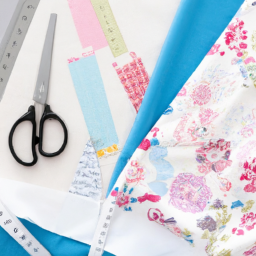
To begin, gather the following materials:
- Fabric of your choice
- Blank cardstock or ready-made card
- Scissors
- Needle and thread
- Double-sided adhesive tape or glue
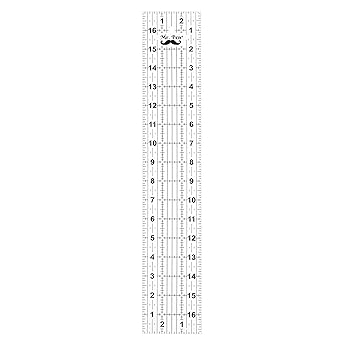
Step 2: Measure and Cut
Measure and cut a piece of fabric slightly larger than the front of your card.
Step 3: Attach Fabric
Apply double-sided adhesive tape or glue to one side of the cardstock. Carefully position the fabric on top, smoothing out any wrinkles.
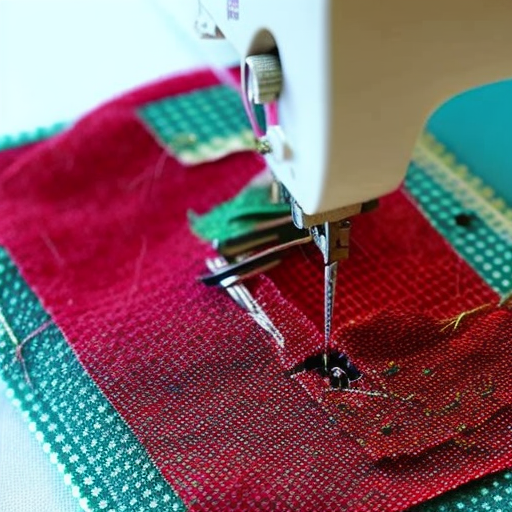
Step 4: Sewing Time
Thread your needle and start sewing! You can choose to sew along the edges of the fabric, create patterns, or add decorative stitches.
Step 5: Finishing Touches
Once you’re done sewing, trim any excess fabric and secure loose threads. You can also add embellishments like buttons, ribbons, or beads for extra charm.
And there you have it, a beautifully sewn fabric card! Be creative and experiment with different fabrics, colors, and stitching patterns to make unique cards for any occasion.
Remember, sewing fabric onto a card requires patience and precision, so take your time and enjoy the process. Happy crafting!

So cool! #fabriclove
Mary Dylans: Seems like a great way to get creative! #lovetocreate
This looks like a great project! Many fabrics have unique textures and prints that can add so much personality to your card. #FabricFun
I love adding a personal touch to my creations! #CreativeCorner