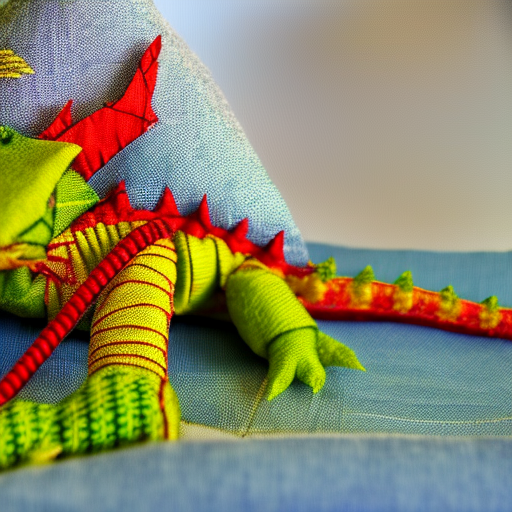


Are you ready to embark on a magical sewing journey? In this tutorial, we will guide you step by step in creating your very own fabric dragon. Whether you’re a beginner or an experienced sewist, this project promises to be both fun and rewarding. Let’s get started!
Steps:
- Gather all materials needed for the project.
- Print and cut out the provided dragon pattern on your preferred fabric.
- Sew the body pieces together, leaving an opening for stuffing.
- Stuff the dragon using your preferred filling material.
- Sew the opening closed.
- Attach the wings, following the pattern instructions.
- Sew the eyes and nose pieces to the dragon’s head.
- Add any additional embellishments or accessories as desired.
- Give your dragon a name and enjoy your new fabric friend!
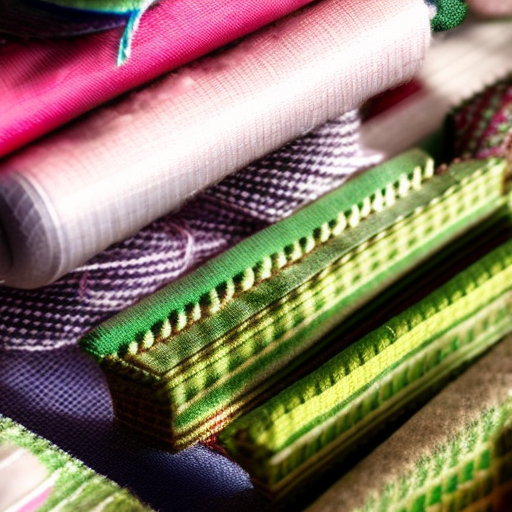
Materials needed:
- Fabric (recommended: felt or cotton)
- Thread (coordinating with fabric)
- Scissors
- Needle
- Pins
- Fiberfill or stuffing material
- Dragon pattern template
- Embellishments (buttons, ribbons, etc.)
Creating your very own fabric dragon is the perfect craft project for both children and adults. This adorable dragon can become a cherished toy, a decorative piece, or a gift for someone special. Its soft fabric and cute design make it a delightful addition to any collection.
So go ahead, grab your materials and get ready to sew your way to a magnificent fabric dragon. Let your creativity soar as you bring this mythical creature to life, stitch by stitch.


This is so cool!
Jo McMillan: Love the colors!
This is an awesome creation! The stitching is so precise and the color combination looks stunning! The choice of fabric was perfect and it looks incredibly lifelike. It must have taken a lot of time and energy to make such a detailed and creative piece of artwork!
What a beautiful and unique dragon!
I’m in awe of the amount of creativity and skill that went into making this dragon!