
Your Ultimate Guide to Organizing and Utilizing Your Sewing Box
 sewing box” style=”width:400px;height:300px;”>
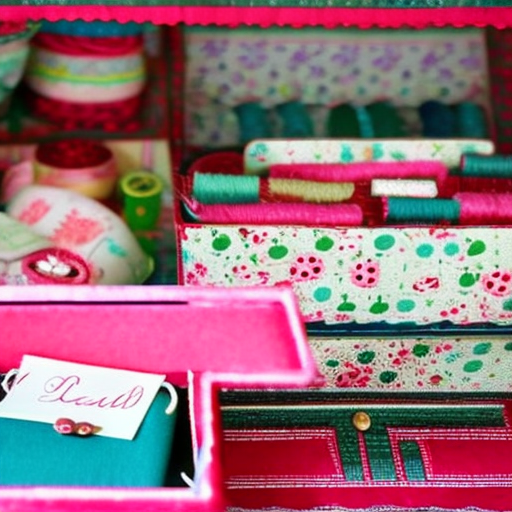
If you enjoy sewing, then you definitely understand the importance of having a well-organized sewing box. A sewing box is not only a practical storage solution for your sewing supplies but can also be a creative and aesthetically pleasing addition to your workspace. In this article, we will explore a variety of sewing box ideas to help you enhance your sewing experience.
1. Categorize your supplies
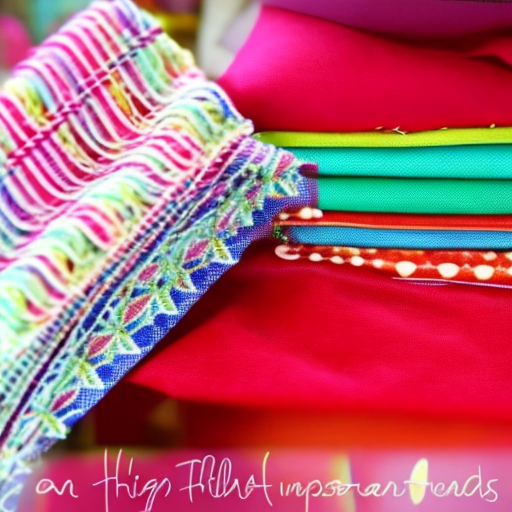
Organizing your sewing box by category is essential to ensure easy access to your tools. Consider grouping your items into categories such as threads, buttons, needles, pins, scissors, and zippers. You can use small containers, dividers, or even repurpose old spice jars to create compartments within your sewing box.
2. Personalize your sewing box
A sewing box doesn’t have to be dull and unexciting. In fact, personalizing your box can inspire creativity and make your sewing experience more enjoyable. Consider painting the exterior of your sewing box with vibrant colors or patterns that resonate with your style. You can also add decorative elements such as ribbons, fabric scraps, or even vintage buttons to give your box a unique touch.
3. Utilize magnetic strips
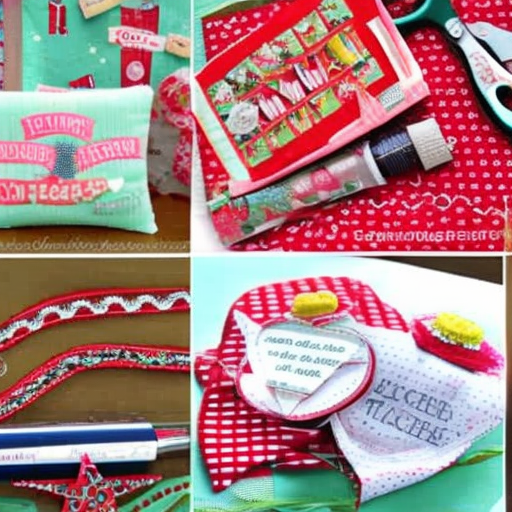
One clever idea for utilizing the space inside your sewing box is to incorporate magnetic strips. Attach a magnetic strip inside the lid of your box, and you can easily store and access your metal sewing tools such as needles, pins, and even small scissors. This not only helps keep your tools organized but also prevents them from getting lost.
4. Sewing emergency kit
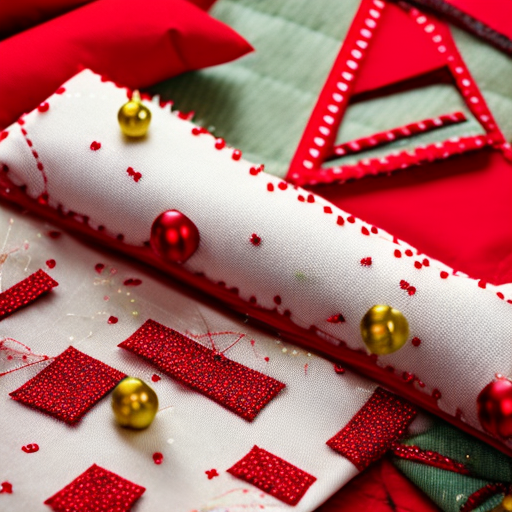
Prepare a small sewing emergency kit within your sewing box so that you’re always ready to tackle any unexpected clothing mishaps. Include basic sewing essentials like different colored threads, needles, safety pins, a small measuring tape, and even a small fabric patch. This emergency kit will come in handy when you need to quickly repair a loose button or a small tear.
5. Label your compartments
To enhance the organization within your sewing box, label each compartment or container dedicated to specific sewing supplies. You can use adhesive labels, small chalkboard tags, or even create your own DIY labels using colorful paper or cardstock. Clear labeling will save you time and effort when searching for a particular item.
6. Clear removable trays
If your sewing box has removable trays, make sure to utilize them effectively. Use the top tray for frequently used tools such as pins, needles, and measuring tapes. In the lower trays, you can store items that you may need less frequently, such as extra buttons, bias tapes, or smaller fabric scraps. By utilizing the trays in a well-planned manner, you can optimize the available space and keep your sewing supplies easily accessible.
Conclusion
A well-organized sewing box not only makes your sewing journey efficient but also adds an element of joy and creativity. Experiment with different ideas mentioned in this article and find what works best for you. Remember, your sewing box is a personal reflection of your passion for sewing and can be a source of inspiration every time you open it. Happy sewing!
Perfect for my beginners sewing projects!
Sarah Jones: Such a great way to organize my supplies!
Amazing! Having a sewing box is essential for every sewer, whether you are a beginner or an expert. It’s the perfect way to keep your supplies organized and ready for your next project!
I love how organized these ideas make it!
Great ideas! I’m definitely planning to put these all into practice.